
Knowing that today was pretty much going to be all prep work, I did want to get at least one small layup in under my belt.
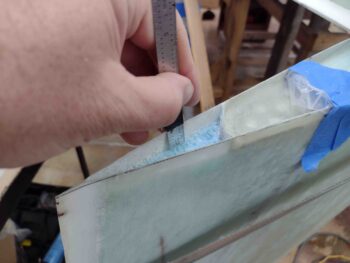
Although I do prefer a flat inside edge of a control surface, I decided to follow the plans and dig out the foam down 0.6″ on the aft side of the left bottom rudder. The plans call for laying up the top and bottom of the rudders with 2 plies of BID, but since I have a rather robust structure on the front half of the rudder with the Internal Rudder Bellhorn installed, I decided to go with only 1 ply of BID. On the top I’ll go with 2 plies of BID.
I laid up the one ply of BID using fast hardener, since this isn’t a huge structural airframe layup.
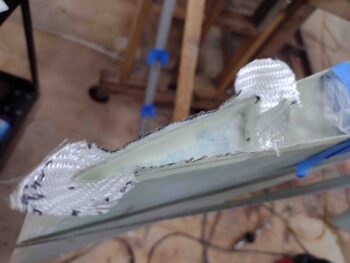
Jumping ahead a few hours, I then razor trimmed the glass. Here’s the result.
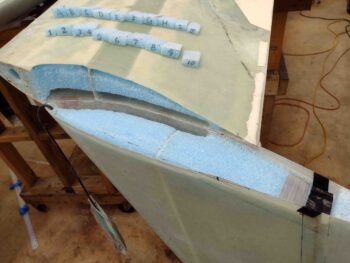
On the right wing and winglet, I made up both a wing-side and winglet-side set of foam wedges for Layup #1, as I did on the left side.
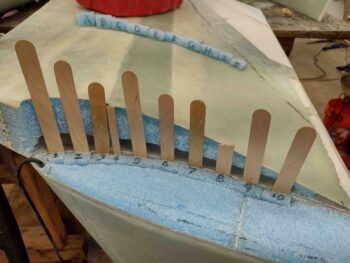
I also sanded and prepped the internal glass inside both the wing and the winglet, respectively. In addition, I sanded the meeting corners to a radius, as best possible since both skins are fairly thin. Lastly, you may note I configured the aft winglet by making a depression in the foam that will serve as the Internal Bellhorn arm channel. I then taped up the aft border line of the winglet where it will meet the rudder, and a spot of gray duct tape where the aft inside channel of the winglet will be created by digging about 1″ of foam (I’m taking Ary Glantz’ advice and going about 1.2″ deep to allow more clearance for the rudder hinges).
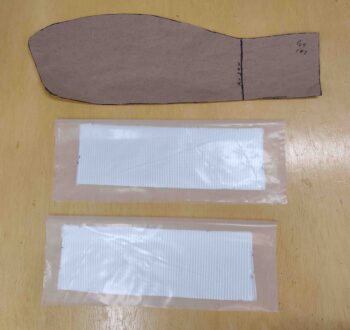
I then prepregged the BID for the ring wing/winglet Layup #1, with 4 plies of BID in each prepreg setup. I also cut out the Layup #2 BID template for the right wing as well.
By this point the micro securing the left wing/winglet ‘A’ Block in place had cured, so I removed the tape and the weights.
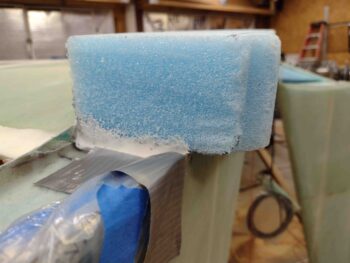
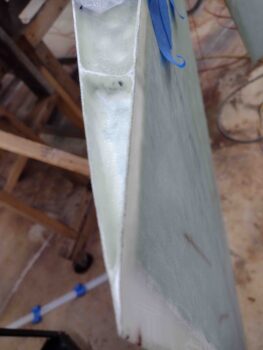
Here’s a lower-up shot of the left wing/winglet’s foam ‘A’ Block secured in place with micro.
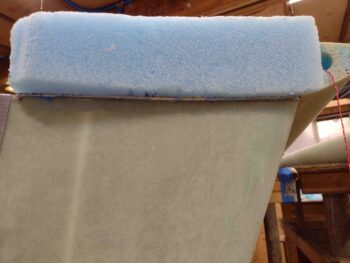
I then started slowly trimming down the left wing/winglet ‘A’ Block..
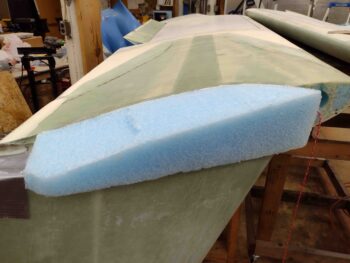
And then sanded the left side ‘A’ Block to shape.
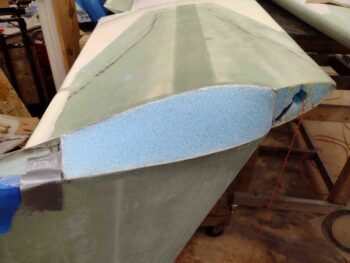
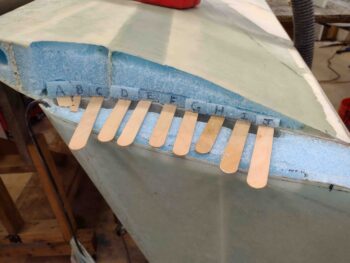
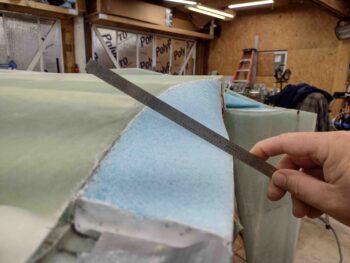
Here is my requisite pic showing how flat the resulting sanding job is on the left side ‘A’ Block.
It wasn’t super late when I cut out for the night, but it was too late for me to start a fairly lengthy layup. Tomorrow I plan on knocking out the right wing/winglet inside corner Layups #1 and #2 as a minimum, and hopefully get the left side Outside corner Layup #3 (2 plies BID + 7 plies UNI) prepped for the following day.