
My goal today was to knock out the right wing/winglet inside Layups #1 and #2, and also press forward with the prep for the left winglet’s Layup #3.
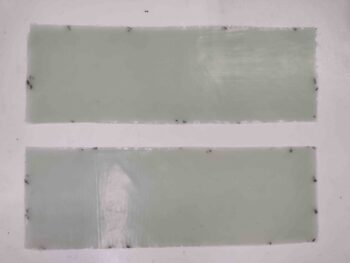
I started off by wetting out the 2 sets of prepregged 4-ply BID layups. I then trimmed the layups to size: 4″ x 12″.
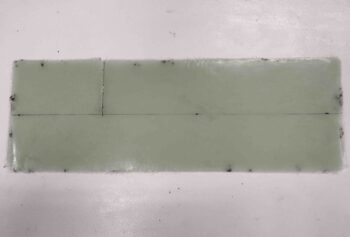
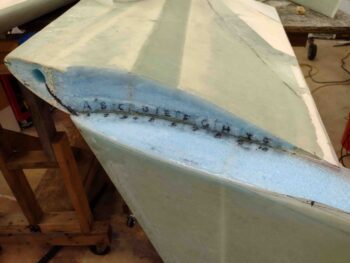
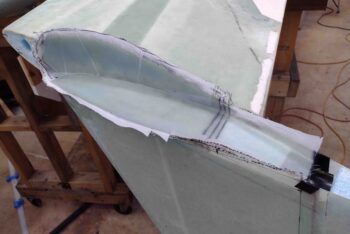
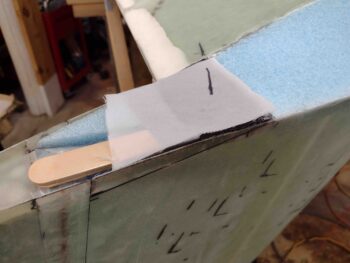
I then cut the 2″ deep slit at the position of the Shear Web. I also marked the center line of where the wing glass meets the winglet glass.
I then laid up the 8-ply Layup #1 into the wing/winglet corner joint.
I then started slathering up the foam wedges and putting them into place.
Here we have all the wing/winglet Layup #1 securing foam wedges floxed into place.
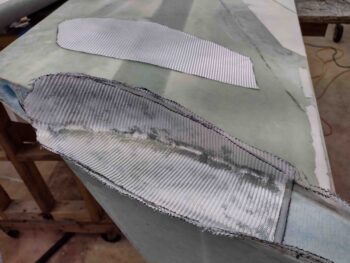
I then went to lunch and enjoyed a few hours off before coming back to the shop, cleaning up the wedges, adding some thick micro to any bare foam and then laying up the longer plies 1 and 2 of the right side Layup #2.
A bit later, here I’m adding ply 5 of Layup #2 to the wing/winglet outside corner.
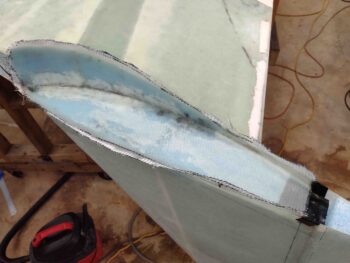
After I laid up all 8 BID plies of Layup #2 on the right side, I then peel plied it …
Here is the right wing/winglet Layup #2 peel plied.
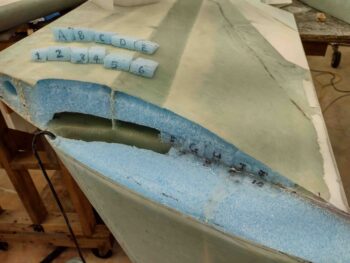
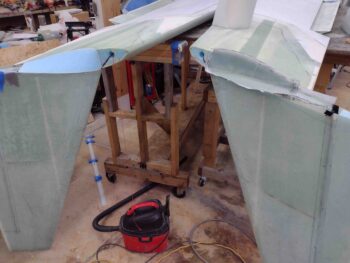
And here is a shot of the left and right winglet install progress.
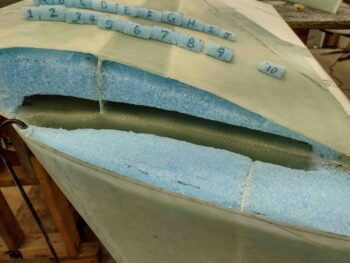
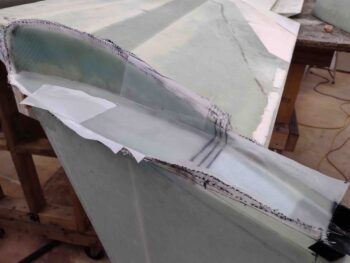
To ensure that the left Internal Rudder Bellhorn arm has a tall enough pocket to pivot in and out, I added some foam, stir sticks and tape as a mold to ensure that when the Layup #3 glass goes on that there is enough clearance for the Bellhorn arm.
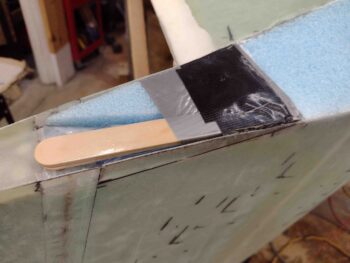
Here’s a wider view of the Internal Rudder Bellhorn arm pivot pocket mold at the aft end of the ‘A’ Block.
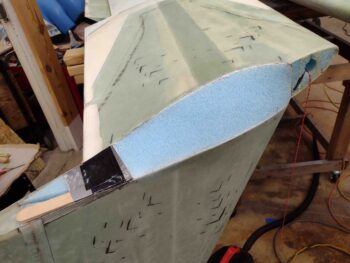
The final touch for the Internal Rudder Bellhorn arm pivot pocket mold is a piece of peel ply to help clean up the tape surface on the top of the mold.
With that, I called it a night. Tomorrow I plan on glassing Layup #3 to secure the left winglet to the left wing.