
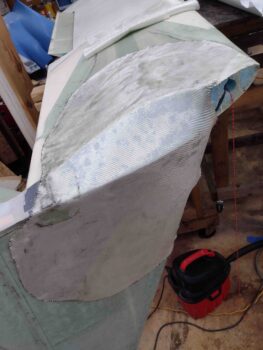
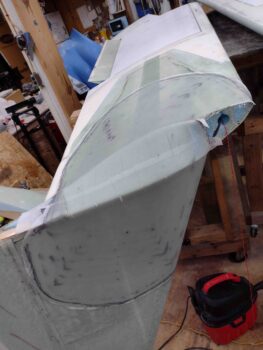
My goal today was to get the left wing/winglet outside corner Layup #3 knocked out.
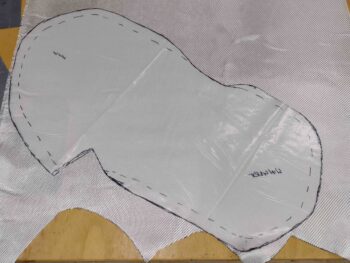
I started by using a large piece of plastic to create a pattern for the 2 large base plies of BID for Layup #3.
I then cut the plastic to create the Layup #3 BID pattern, and then used the pattern to cut the BID plies off the roll.
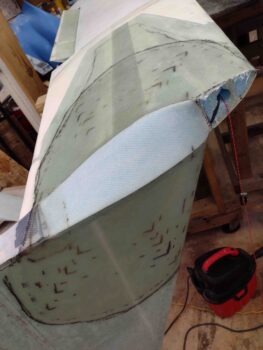
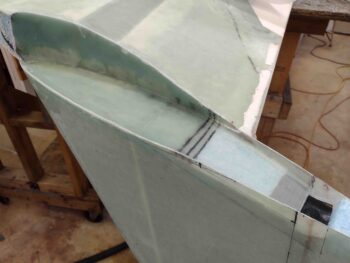
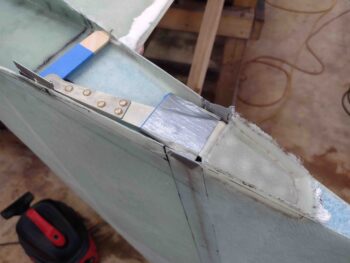
I then wetted out the peel ply over the Internal Rudder Bellhorn pocket mold. I also applied wet micro onto the shaped blue foam ‘A’ Block.

I then added a small piece of reinforcement BID over the Internal Rudder Bellhorn pocket mold. As you can see, the BID ply overlaps onto the bottom wing edge, the outboard winglet edge, and blue foam transition block.
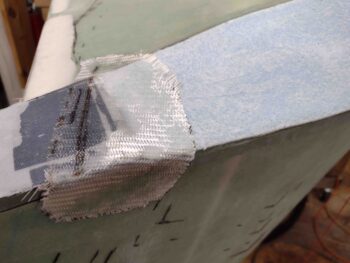
I finished wetting out the added reinforcement ply of BID over the Internal Rudder Bellhorn pocket mold, and then applied raw epoxy on the wing and winglet areas that will receive Layup #3 glass.
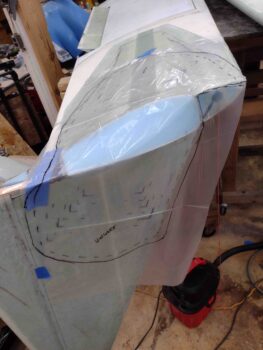
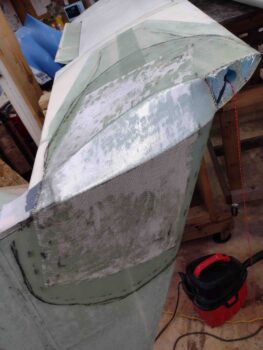
I then put in place the first large ply of BID over the wing and winglet.
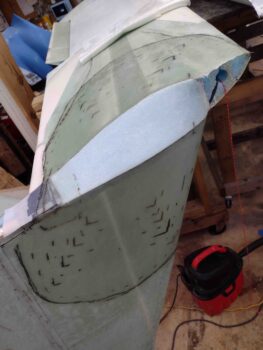
I’ll note the plies of BID seem a bit large compared to the situated UNI plies. Here I’m going to point out that the plans say to have the BID end 15″ from “the corner.” I’m not exactly sure what corner the plans are actually referring to, so I just went with the longest practical measurement. I’ll further note that the BID reinforcement plies on both the wing ends and the bottom of the winglet go fairly far inboard/up, respectively, so this 15″ BID dimension on each surface is well within the previously applied reinforcement BID layups.
Here we have the first BID ply in place and wetted out.
I then added the second large BID ply and wetted it out as well.
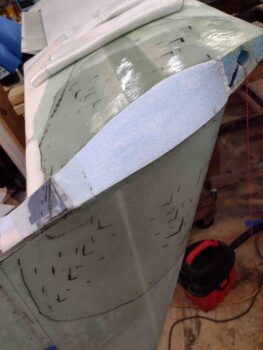
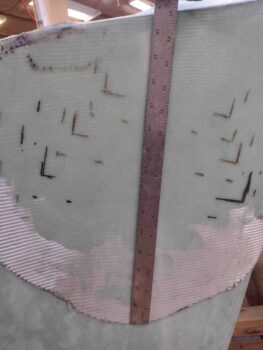
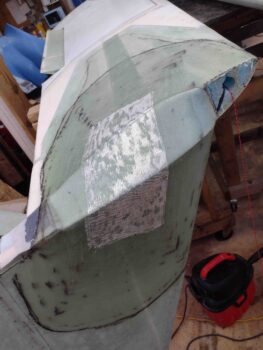
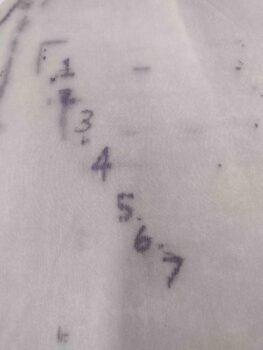
I then started laying up the 7 UNI plies. First, the large UNI ply #1 (24″ x 12″) went on… then a fair bit later I finally laid up the last UNI ply.
The left winglet outside corner Layup #3 is complete!
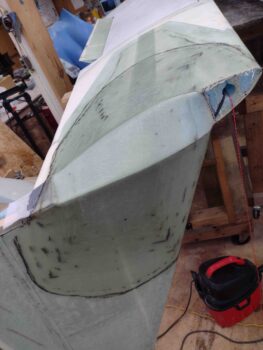
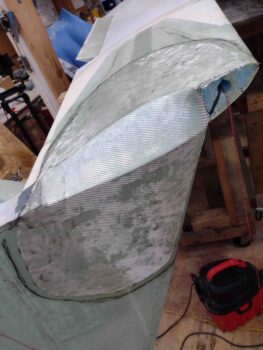
I then peel plied Layup #3.
I saw this and had to get a pic of it: All UNI plies accounted for!
After finishing up the left wing/winglet Layup #3, I then trimmed and cleaned up the right wing/winglet Layup #2.
I then got to work installing the right winglet/rudder’s Internal Bellhorn. After cutting and shaping the foam inside the forward rudder edge, I laid in 2 plies of BID and let it cure for a good bit before then floxing in the Bellhorn. I then laid up 2 more plies of BID over the top of the floxed in place Internal Bellhorn.

I of course made sure the pivot angle and elevation was set and shimmed as the right Internal Rudder Bellhorn was floxed/glassed in place.
Finally, I peel plied the BID layup securing the floxed in place Internal Bellhorn.
And with that folks, I called it a night!