
I started out today checking over my just-floxed-in-place duct/vapor box/RAM air scoop. All looked good so I proceeded to add a dollop of micro at the widest point of the RAM air scoop on top and then laid up a 1″ wide ply of BID —essentially a strap— to secure the RAM air scoop to the BL23 rib. I then peel plied the layup.

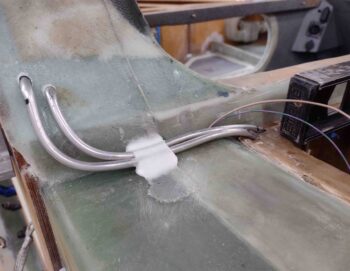
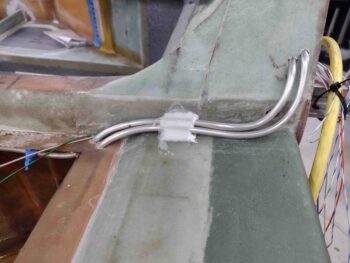
I also checked out my other dollop of micro with a ply of scrap UNI over it to hold the right fuel vent lines in place in the corner of the longeron and CS spar. I laid this up last night to cure overnight.
Remember, this area will all get covered with the upper cowling sloping shoulders.
This AM I had a bit of micro left over in the cup from my RAM air scoop securing layup, so I pushed it in and around each of the vent lines going into the turtledeck.
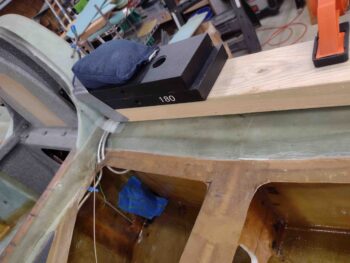
Last night I had just a smidgen of flox left in the cup so I quickly drilled holes into 3 of the 90° 3-ply brackets and floxed them up under the taped level, that was of course sitting on the cross line of where the underside edge of the strake top will sit.
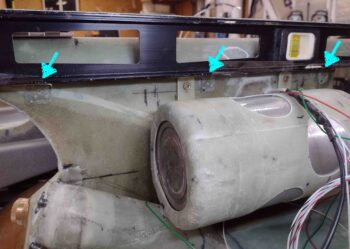
This morning I removed the tape securing the tabs to the underside of the level and then removed the level… Voila! Tabs to hold up the inside edge of the right strake top during install.
I then got busy with what turned out to be quite the layup. Also a significant feat in that this puts to bed a 6-YEAR project on this oil heat system Scoop & ductwork!
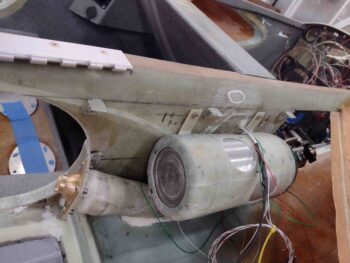
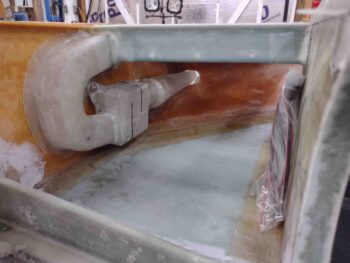
My final piece of the puzzle was to micro, install, glass and peel ply the RAM air scoop cross duct/bridge into place.
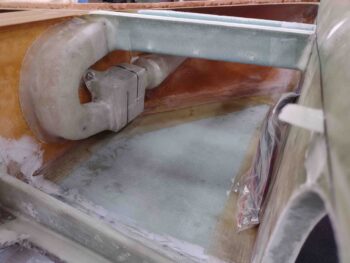
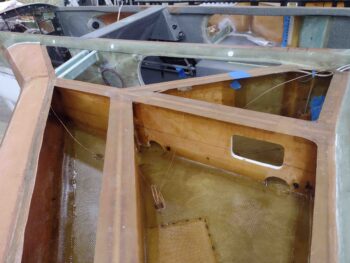
Here’s a shot of the glassed duct/bridge in place.
And yet another shot from above. I’m really happy with how the intersection with the BL23 T-hat and strake leading edge flange came out.
I still need to do some work on trimming the nose of the RAM air scoop and shaping the leading edge around it.
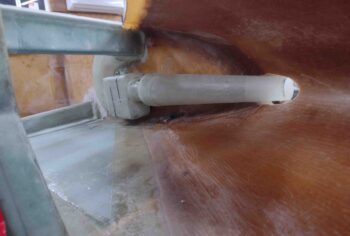
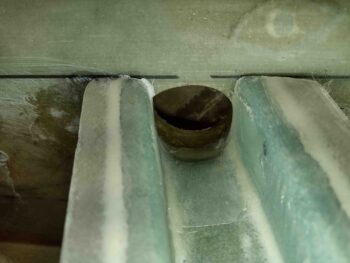
I blended the duct/bridge in with the original oil heat duct entrance through-hole on the side of the fuselage, just aft of the upper pilot’s seat.

Here’s another shot from the aft side. Again, I’m extremely pleased with how this came out.
A couple more closer-in shots of the micro and BID transition from the duct/bridge into the fuselage oil heat duct hole.
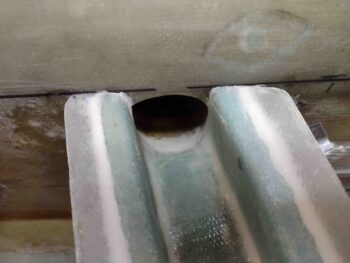
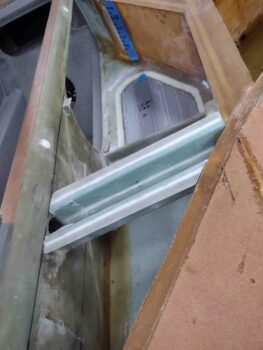
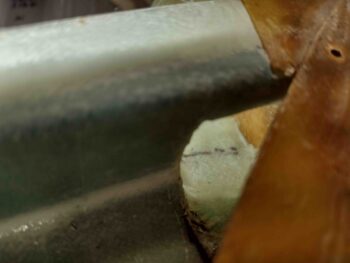
On the the other BL23 side is the where the half-circle duct terminates into the cross duct/bridge. It won’t win any beauty prizes, but its solid, smooth and seemingly air tight!
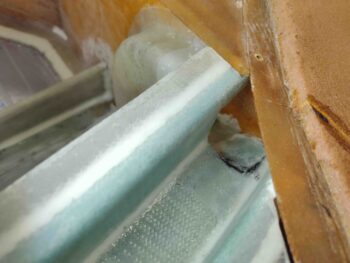
I grabbed this shot to show how the duct/bridge ties into the rest of the left strake structure.
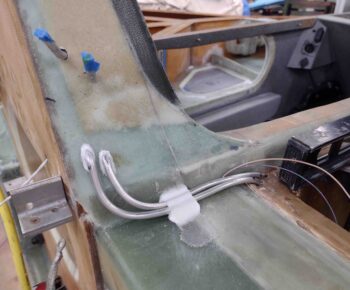
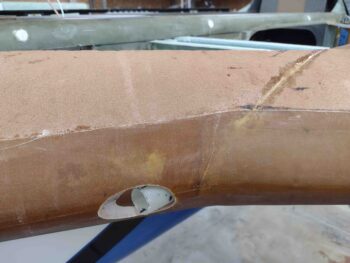
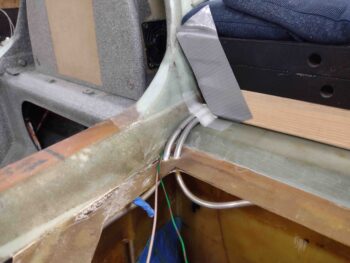
I then weighed down, micro’d, glassed and peel plied the left fuel vent lines in the corner of the longeron & CS spar like I did on the right side.
Here’s a closer shot of that deal . . .
And a few hours later when I took all the weight off and pulled the peel ply.
I’d like to refer to a couple of different lists now (yes, I’m a lists guy!) …
The first list is from a post I made in late June 2017 when I was working on the oil heat air ducts. It is a list of the remaining phases of the oil heat system. I went ahead and updated that list here using colors to denote what’s been completed and what I still have to do (i.e. valve manipulation):
- Phase II – Heat exchanger glassing
- Phase III – Ductwork interface holes drilled and valves built
- Phase IV – Ductwork installed with heat exchanger and valves in place
- Phase V – Oil pump installed & oil lines run
- Phase VI – Pilot seat area ductwork constructed and installed
- Phase VII – Instrument panel forward ductwork constructed and installed
- Phase VIII – Valve cables terminated and handles installed
The next is the strake closeout prerequisites list that I posted within the last couple weeks … let’s check that one as well to see how I’m progressing:
First, the following tasks that were completed:
⇒ O2 bottle mounting in composite sleeve
⇒ Installing main fuel tanks drain screens
⇒ Installing/glassing GIB strake/baggage compartment windows
⇒ Installing/glassing right strake GIB NACA vent duct and eyeball vent
⇒ Installing/glassing GIB strake/baggage compartment cross support mini-bulkheads
⇒ Installing/terminating main fuel tanks vent lines
⇒ Constructing/glassing/installing left strake RAM air scoop/ducts for oil heat system
That leaves these tasks to be done:
⇒ Outboard storage compartments on the top strake side initial tasks
⇒ Cleaning up fuel site gages edges (cosmetic)
⇒ Prepping/priming/painting strake baggage and final cockpit areas
⇒ Wiring and install prep main fuel tanks fuel probes
⇒ Wiring fuel site gages LED lights
⇒ Installing/glassing/wiring GIB map light
⇒ Designing/constructing/installing left/right fuel site gages video camera mounts
⇒ Wiring/installing fuel site gages video cameras
Note how many tasks on the to-do list are wiring. I’ll further note that I won’t complete these tasks until after the inside of the baggage compartment area is painted… simply because I don’t want a web of wires in my way as I paint. Nor do I want to paint all my wires that I have nicely color coded and labeled!