
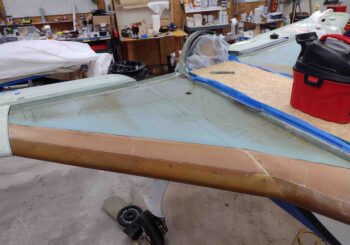
I started out today by sanding the right strake’s leading edge and top foam core in prep for glassing.
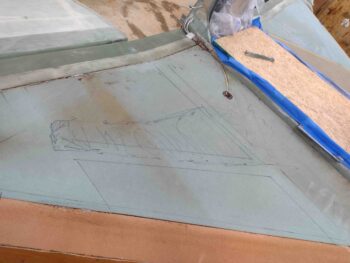
On the right I did have one significant problem area, towards the middle with a slight hump… either way, I’m sorry to report I think I’m going to need a good thick layer of micro in this area to fill in the slight depression towards the aft side of this marked area, between it and the foam top seam with the CS spar.
Here’s the right strake pretty much ready for glassing. Note that I sanded down the existing peel plied cured strake leading edge. I also Dremeled the dead flox off, and dulled the rest, on the long seam between the foam core’s aft edge and the CS spar. I also dulled up the blob of flox around the exiting fuel vents as well as the fuel vent probe wire channel and square probe flange.
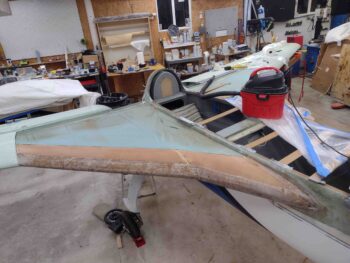
Finally, I spent a good 15 minutes cleaning up the small air intake scoop for the pilot fresh air vent at the root of the strake leading edge where it meets the fuselage. I’ll add a round of micro to this and clean it up before final glass to assess further if I need to add glass or just clean it up a bit more.
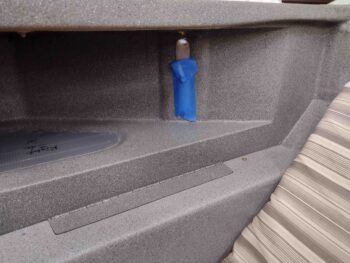
I then drilled a hole near the right fuel site gage and well forward of that to route the fuel site gage’s LED power wires. I then cut the wires and routed them through the holes… after I created a wire channel on the strake top surface.
I then drilled another hole and added another leg to the fuel site gage LED power wire to tie into that wire setup to power a trio of LEDs for the baggage area lighting.

However, just like on the left side when I hooked up the circuit I got no LED lighting on the right side fuel site gage (I think I errantly thought I had tested the circuit on the left side, but apparently did not).

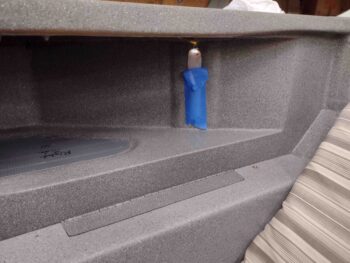
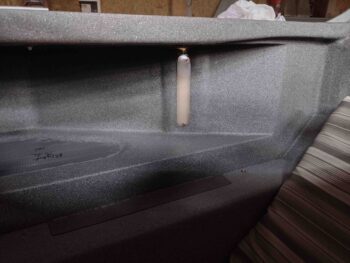
I then hooked up battery power directly to the right fuel site LED on its own with no other connection and got this:
I then tried adding in the 3 LED lights for the baggage compartment and the fuel site gage LED went out. Hmmm, interesting.
I then grabbed a new spare orange LED and hooked it up in place of the fuel site gage LED… it worked in addition to the added 3 LED lights.
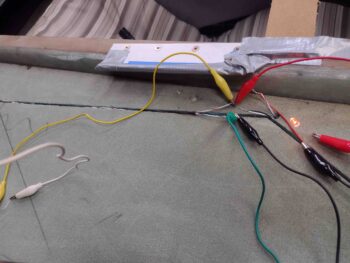
That led me to think that the fuel site gage LED has an internal resistor that I didn’t know about, and is prohibiting enough juice to get through to light it up. I have a 470-Ohm resistor in line in the circuit that powers the site gage LED light, so I took a chance on blowing the LED but to test my theory I then hooked it up to the battery without any (external) inline resistor. It fired up fine and stayed good for about the 10 minutes I had it on. This confirms to me that Vance constructed these with internal resistors. Add another resistor it seems to be fine, but then add more of a load and it’s just not seeing enough current to light up.
I then did a quick think and some quick mental math… and concluded that my parallel circuit vs a series circuit is probably causing the issue. I then hooked up 3 of the orange LEDs in series and connected them to power.
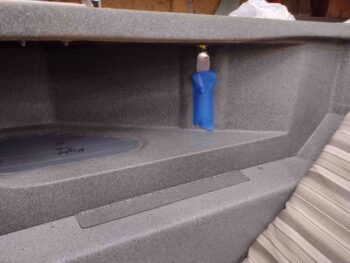
Yep, I got the LED light on the fuel site gage to light… however, it’s not very bright.
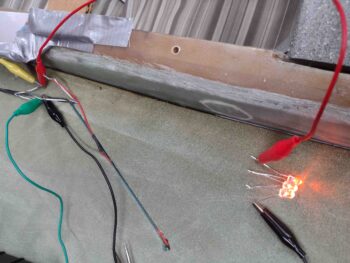
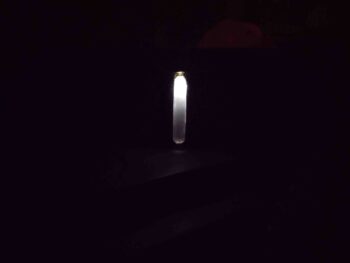
I pulled off the protective tape to see if I could see any “glow” or not… and, well, or not would be the answer Bob.
I then turned out all the shop lights and it did have a glow, but I have to tell you this is a lot brighter in the pic below than what I actually saw… it’s fairly dim.
Thus, I’m heavily considering doing pretty much the same on the right fuel site gage as I did on the left side: mount an external LED just above the clear fuel bubble.
I’ll work this LED issue tomorrow… it’s getting quite late here.
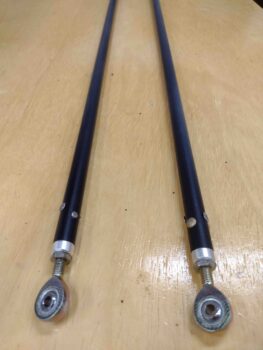
On another topic, I will note that I got back from the birthday party in the early evening. I immediately hung the taped aileron control tubes with long screws to the wing dolly outside. I then hit both aileron control tubes (CS125 & CS126) with a couple coats of clear coat. Here they are a good few hours later:


The clear coat actually cured a little grayish, but as long as they withstand normal wear & tear abuse and resist corrosion, I am good with that.
And with that, I called it a night.