
I had to get some personal stuff done today, so I didn’t get nearly as much done in the shop as I would have liked… although I did get nearly 3 hours of work in.
I started off by taping my original cardboard template to the GIB eyeball vent mount to find the best spot to drill the center hole.
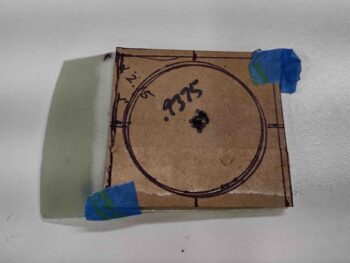
Which I then did… although I ended up skooching it over about 0.070″ to the left, as shown in the pic below.
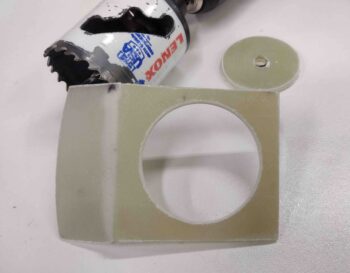
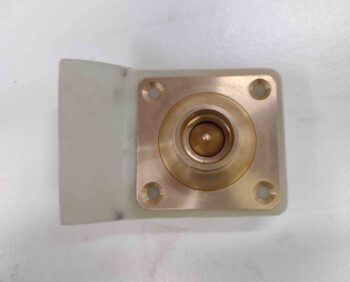
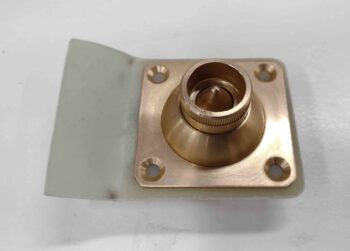
I then taped the GIB eyeball vent mount to a scrap block of wood and used a 1-3/4″ hole saw to drill out the eyeball vent mounting hole.
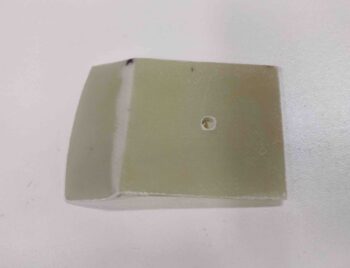
Here we have shots of both sides after I removed the mount from the wood block and cleaned up the edges.

The outside diameter of the inside eyeball vent body is nearly 1-7/8″, so I spent a good 10 minutes hand sanding the mounting hole to widen it out just a bit. I then test fitted the GIB eyeball vent into the vent mounting tab. I also rounded the exposed corners as to reduce any sharp snags to the GIB’s arms/hands reaching into the baggage compartment.
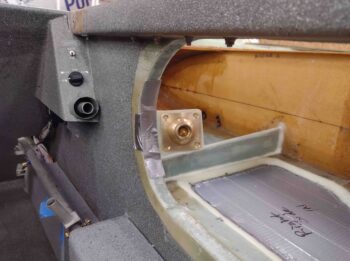
I then assessed if my original planned spot was good by taping the mounting assembly in place. My mock up confirmed that the vent is where I want it. [I actually spent a good half hour sanding down and cleaning up the glass on the mini-bulkhead layups prior to proceeding with my GIB air vent mount mockup].
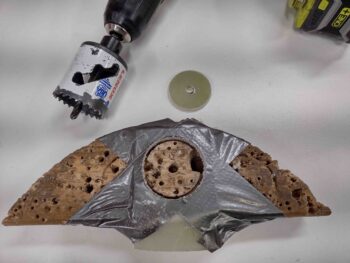
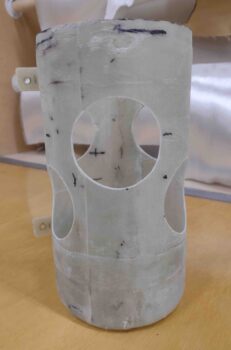
Tomorrow I’ll work more on the GIB air vent mount and ductwork, but before I left the shop I went ahead and drilled a few lightening holes in the O2 bottle mounting sleeve using a 2-1/4″ hole saw. It only reduced the overall weight by just under an ounce, but like Burt says: every gram of weight reduced is a good thing!
I’m inching closer to being done with all these strake/baggage/tank prerequisite tasks in order to close out the strakes with the top skins.