
Today I focused primarily on constructing the duct between the GIB eyeball vent mount and the NACA scoop (on bottom strake skin). My plan was to accomplish this in 2 phases.
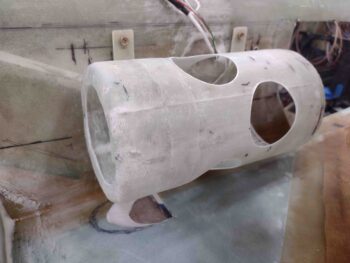
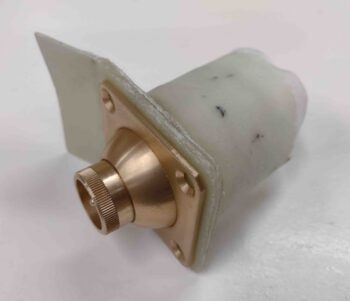
With the angle of the eyeball vent pointing at the center of the GIB there is a slight dogleg required in the duct, so the first phase was simply to create a duct tube coming off the aft side of the GIB eyeball vent mount. I taped up a paper towel roll and biased it a bit so it was angled slightly inboard and slightly down.
For the glass —both UNI and BID— I simply dug into my scrap pile for the 2-ply layup to create the duct.
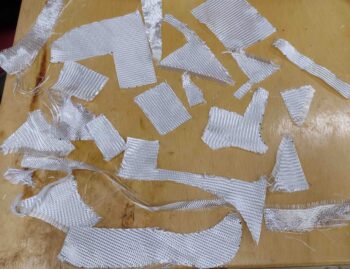
I laid down a 2″ ply of peel ply first, then laid up 2 plies of glass using my scrap glass. I then peel plied the outer surface of the duct.
While the GIB vent duct layup cured, I cut the last lightening hole in the O2 bottle sleeve mount on the aft end. I then installed the mounting sleeve in the bird.
I then slid the O2 bottle in place to see how it looked.
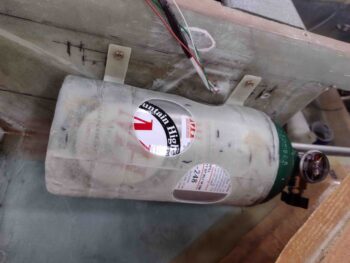
Here are a couple shots of the lightening hole at the aft end of the O2 bottle mounting sleeve.
I’ll note that this fiberglass O2 bottle sleeve mount is way lighter than the metal band system that came with the O2 system from Mountain High. I’ll have final comparison weights once I get the velcro straps attached to the front end for securing the O2 tank in place.

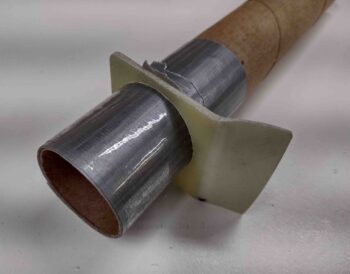
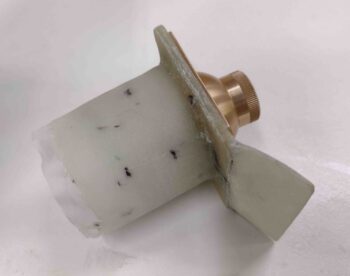
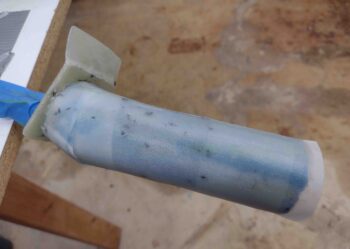
A few hours later, I pulled the peel ply and razor trimmed the added duct segment on the GIB eyeball vent mount.
Here’s a couple more shots of the added duct segment on the GIB eyeball vent mount.
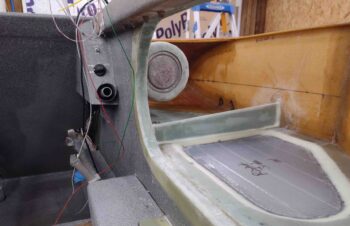
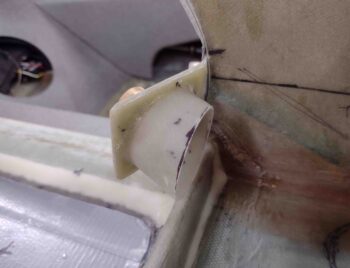
I then took some time to figure out the angles I needed to get the duct from this mount down to the NACA scoop. After my assessment, I then marked the added duct segment to be trimmed.
After I trimmed the added duct segment on the GIB eyeball vent mount, I mocked it up in place inside the fuselage.
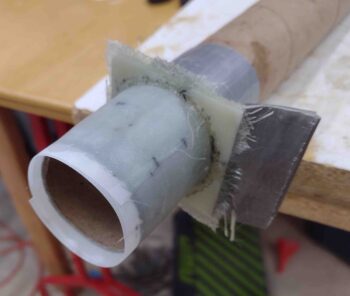
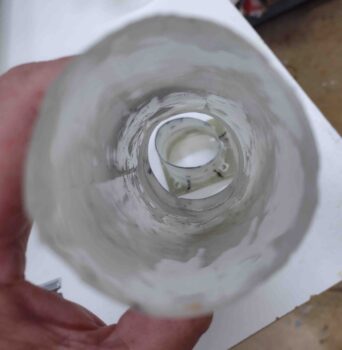
I then spent a good hour+ creating a mold for the second segment of the duct that will connect to the NACA scoop… Phase 2. After I glassed it (using scrap glass), I then peel plied it.
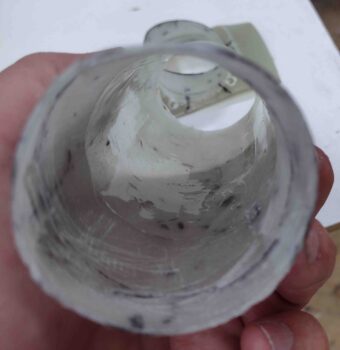
Again, a few hours later I pulled the foam mold, tape and peel ply to reveal a fairly decent duct segment.
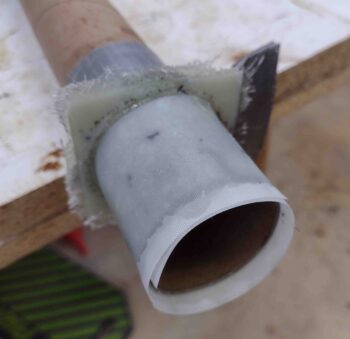
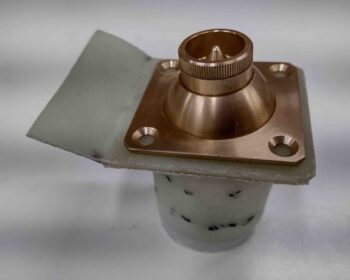
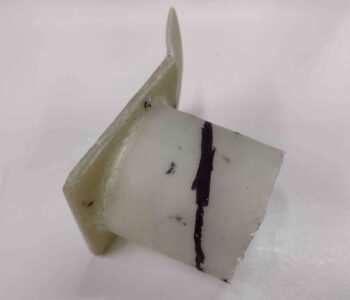
And here’s a shot from the other end… note that I drilled the 4 screw holes in the GIB eyeball vent mount flange.
I actually floxed and glassed the two pieces above back together but failed to get a pic of it… I’ll grab one tomorrow as I hopefully finish installing the GIB fresh air eyeball vent and duct (Phase 3).