
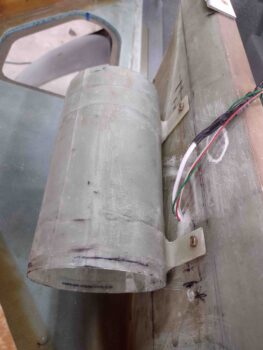
Starting off, I grabbed one more shot of the O2 bottle mounting sleeve to show the tabs attached to the sleeve.
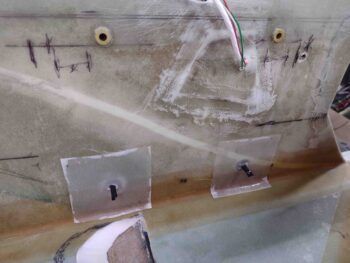
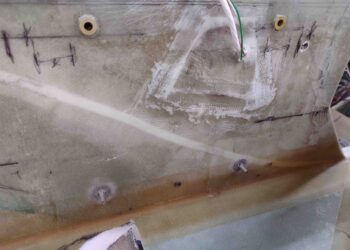
After some sanding, cleanup and prepping of the Clickbond threads with black electrical tape, I then whipped up some MGS 335 with fast hardener to first make flox to add a small fillet around the edge of the Clickbonds, then wet out the 2-ply BID patches to secure the Clickbonds to the fuselage sidewall. I then peel plied the BID patches.
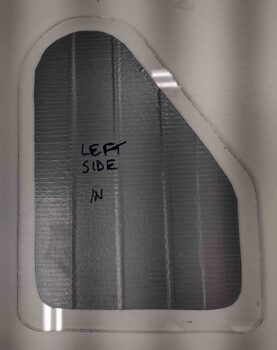
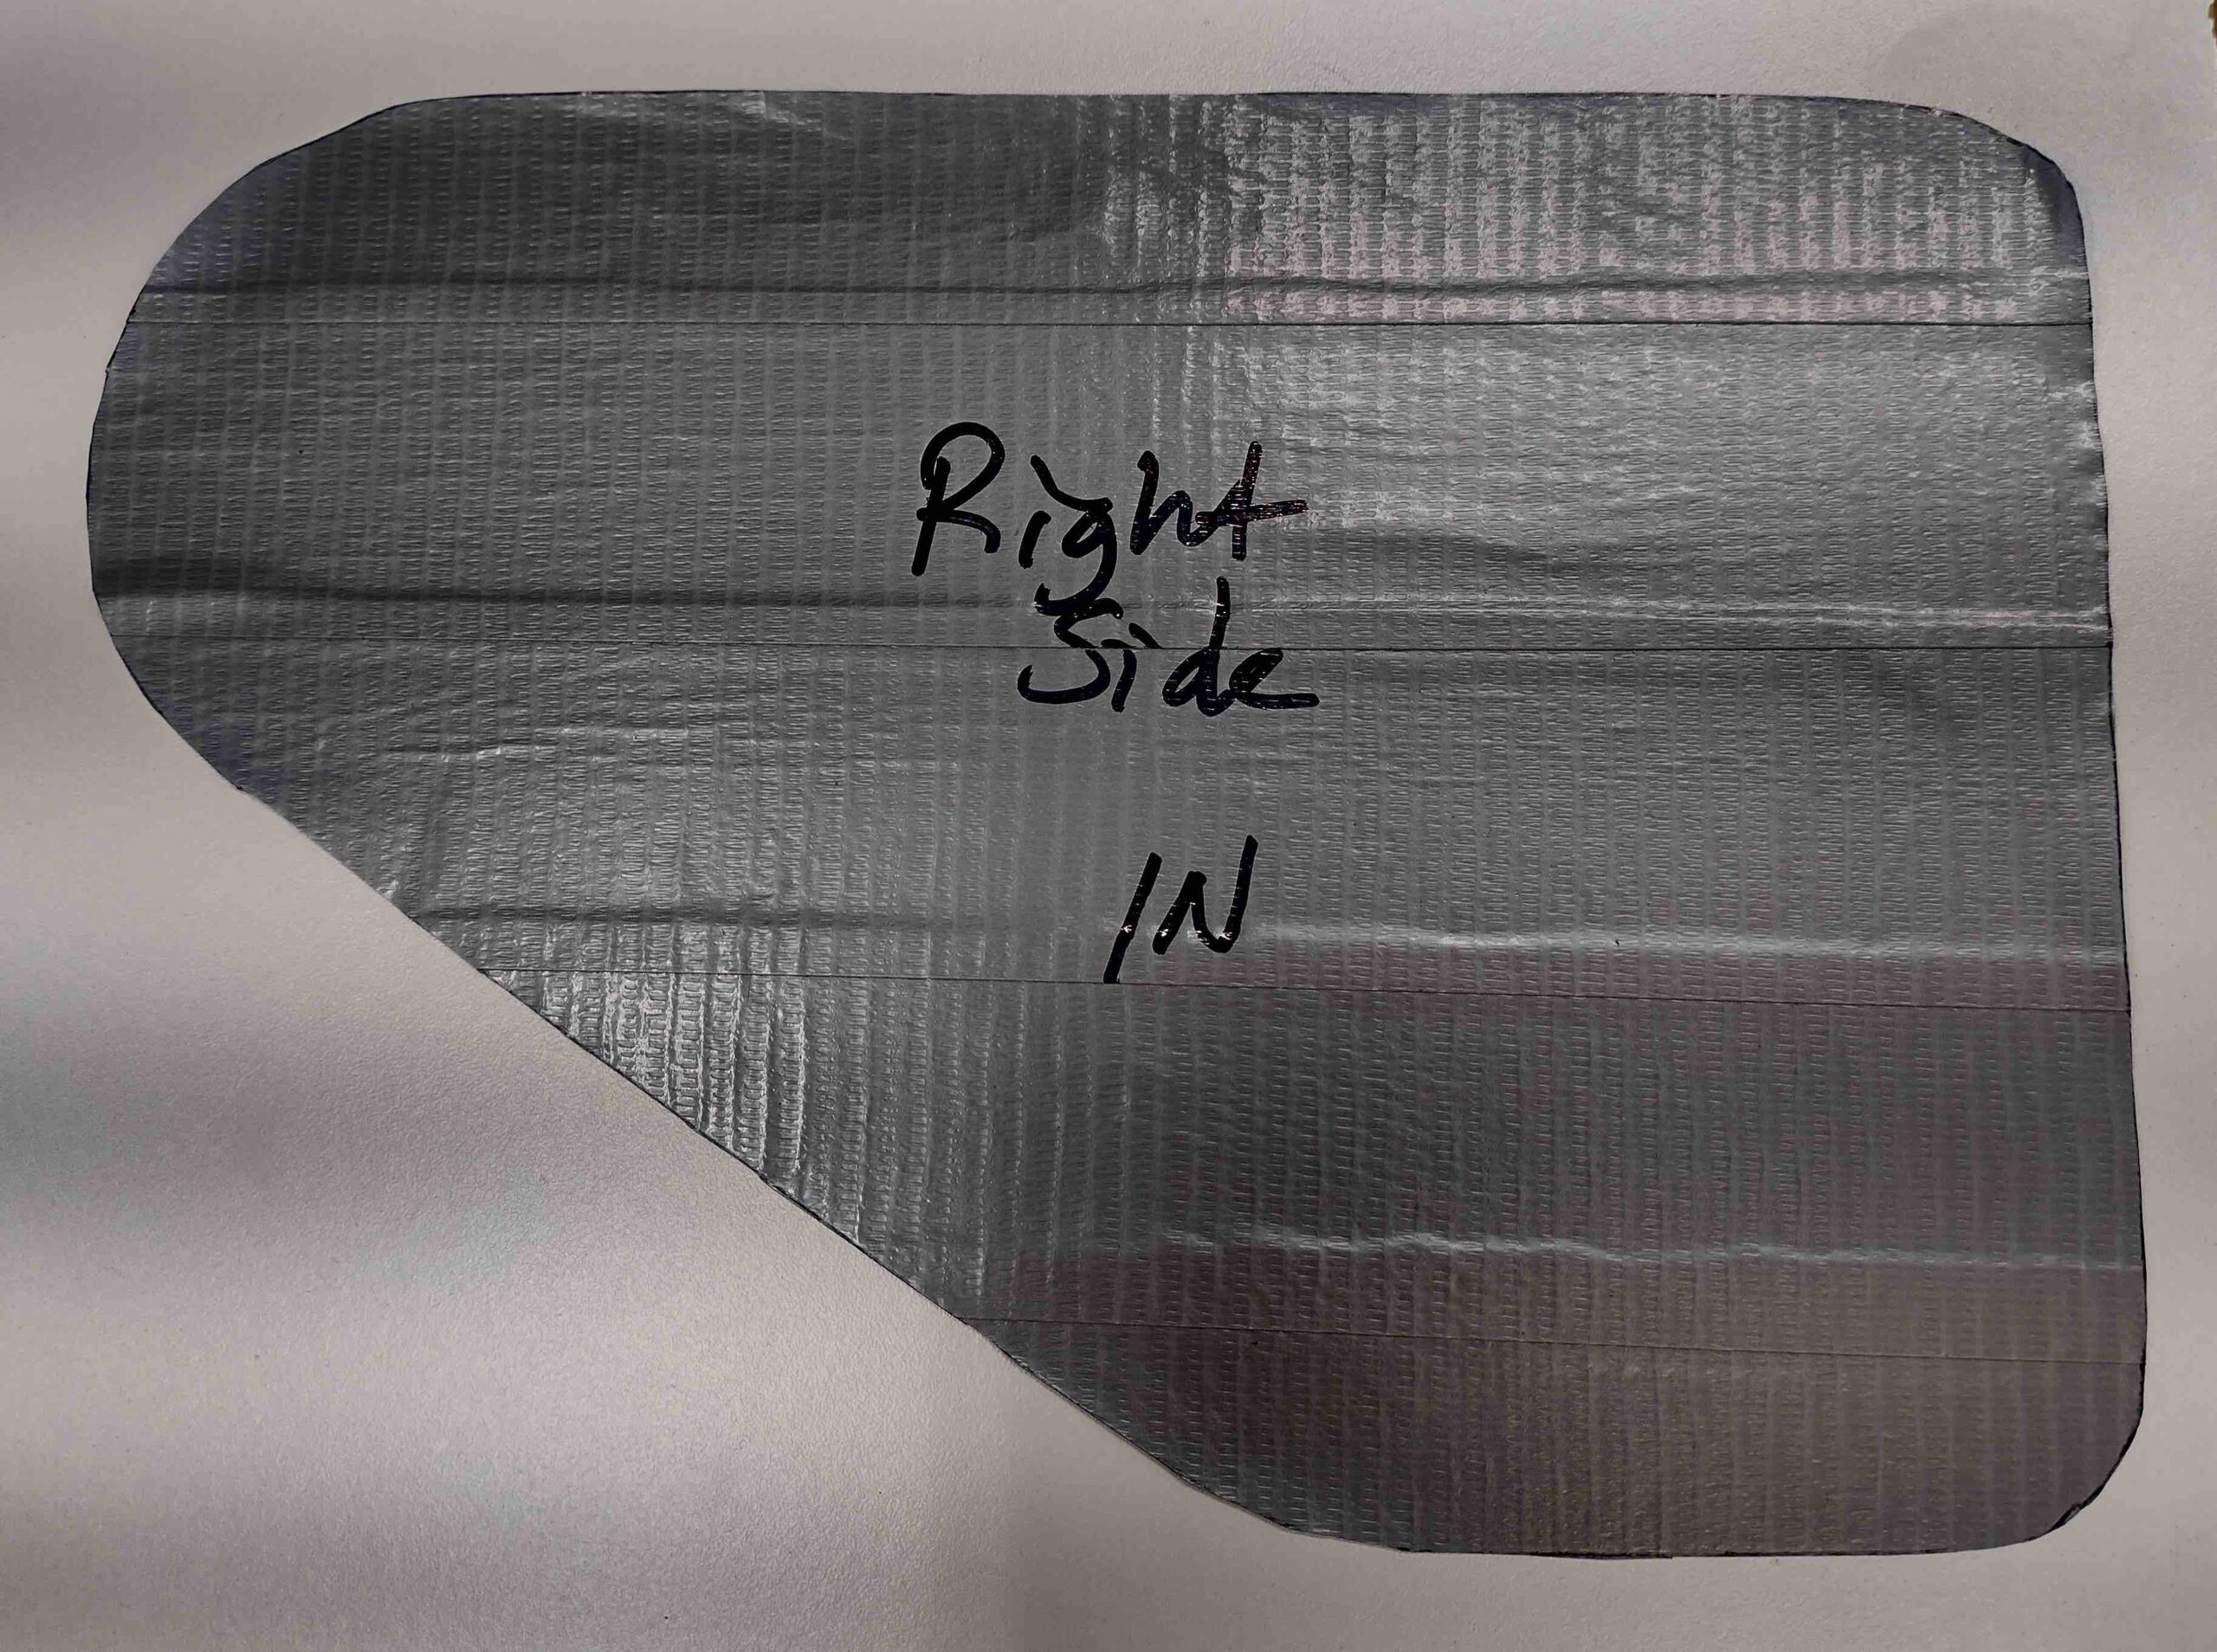
I then marked and trimmed (see right window pane below) the left side GIB strake window pane. Pressing forward, I used my template to mark and cut out a 2-ply tape protective cover —blue painters tape first, then grey duct tape. Here it is ready to be applied to the inside surface of the strake window pane.
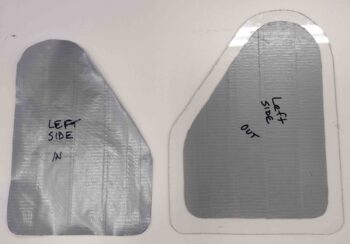
And here it is applied to the inside surface.
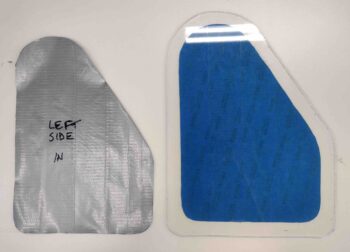
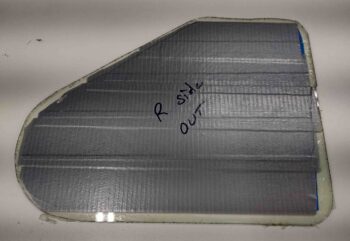
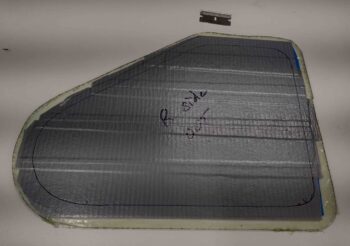
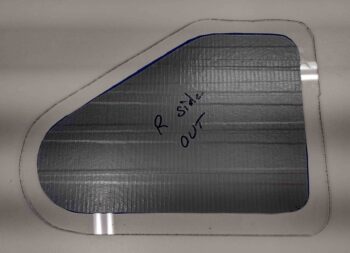
I then applied the same 2 plies to the outside of the right strake window pane. Note that it’s not trimmed yet.
I then set the right strake window in place… note the blue tape.
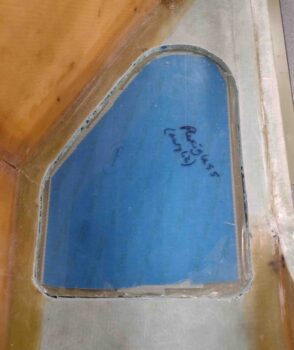
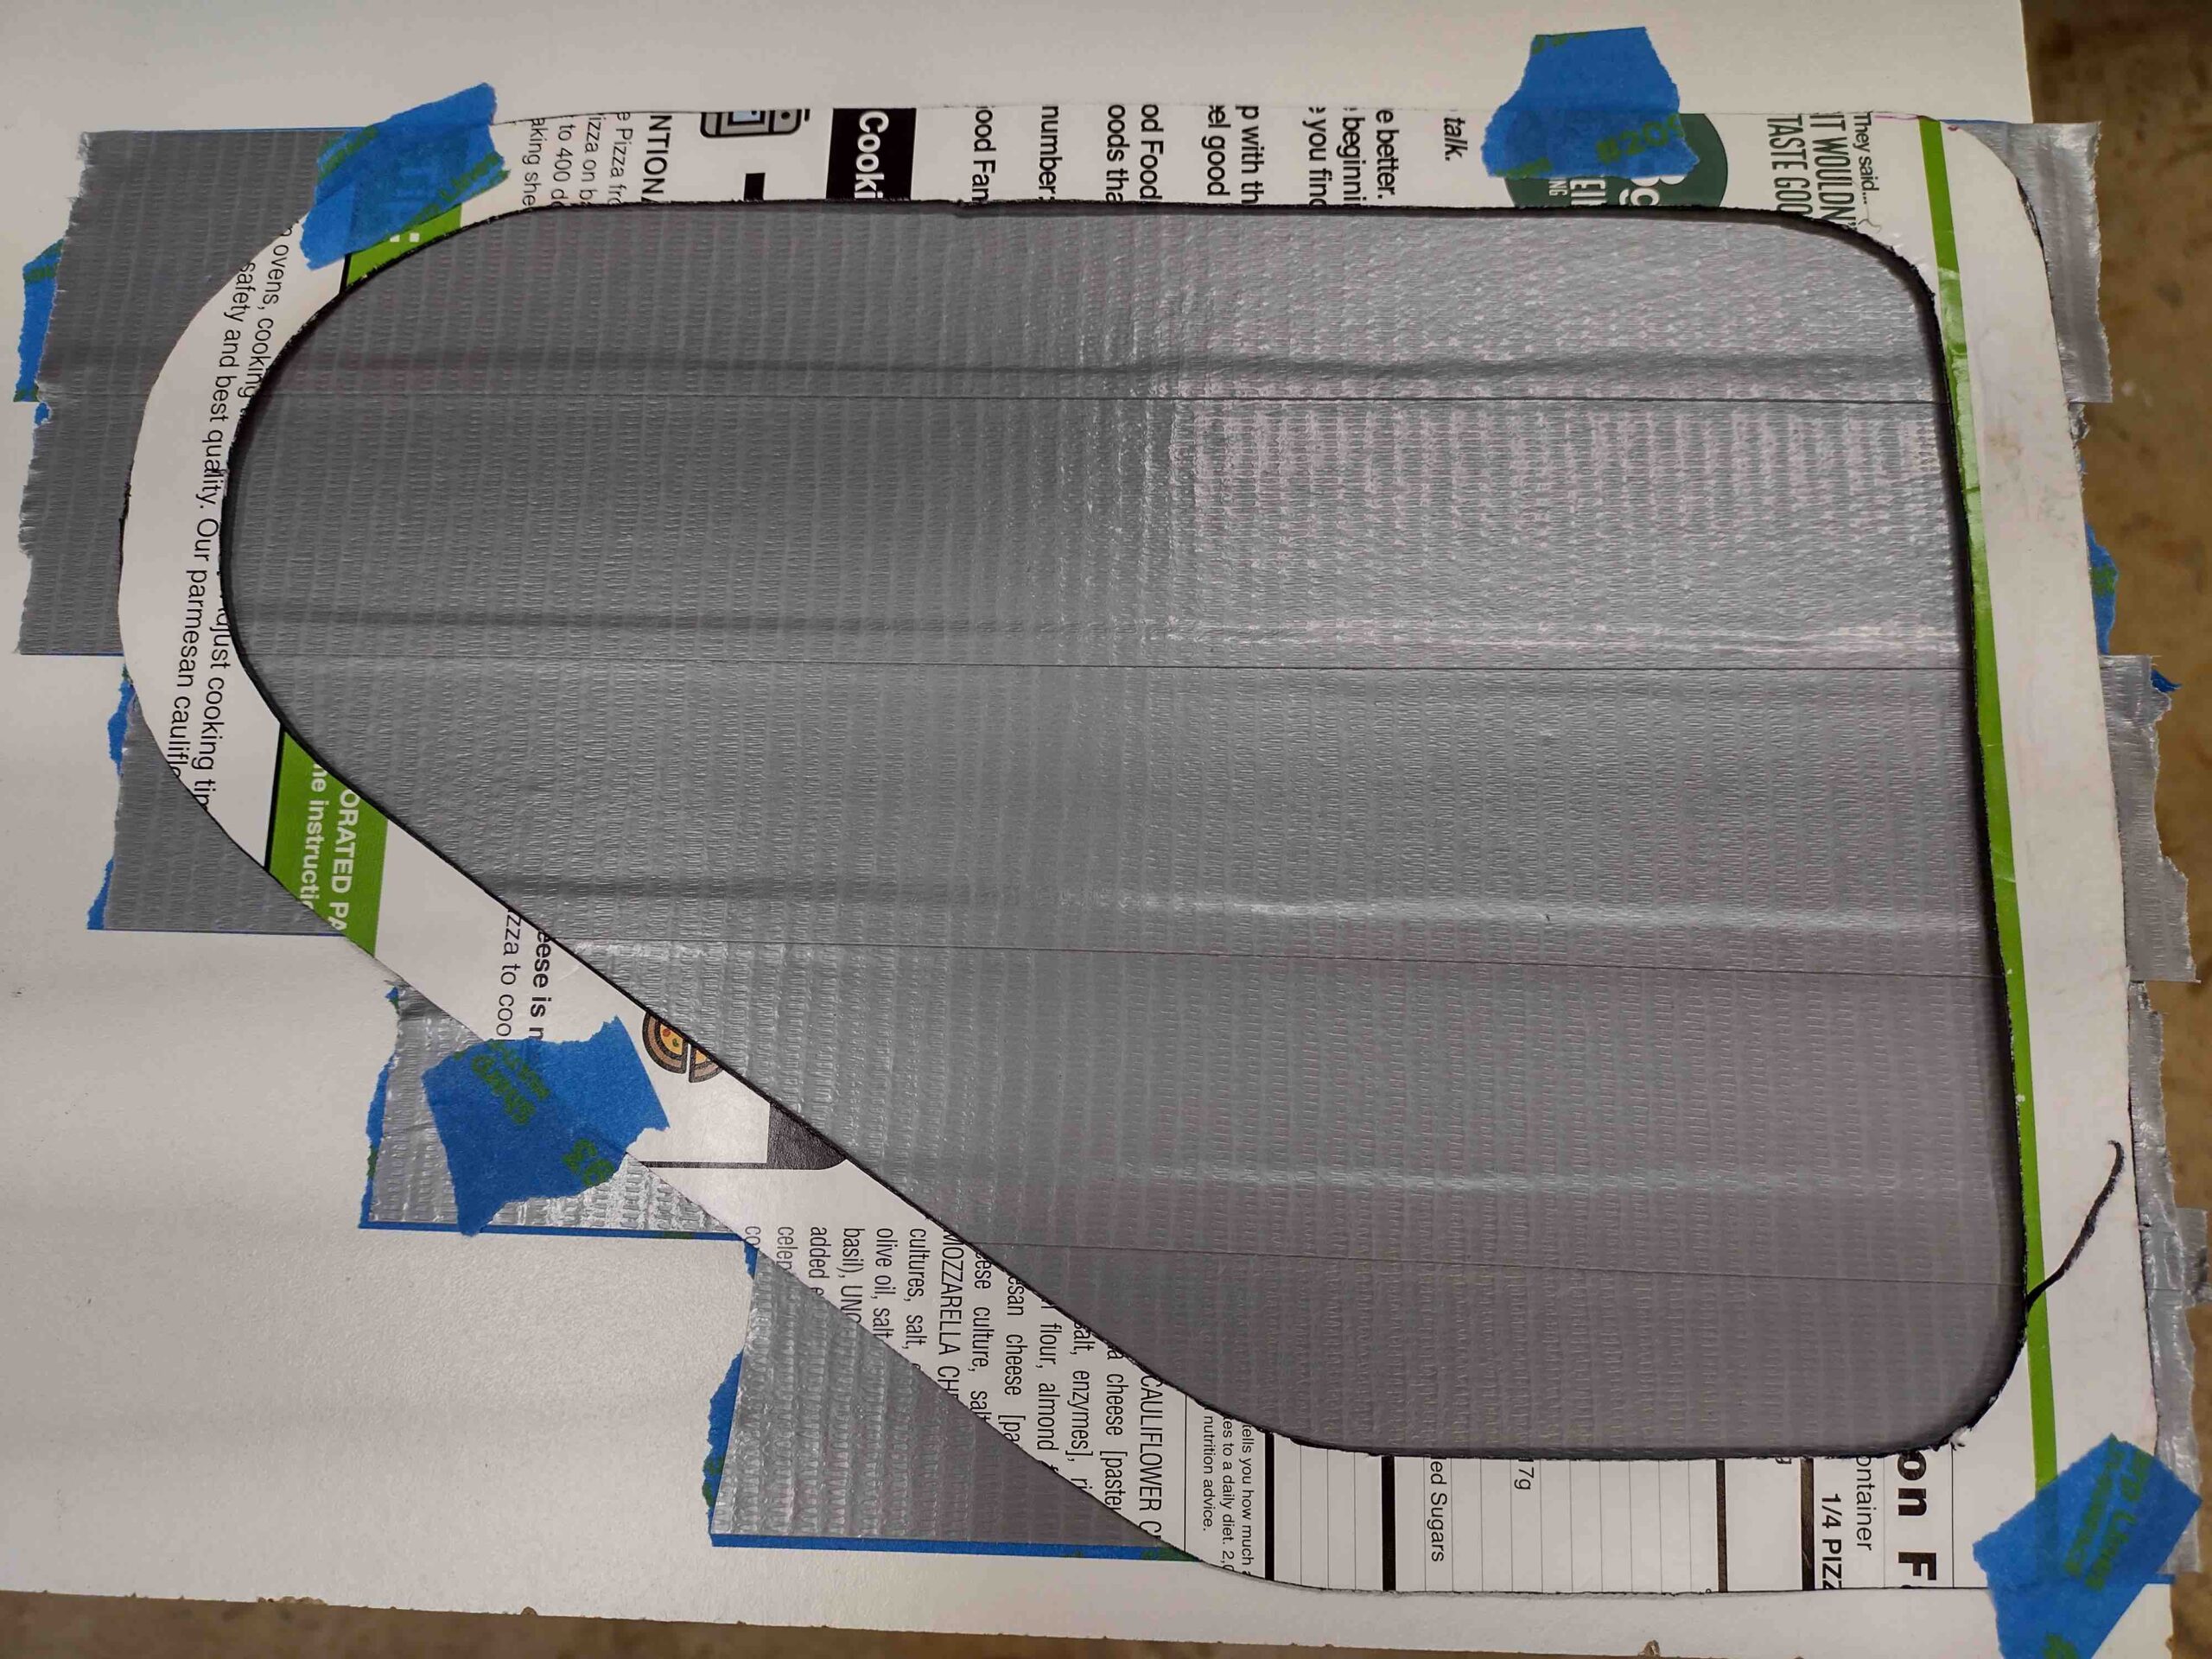
I then marked the perimeter of the strake window frame with a Sharpie.
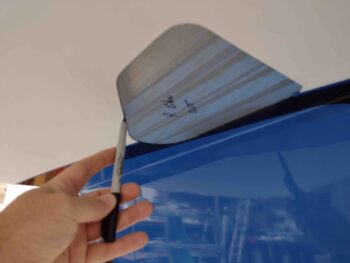
I then used a sharp razor blade to cut along the marked line to remove the perimeter edge tape.
As above on the left side, I laid the 2 plies of tape down on a white board and used the template to mark the inside protective tape sheet. I then used scissors to cut the along the line.
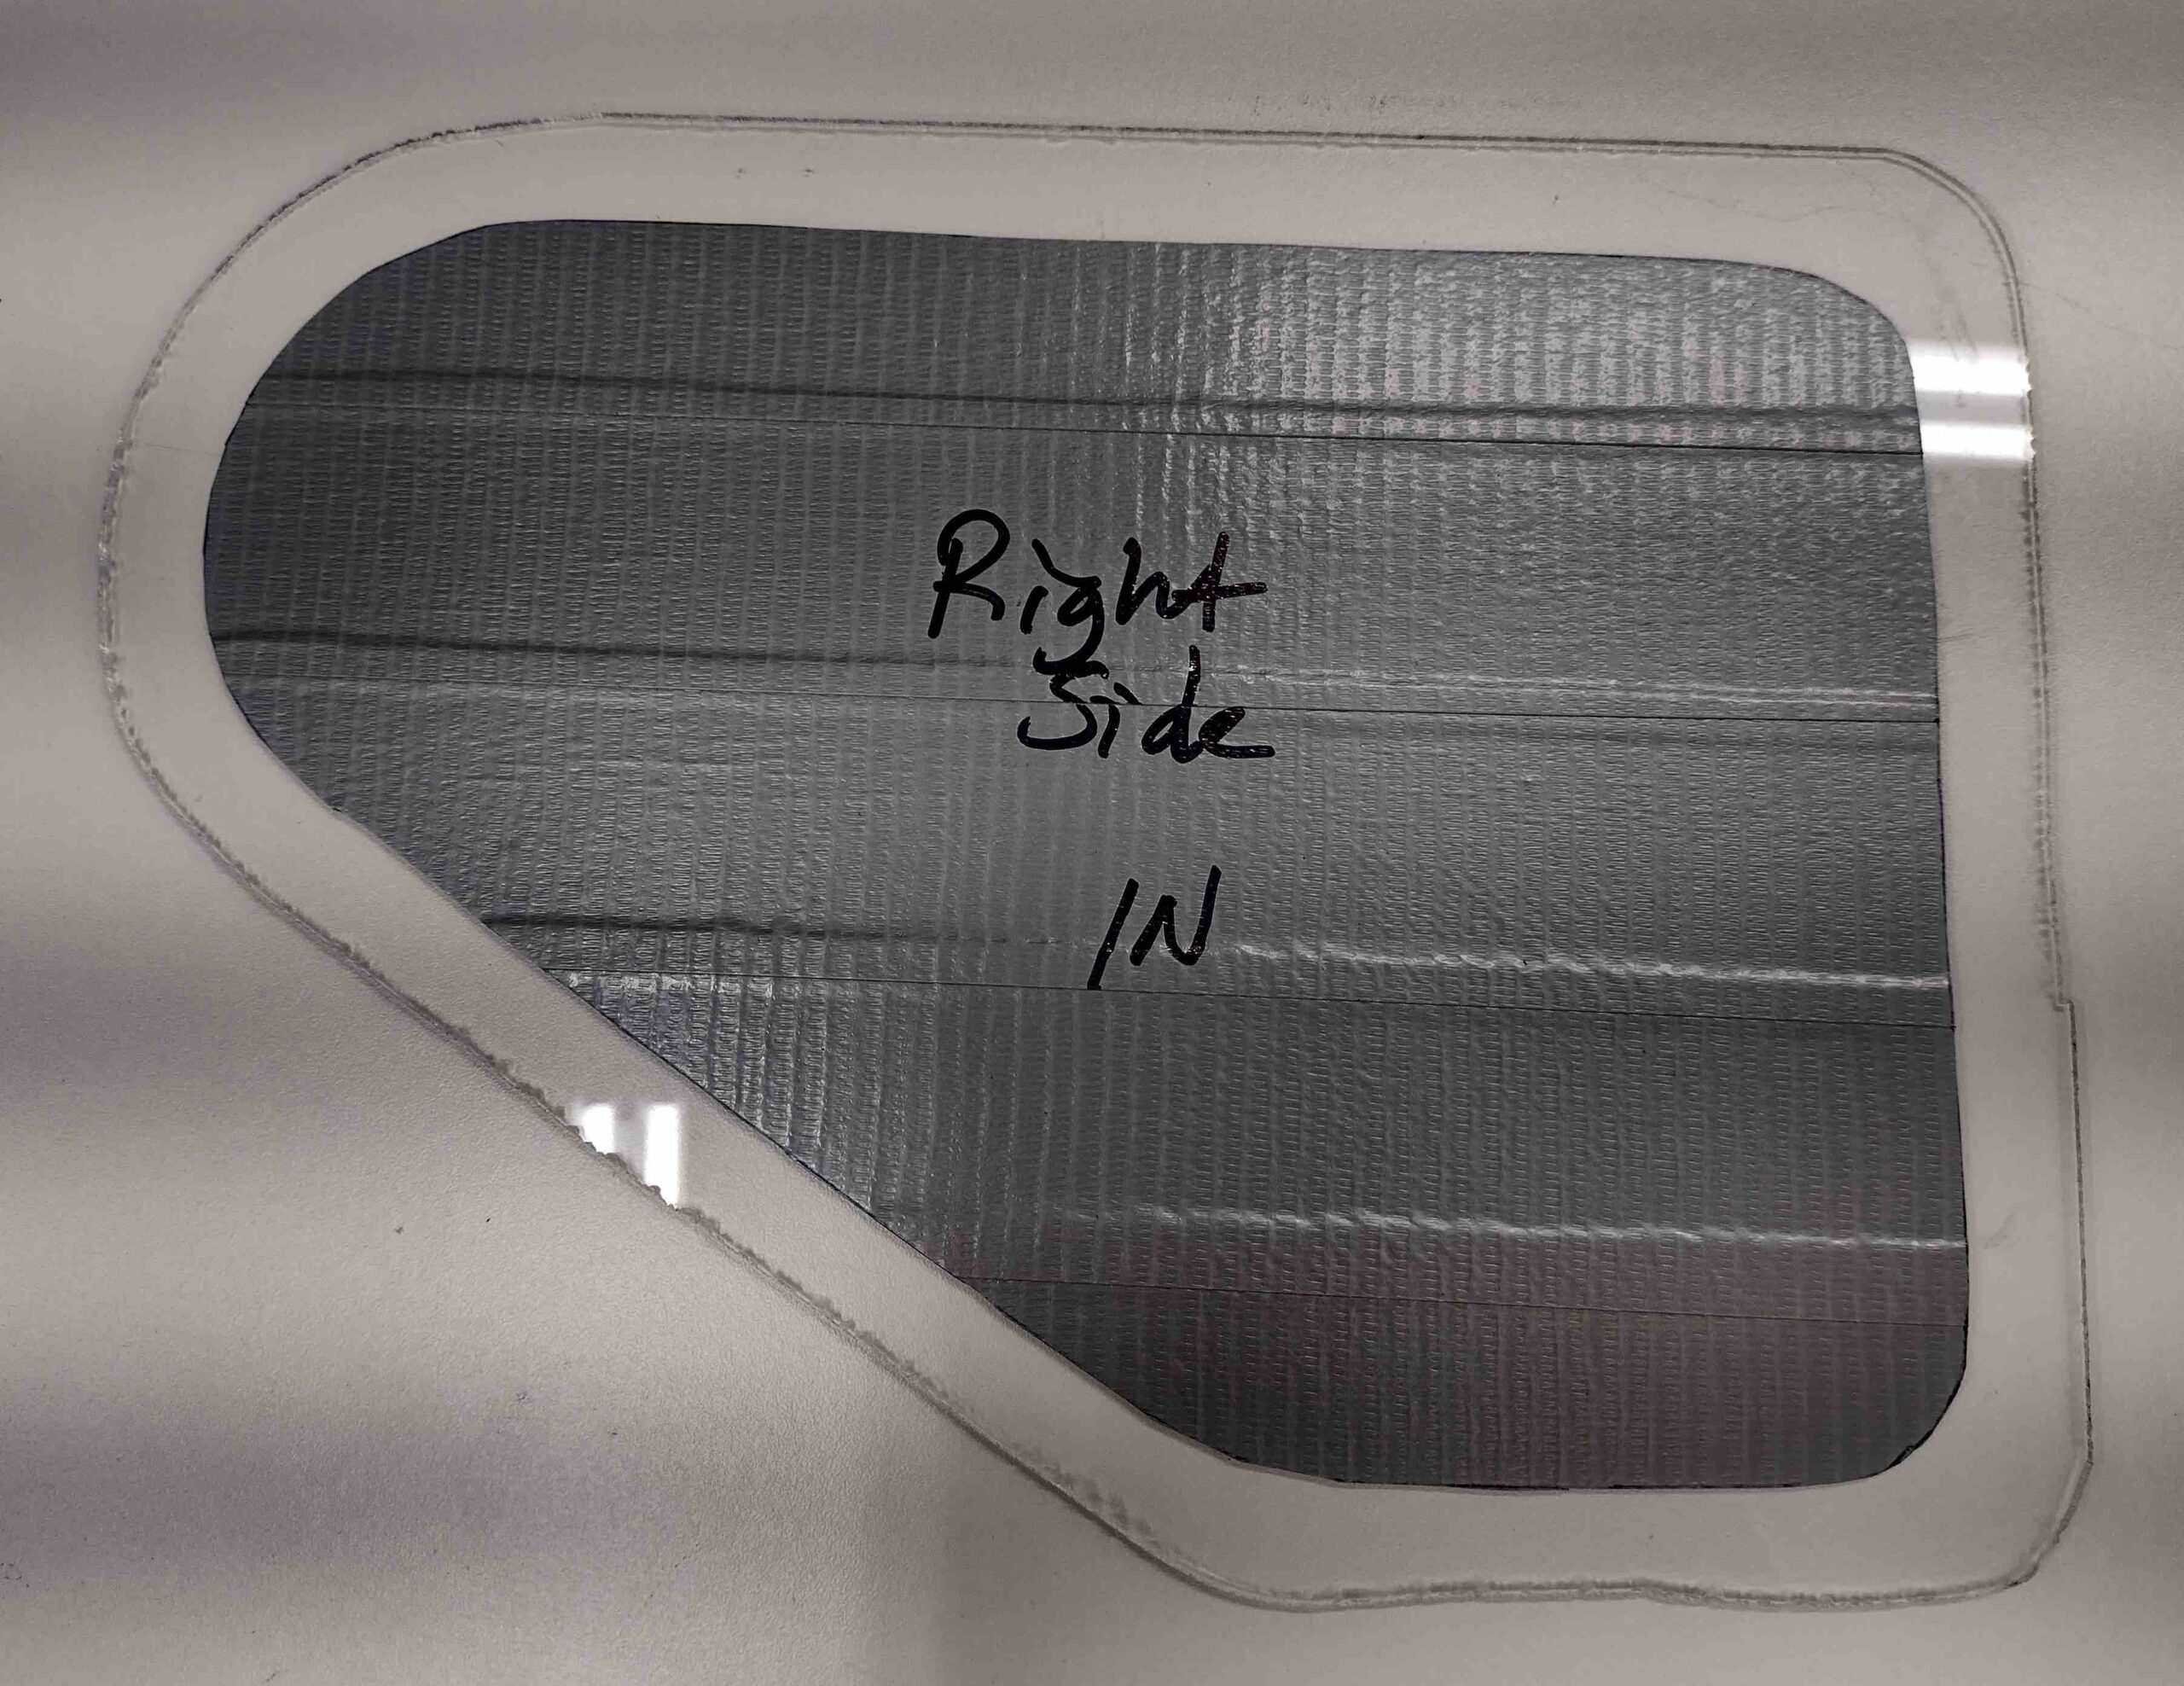
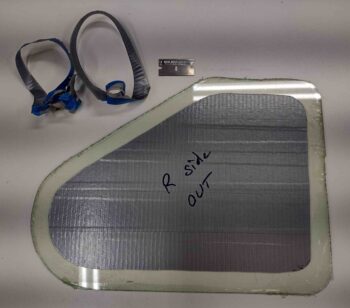
Here we have the right strake window pane with both sides taped up.
A few hours later I removed the protective electrical tape off the threads and the peel plied from the Clickbonds.
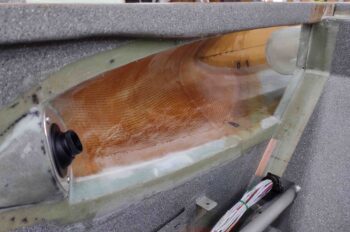
I then temporarily remounted O2 bottle mounting sleeve and grabbed a shot of it from the front seat into the strake baggage area.
This will be the last post until next week, since tomorrow I’ll be heading out to Rough River with my buddy Marco.