
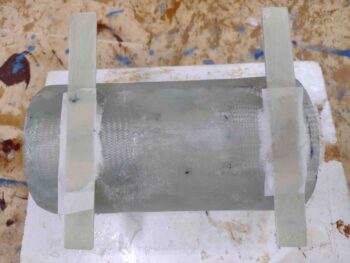
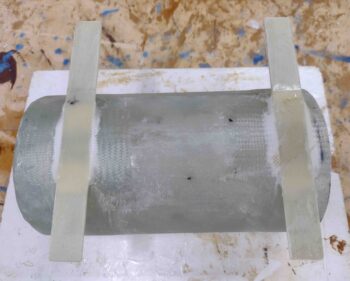
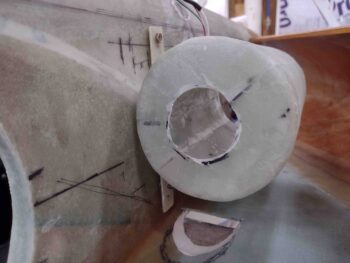
Today first thing I started off by adding a single ply of BID over the “backside” of the O2 bottle sleeve mounting tabs where they attach to the sleeve. There’s a decent amount of glass holding the ‘front’ face of the tabs to the sleeve, but I wanted one bit more on the “back” to help secure these tabs in place. The bottle is decent size & weight, and especially with any G forces applied during flight I just want to have a little bit extra insurance that it will stay right in place.
I added dry micro fillets/transitions at the edge of the tabs where they met the sleeve body, and then I peel plied just the face of the tab where it would rest against the sidewall of the plane.
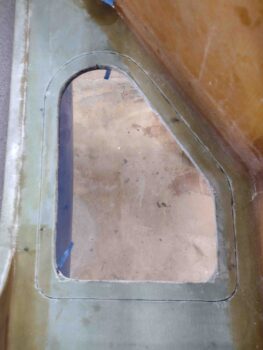
While the O2 bottle sleeve mounting tab layups cured, I then got busy cutting out the interior perimeter edge of the left strake GIB window. Here’s the requisite BEFORE shot:
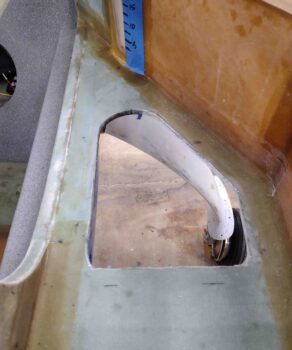
I then taped my GIB strake window template in place, marked the cut line, cut the line, and then removed the foam and glass…
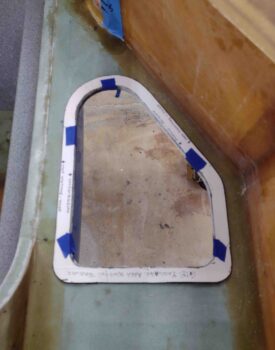
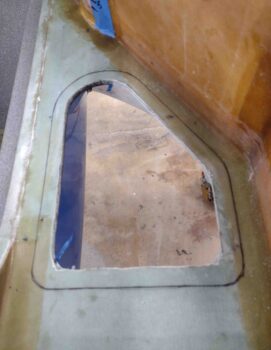
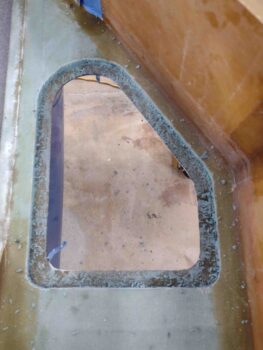
I then took a few minutes to give the freshly exposed left GIB window perimeter glass edge a good cleaning off… removing the dead foam and scraping off epoxy residue.

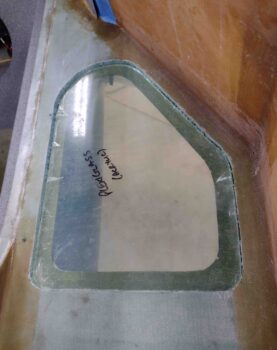
I then test-fitted the 1/8″ thick plexiglass pane into its spot… fit like a glove!
By this point, the MGS 335 resin with fast hardener was nearly fully cured. I pulled the peel ply and cleaned up the layups on the “backside” of the O2 bottle sleeve mounting tabs. Not shown is then I marked and drilled a 3/16″+ hole in each of the tabs to allow for AN3 bolts on the top tabs going into embedded RivNuts, and ClickBonds on the bottom tabs.
I prepped the respective RivNuts (top) and Clickbonds (bottom). I then determined and set the final position of the O2 bottle sleeve mount to allow me to drill the top holes for the embedded RivNuts.
I then whipped up some as-wet-as-possible flox using MGS 335 with fast hardener, and set the O2 bottle sleeve mount in place with both the 2x RivNuts secured in the top tabs and the 2x ClickBonds secured in the bottom tabs.
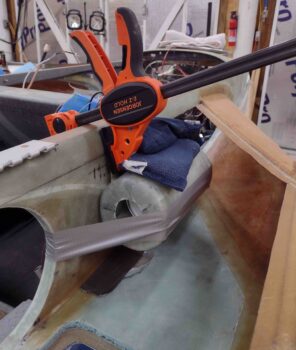
Because of the very slight curve of the fuselage I had to clamp the only top tab I could get to, the aft one, to fully seat the RivNut as far as possible into the embed hole. This caused the bottom tabs to pop outboard away from the fuselage side, so I had to weigh down the entire O2 bottle sleeve. I also needed a bit of duct tape to help press in the top forward RivNut as well. But in the end, my Frankenstein securing method worked!
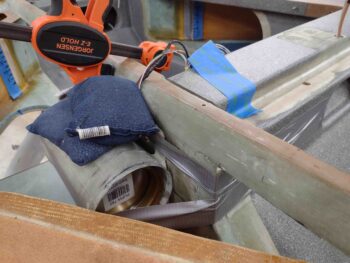
After nearly 4 hours I pulled the clamp and impromptu weights off the O2 bottle sleeve and removed it. The flox that had invariably oozed out around the RivNuts and ClickBonds was just barely pliable enough to allow me to remove it with a razor blade and some elbow grease.
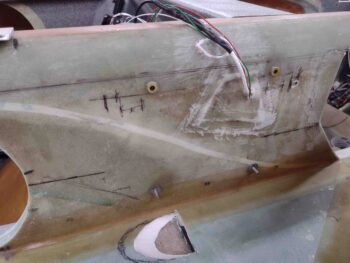
Here we have the result: the top two hard points, the RivNuts, are ready to go after another good 12 hours of cure. On the bottom I’ll add 2-3 plies of BID over the ClickBonds to secure those in place.
I then set the O2 bottle mounting sleeve back in place to double check my fit. I’m really happy with how this is turning out so far.
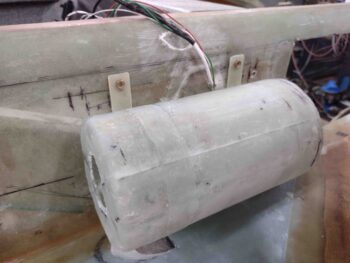
Because of the angle and tolerance, I’ll need to run the drill through the bottom holes in the mounting tabs to make them just a hair bigger to allow them to slide over the ClickBonds without imposing any side or twisting forces on them.
I’ll clean up the lightening hole on the aft end of the O2 bottle mounting sleeve to make it symmetrical and nicer looking, as well as add some lightening holes in the center area of the sleeve as well.