
This first task I knocked out the first night back from Reno, with a 1-ply BID layup on each seam inside the O2 bottle sleeve mount. I then peel plied the layups and left them overnight to cure.
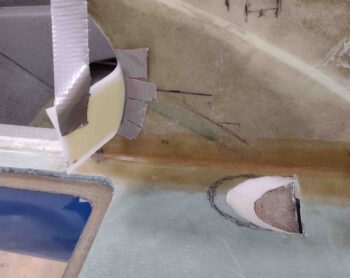
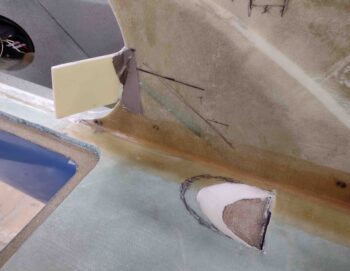
Here, a couple days later, I started on the GIB direct fresh air NACA scoop by further deciding how I was going to tackle this beast… with a bit more refined plan. I’m going to use a direct aluminum tube glassed at each end: one side here at the NACA scoop, and the other at the eyeball vent mount. With the angle of the tube, I reduced down the interior slope area of the NACA scoop… denoted below with the new cut line.
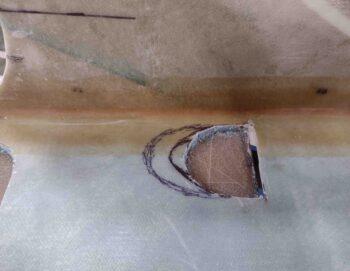
Which I then cut just the glass away, then shaped the underlying foam. I also gave the interior bottom glass of the scoop a good sanding as well. I then laid in dry micro and peel plied it to help shape it. Once cured, I’ll sand to final shape and contour.
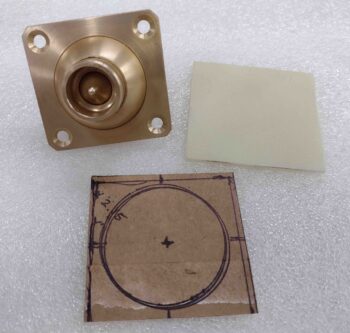
I then got busy designing the GIB direct fresh air eyeball vent mount, using cardboard as a template to then cut out the eyeball vent mount out of G10 phenolic.
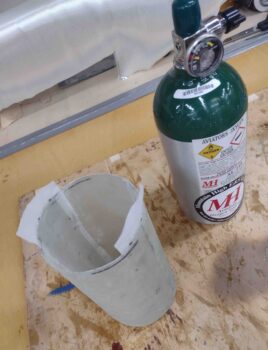
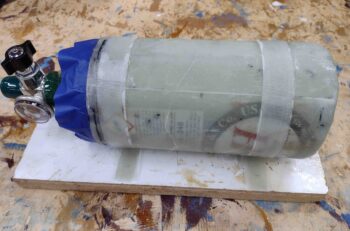
I also determined the required length and width of the O2 bottle sleeve mount attaching tabs.
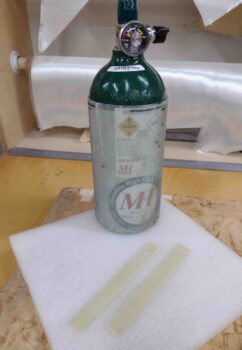
I then 5-minute glued the O2 bottle sleeve mounting tabs to the sleeve tube.

Here’s a closer look.
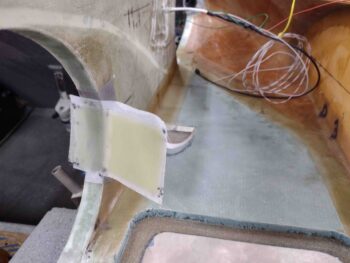
I had already laid up 2-plies of BID on each side of the GIB eyeball vent mount G10, with an extra couple of plies on the inboard edge of the G10, where I had just over an inch of extra glass to make up the curved attach point onto the aft edge of the GIB strake baggage area opening. This will give that 1″ x 2″ tab 6 plies of BID so it will be nice and strong. I also peel plied both sides.
I used fast hardener and once the layup was well on its way to being cured, but still pliable, I taped it into place on the curved attach point at the aft edge of the GIB right strake baggage area opening.
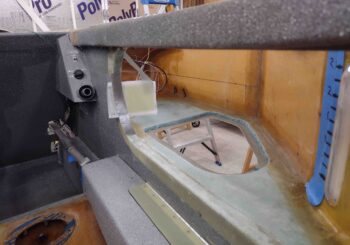
Here’s a shot from the GIB seat to give a general idea of how it will look once it’s installed.
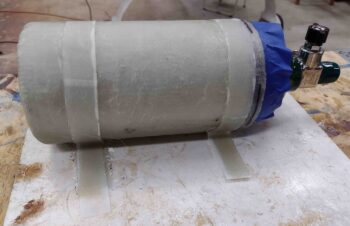
 I then got to work on creating micro fillets between the freshly attached O2 bottle sleeve mounting tabs and the sleeve tube itself. I then laid up 1 ply of UNI that covered from the end of the top tab, around the sleeve tube, to the end of the bottom tab. I then added another ply of UNI that covered the tab and overlapped onto the sleeve tube about an inch. Then a final ply of BID that covers the mounting tab and overlapped onto the sleeve tube also about an inch. I then peel plied the layups and left them to cure.
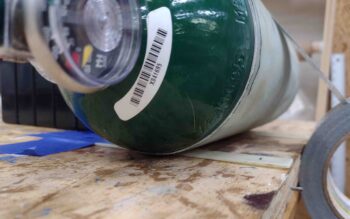
Here’s a shot of the bottom side of the O2 bottle sleeve mounting tab layups.
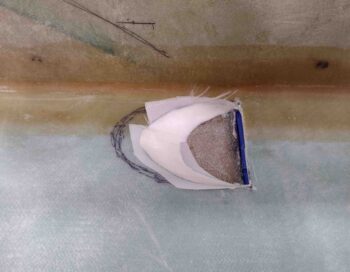
A bit after I finished the O2 bottle sleeve mounting tab layups, the GIB eyeball vent mount layup was cured, so I pulled the top layer of peel ply and marked the inside mounting tab edge for trimming.
I then took the GIB eyeball vent mount off the sidewall opening edge, pulled the peel ply, razor trimmed and sanded the edges, and trimmed the interior edge of the mounting tab before taping it back in place for a test fit.
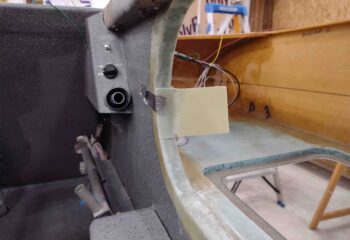
Here’s a shot of the GIB eyeball vent mount from the back side (technically front) as it’s taped in place for test fit. It’s looking good so far!
And with that, I called it a night.