
Today I started off with cleaning up the left strake layup. I began by lightly scoring the glass overlapping on the duct tape on the top part of the leading edge (bottom with fuselage inverted) using my Fein saw.

I then used my razor knife to finish cutting the glass right at the edge of the underlying duct tape, which then allowed me to remove the unwanted overlapping glass edge and the protective duct tape as well.
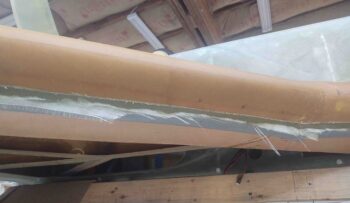
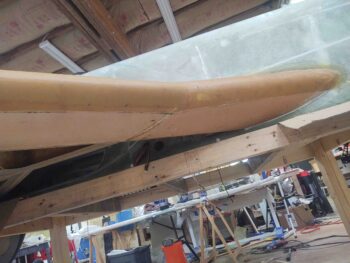
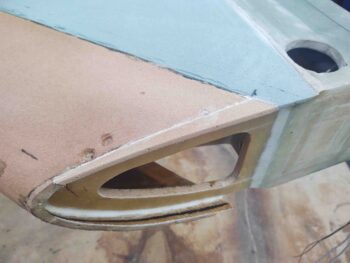
And Voila! A nice clean strake leading edges awaiting the top strake glass layup.
One thing I failed to mention previously and if you look closely below you can see that along the leading edge, from the BL23 kink to the furthest outboard edge, I laid up a 4″ ply of Kevlar first before laying up the 2 plies of UNI. Again, since I have a wet strake leading edge with no “crush zone” as the plans strakes do, I wanted to ensure that if I had a bird strike, or something like it, the strake leading edge along the fuel tank portion has added strength to rebuff such an event.
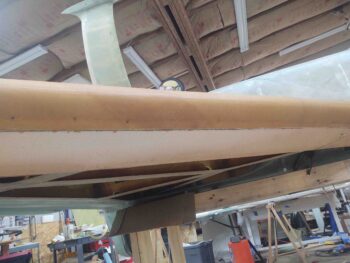
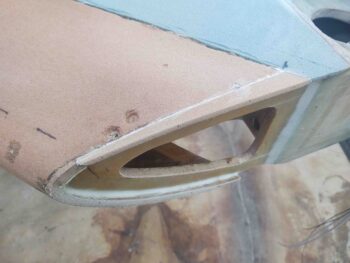
I then ran my Fein saw down the intersection of the outboard strake glass I just laid up and the wing inside edge at BL55. As you can also see, I cut and trimmed the glass that had covered up the strake/spar wing bolt access hole.
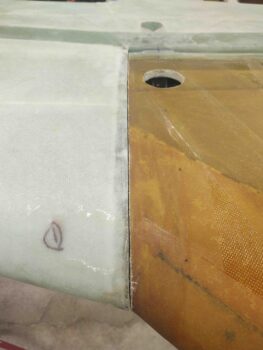
I then cut out the glass in the interior area where the GIB strake window will get installed, and also drilled and cleaned up the fuel drain hard point which allowed me to re-install the fuel drain valve for a good fit check.
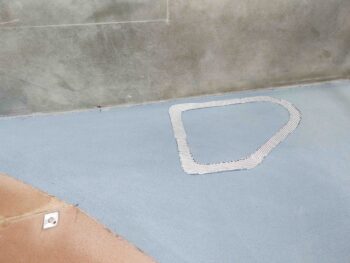
The rectangular Kevlar layup on the fuselage sidewall, situated just left of the GIB window in the pic below, is a protective ply for the tank fuel line feed that is internal to the fuselage sidewall for about 6″ before it exits into the cabin under the armrest. To ensure that the fuel line is protected from any damage or some type of puncture event, I simply added a ply of Kevlar to cover it. Moreover, I peel plied the Kevlar and will cover it with a final ply of BID that will overlap over it when I glass in the hell hole and aft bottom fuselage.
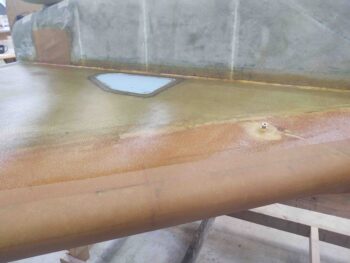
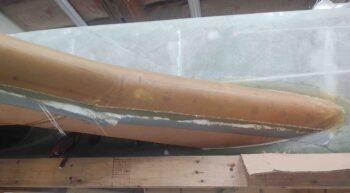
Here we have the completed left bottom strake skin layup, with peel ply pulled and all the areas cleaned up.
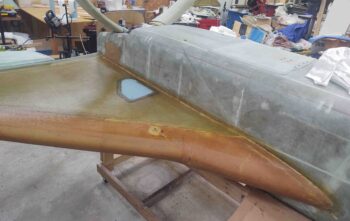
I then focused on the outboard end of the right strake. I failed to grab a pic of it, but you can see where I micro’d in a foam strip along the bottom (top here) edge to fill in that void (about 1 inch on the blue foam side, you can see my black Sharpie mark).
In addition, you can see my black Sharpie mark on the top inside edge denoting the trim line for the top edge.
Which I did here. At this point the right outboard strake, while not perfect, was definitely in a good workable state to proceed with glassing the bottom strake skin.
I then spent a good couple of hours cutting all the Kevlar, BID and UNI for the right bottom strake layup. Here is the 1-ply BID reinforcement that will get added to the bottom skin 2-ply UNI layup for strengthening the lip around where the GIB window will get installed.
At this point it was getting late in the evening… with my glass cut I’m prepared to knock out this 7+ hour layup tomorrow.