
Today was all about buying some plywood and scrounging around my wood pile to see what I could gin up to create the “half moons” for flipping this bird.
As far as flipping the fuselage over to do the bottom strake skin layups, I would prefer to simply get a bunch of guys and flip this thing over in a matter of minutes and be done with it. But alas, I just honestly don’t know that many guys down here in NC that are able-bodied. The few I do know all deal with nagging back or shoulder problems, and the local EAA Chapter down here has an average age well into the 70s.
In short, a bunch of guys flipping this over is just not in the cards. And then there is the flip back upright, and what if the ragtag collection of guys I get to flip inverted are not available when I need them? Too many variables for my liking.
Thus, I plan on flipping this bird with minimal human help, and as much mechanical and technological help as I can muster. A part of that is the method of attaching “half moon” structures to the CS spar wing bolt attach points to then flip the bird. Here are a couple shots of these half moons on a Cozy, sent to me by my buddy Dave Berenholtz.
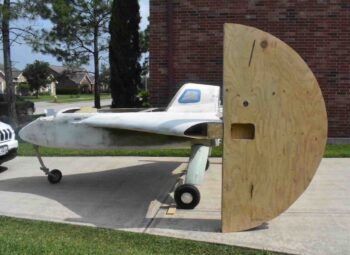
The half moon examples above appear to have a constant radius of about 48″-ish. As you can further see, each half moon is constructed of a 2×4 frame with a piece of plywood on each side… 4 sheets of plywood total if constructed as above.
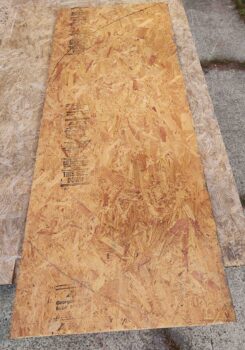
Mine are a bit more like how Dave Anderson constructed his (sorry, no pic) that will allow me to not only utilize an OSB sheet that I have on hand, but also cut 3 of the 4 half moon sides out of just 2 sheets of plywood.
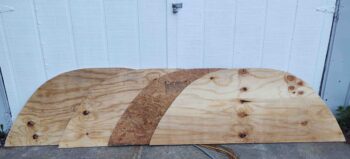
The trick in doing it this way is to not have a constant radius, but rather a half moon side that is 80″ tall but only 30″ wide.
Once I got the shape dialed in and cut on the OSB sheet, I then used that as my template for the 2 sheets of plywood.
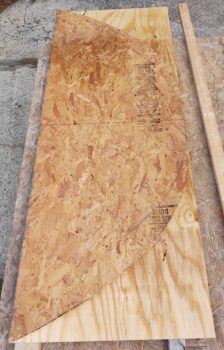
The final half moon sheet (far right in below pic) is actually made up of the “scraps” leftover from half moons cut out of the 2 whole sheets of plywood.
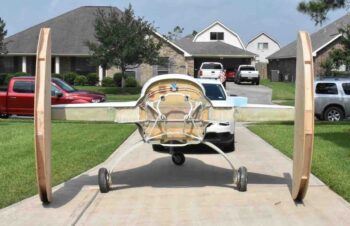
Here we have the 4 half moon walls ready to be assembled onto a 2×4 frame that will make up the fuselage-flipping half moons.
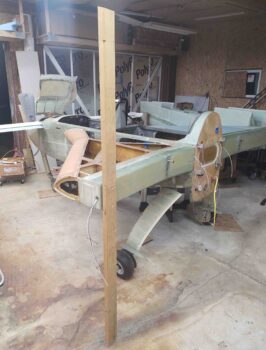
After getting the half moons cut out of plywood/OSB, I then got to work on the left half moon 2×4 frame. I first laid out the dimensions I would need to not only get the fuselage flipped inverted, but to have it at the correct height to place on the fuselage dolly.
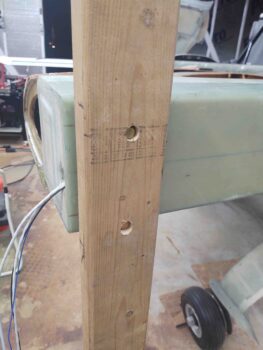
This put the top part of my half moon at 35″ from top edge to top bolt hole. The overall height of the half moons are 80″, so that put the bottom approximately 41″ from bottom edge to bottom bolt hole, with a few inches left over in between the bolts.
Currently I have the actual wing bolts installed, but serendipitously I bought wing bolts that were way too long (total brain fart) a few years ago, and will swap these shorter bolts out with those extra long ones.
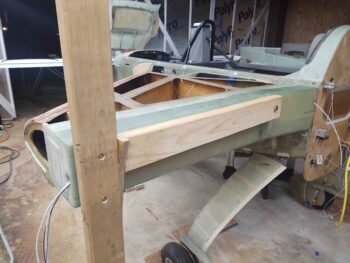
It was getting late, but my last task for the left side half-moon was to measure, cut, drill and test mount the inboard arm that will secure the half-moon to the inboard wing bolt. As you can see, I test-fitted it and so far so good!
It doesn’t seem like it should be that much work simply to create these 4 half moon and a couple plain 2×4 pieces, but it sure did eat up an entire day!