
Today was all about getting the fuel site gages installed. I started off by drilling the 2 small holes in the tank sidewall that allow fuel to enter high and low into the gage.
I started on the left side, drilled my 1/8″ holes and then test fitted the fuel site gage. I then did the same on the right side.
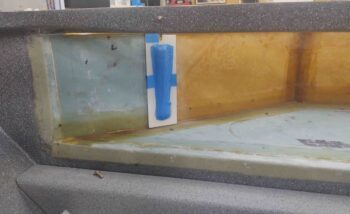
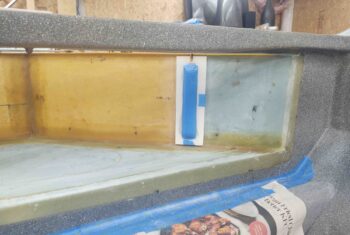
The small inlets on the gage, which I failed to get any pics of, are protected by sliding a toothpick into the small inlet hole. That’s really not necessary at this stage, but rather to protect the inlet holes from getting contaminated with flox or micro, either being acceptable to use when installing these gages.
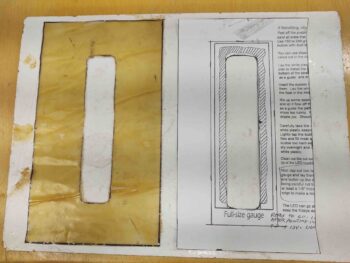
I’m glad I compared the paper template —that I got many years ago when I bought these gages from Vance Atkinson— to the actual gage before I cut any glass because the size was all wrong. To remedy this I measured out the gages and modified the template.
Here we have the modified template on the right and the first of two cut prepregged 2-ply BID layup on the left.
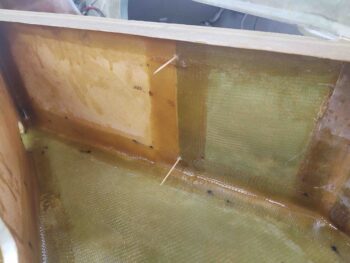
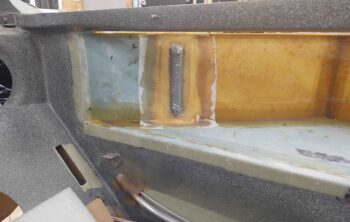
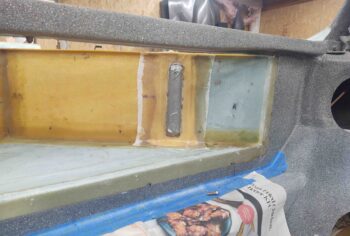
Here is the left fuel site gage first slathered with micro, then glassed in place with the 2-ply BID layup above. I then peel plied the layup. I then repeated the process on the right side.
Ok, not to be a nagging negative nelly, but I’m just really not a fan of EZ-Poxy. I couldn’t imagine building an entire plane out of this stuff. Why? Well, if you’ve used MGS you’ll note beneficial characteristics that you don’t realize you’re not getting with, say, EZ=Poxy until you use both a fair amount. When you mix up flox or micro with MGS, it seems to really hold its shape and consistency quite a fair bit better than EZ-Poxy.
Subjective? Yes. But on a regular basis now I just don’t seem to encounter the problems with MGS layups that I do with EZ-Poxy ones.
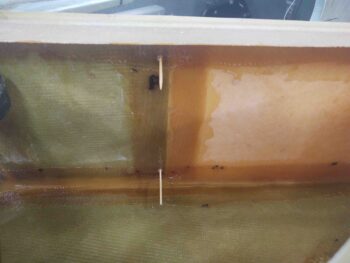
Case in point is that I felt I had to go as dry as I dared, on a fuel related layup, with this EZ-Poxy micro since it would all just end up at the bottom of the site gage as internally, under the glass after it had been laid up, would “slide” down the edge and collect on the bottom. About every 15 minutes or so I would check the site gages and would be greeted by a bunch of micro towards the bottom and resulting air gaps along the top third of the gage side. Peel ply makes it worse because as you really work the peel ply to drive out air bubbles, etc. it just accelerates the “big slide” . . . and again, this was not wet micro. It was the consistency of thick peanut butter. I just don’t have these issues nearly as much nor to this degree with MGS… and have to really say I appreciate working with it that much more now.
Fast forward hours later and I was still carefully lifting up the glass and resetting all the micro back up to the top so that there wouldn’t be ZERO fillet (read: air gap) on the top third edge of the gage, a normal sized fillet in the middle third, and way too much micro on the bottom third. Again, this was NOT wet micro. It was significantly on the dryer side… much more than I prefer for fuel tank work.
Luckily my required strake/fuel tank to-do list gets significantly shorter by the day so I won’t be dealing with EZ-Poxy much longer.
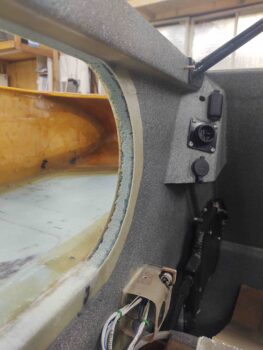
Speaking of EZ-Poxy… along with the fuel site gages, I made up a bit more epoxy to use for some flox and my 4 ply (3 BID + 1 UNI) layup to secure the right strake thigh support sump fuel vent to the sidewall. Since I prepregged it, this layup was straightforward and went fairly quickly.

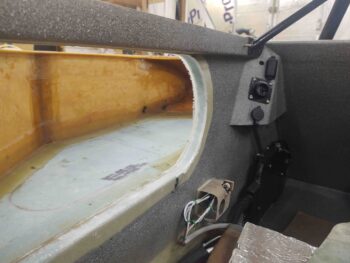
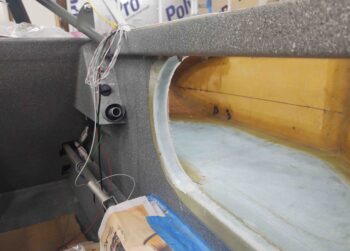
As my EZ-Poxy layups cured, I then started on the last 2 layups of the evening: the exposed foam edges on the forward curved portions of the aft strake baggage area cutouts in the fuselage sidewall.
I didn’t want to create a foam dust storm by using my Dremel, so I simply used a razor knife to cut the edges of the foam to allow for a flox corner. Here’s the left side, but I of course did this on the right as well.
I then prepregged a 1″ x 12″ ply of BID for each side and laid them up. I then peel plied each layup.
With that, I then left my 5 layups to cure overnight and called it a night.