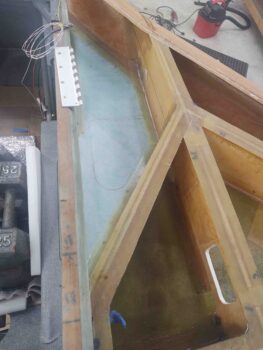
I started out today by removing the clamp that secured the left sump tank vent tight up against the fuel tank (fuselage sidewall) interior wall. The layup was successful so I’m calling this task complete.
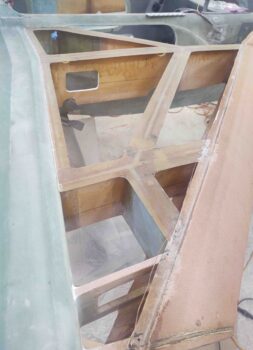
I grabbed this shot to show how I trimmed down the flox that squeezed out just a bit along the aft T-Hat structure edge along the CS spar. As on the left side, this flox actually covers about an 1/8″ of the protective tape so it needs to be trimmed a bit to both even up the line and to allow for the protective tape to be removed completely.
This obviously didn’t have anything do with attaching the lower skin on the right side, but it needed to be done to technically call the right side T-hat structure complete.
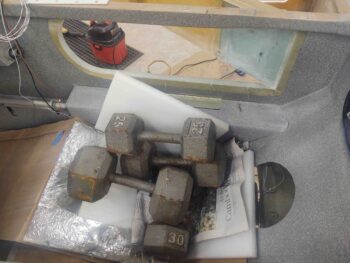
To avoid the problems I had on the left strake lower skin attach where I had to very gingerly balance the pressures out of all the spreader clamps —that were applying bottom-up force— that was just a complete time suck, I figured I just needed to assist gravity a bit in my quest. So I first chucked over 130 pounds of weight into the back seat.
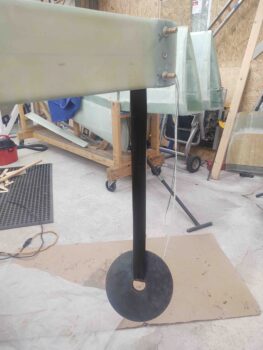
And hung another 25-pound weight off the end of the CS spar. I figured I could go heavier on this weight, but I didn’t want to go round up a 45-pound weight and mess with hanging such a big weight out here. Also didn’t want to stress the spar any more than I had to.
The trick, I felt, heading into the right strake bottom skin attach was to know that I needed to apply pressure quite judiciously to the bottom skin core to keep it tight against the strake structure. With that knowledge in hand, assisted by a heavier fuselage and CS spar, I pretty much confirmed that this was the deal when I attached the right strake bottom skin.
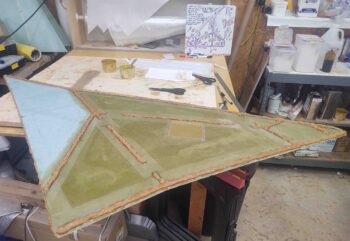
I then got busy actually attaching the right strake bottom skin core. Again, it is amazing how much flox is used to secure this skin core to the bottom of the strake structure. Also, since I’m fighting gravity again, I put the flox inside my marked “floorpan” lines on the actual top surface of the lower skin and then simply “lifted” it up in place.
I employed the same method on the left side, although I don’t think I got a shot of it. Moreover, mixing and applying this much flox took nearly an entire hour just in itself.
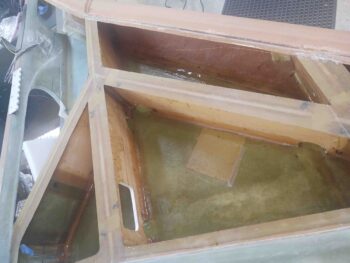
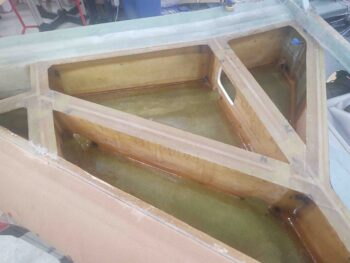
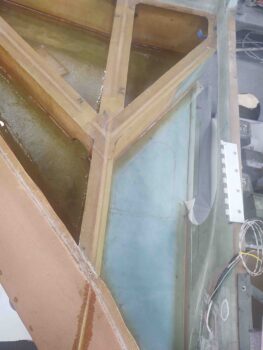
After a mad dash of getting the right bottom skin core in place, clamping and wedging it so that as-equal of firm pressure was being applied all the way around, I then got busy wetting out and laying up the nearly 40 BID tapes and glass panels that secure the bottom skin to the strake structure.
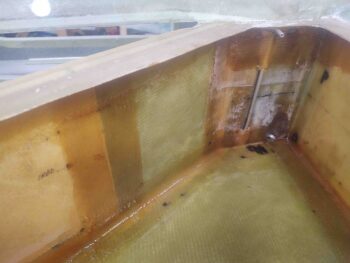
Also, as I did on the left side but may not have specifically pointed out: I added a ply of BID across the aft face of the CS spar that makes up the aft wall of the fuel tank, right up to the bottom of the added aft “shelf” that is part of the T-hat structure.
If you look at the outboard face of the CS spar (far left) you’ll note how light in color it is compared to the middle and inboard compartments of the fuel tank…. again, both having a fresh ply of BID wetted out (wet) and laid up on the aft wall with EZ-Poxy. In addition, this large ply of BID also serves as the first of 2 perimeter BID tapes as it overlaps a good inch onto the strake bottom skin.
Speaking of EZ-Poxy… with such wet layups all the way through the strake build I wasn’t sure if I would have enough for the entire right strake bottom skin attach, so I held back on laying up the baggage area layups until I was sure all was good with the fuel tank specific layups… which it was.
Another shot of the right strake baggage area floor created by attaching the bottom skin core.
This side ended up being about 6 hours long start to finish, compared to the 7 hours it took me on the left side… clearly I refined my processes a bit and shaved an hour off the time.
Interestingly, by the time final BID tapes are laid up, the initial ones are pretty much dry to the touch. I then set some heat lamps up to keep everything nice and toasty during the final curing and called it a night.

