
I started off today wanting to get some glass / epoxy curing, so I finished a couple of minor tasks in the left strake.
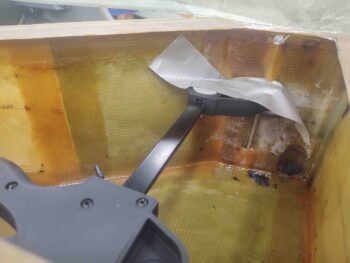
In the shot below I have 2 layup preps going on. First, on the left is a seam from extending the BAB baffle for the GIB elbow room mod. I peel plied this seam for future glassing, but then realized I didn’t need any more glass for any specific reason. Wanting that joint with as wet glass as possible, I’ll add a 3″ x 4″ wet ply of BID.
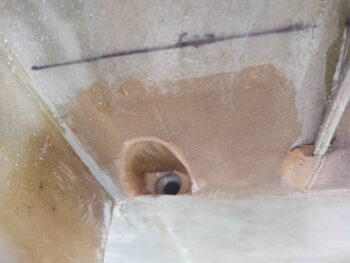
The clamp is pinning the vent from the thigh support sump tank up against the fuel tank / fuselage sidewall. I don’t want this vent line not secured, so I’m tacking it to the wall with some flox and 4 plies of glass (3 BID + 1 UNI).
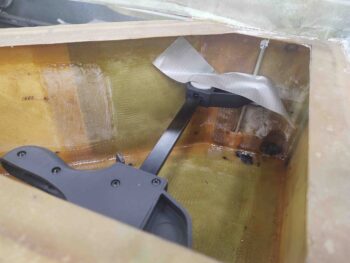
Here we have a ply of BID on the BAB baffle joint –which is also where the fuel site gage just happens to be positioned– and the thigh support vent line floxed and glassed in place up against the sidewall.
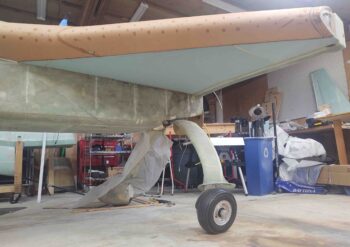
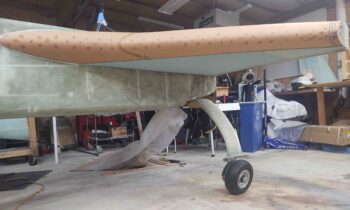
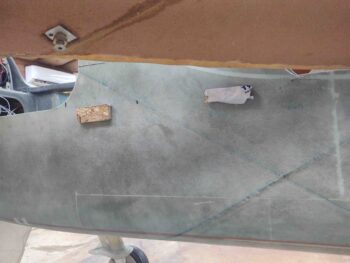
I then spent a bit of time taking down all the supports from the bottom left strake skin. Here’s a couple shots from slightly different angles showing the left strake bottom skin in its current state.
I then did one final right skin mockup and validated the interface between the fuel tank bottom skin and the sidewall drain to the thigh support sump. Once confirmed, I mixed up some wet micro and finished filling in the minor gaps around the edges of the flared drain tube.
Back over with MGS epoxy, I had earlier drilled out and installed 2 RivNut hard points to keep the fire extinguisher bracket nice and secure during flight. Here’s the final install on the fire extinguisher bracket with 2 clickbonds and 2 RivNut hard points securing it in place.
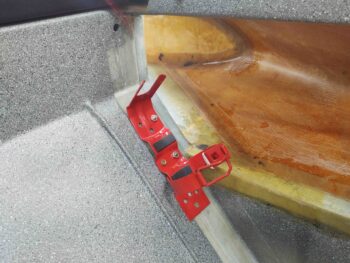
And a shot with the fire extinguisher in its bracket.

There were a myriad of small tasks that I knocked out in prepping for the right strake bottom skin install, such as drilling the 4 small holes in the fuselage sidewall just below the GIB strake opening to ensure the proper height and interface at the skin/fuselage opening junction.
Here I spent a bit lining up the bottom edge of the right strake skin and then hot glued some wood tabs in place to ensure the edge stays properly aligned to the sidewall as it gets floxed and glassed in place.
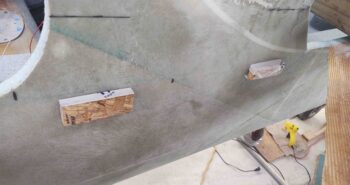
Another shot of the sidewall bottom right strake skin installation tabs.
I then prepregged all my BID for the upcoming layup. Nearly 40 individual pieces of BID go into securing the bottom strake skin to the strake structure.
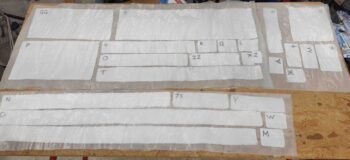
I did a final prep on the right strake bottom skin core… another couple sets of BID prepregs.
I also spent at least an hour sanding the right strake ribs, baffles, leading edge, fuselage sidewall and CS spar in prep for the glass layups that will secure this strake skin to the bottom of the strake.
Tomorrow will be yet another long layup, but as each of these big layups fall to the sword the reality of this build becoming a plane is much more feasible!