
Today was a light build day since I enjoyed the beautiful day and spent some time with my girl in New Bern, NC.
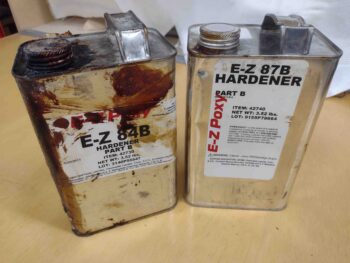
Upon returning home I started the process of reconditioning my E-Z Poxy hardeners on hand, both the E-Z 84B and 87B, to ensure they are ready for action. This involved boiling up some water and keeping these hardeners at a temp between 160-190° F for a couple of hours. Occasionally I would shake the containers around and ensure they were mixed as best possible before putting them back in the hot water.
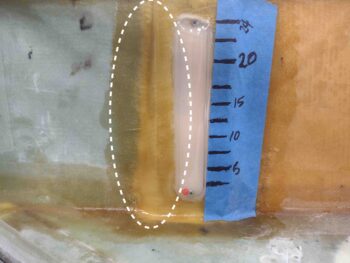
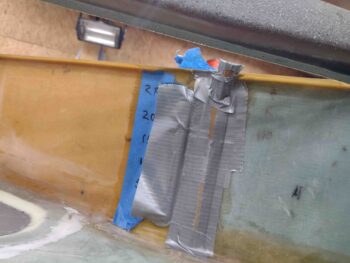
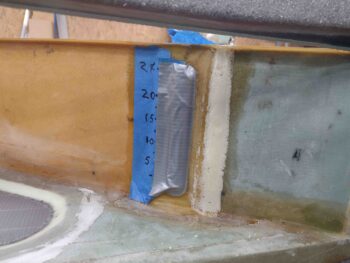
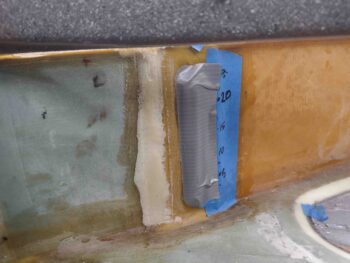
I then grabbed a couple of shots of my current fuel site gages and what I consider to be a non-negotiable cosmetic issue… one that would continuously bother me if I didn’t remedy it: since I used wet micro in glassing them during install (arguable too wet maybe), as the layups cured gravity took over and the micro naturally sagged a bit towards the bottom. It’s not horrible, but it is also clearly not uniform on the edges of the fuel site gages.
It simply needs to be fixed solely for cosmetic reasons.

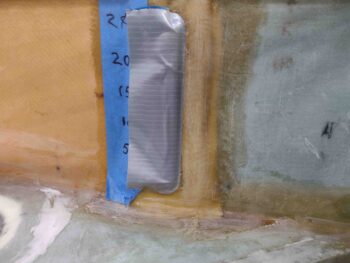
I started by taping off the site gage windows to protect them as I then thoroughly sanded the inboard edge of each site gage.
I then rounded up my trusty X-30 pour foam parts.

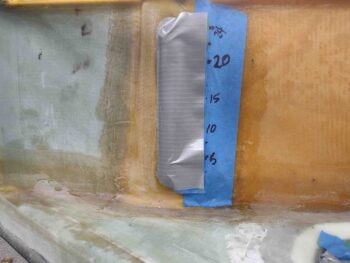
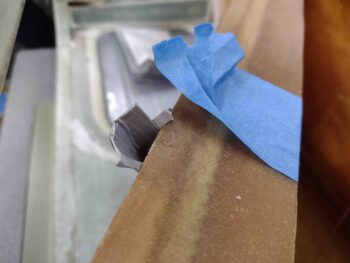
Made some taped-up cardboard dams, this one for the right fuel site gage.
Added a little cardboard/tape funnel . . .
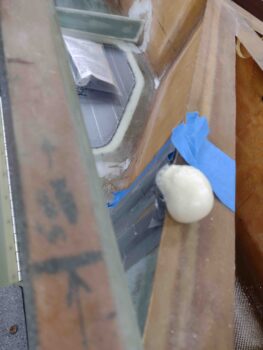
Whipped up some foam and poured it in.
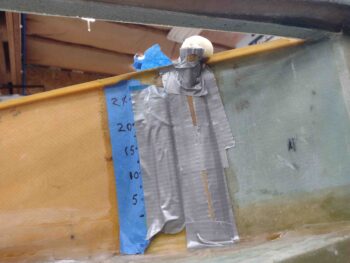
Here we have the foam expanding out of the funnel of the mold.
And about an hour later I pulled both taped molds off the side walls to reveal what will be the edge filler to smooth out each inboard side of the fuel site gages. I’ll of course micro and glass these after they’re shaped, and then do the same process on the outboard edges.
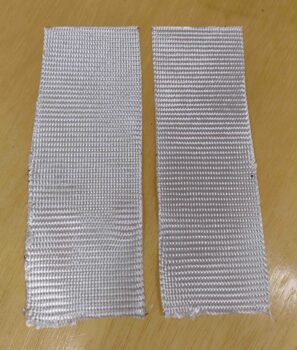
Jess was making dinner, so in my quest to not make her a complete “Long-EZ build widow,” I simply cut the BID pieces for these two respective site gage layups and called it good for the evening since I didn’t want to be rushed on my sanding & shaping of the added foam edges.
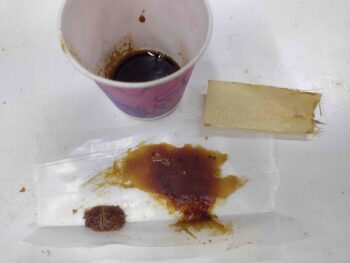
I did however take a few minutes to whip up some E-Z Poxy using the 84B hardener to test it out. I used this E-Z Poxy to layup 3 plies of scrap BID, peel plying most of the layup. I also whipped up a decent dollop of flox to test that out as well.
Now, I’ll note that I use fast MGS hardener on 80-90% of my layups, which is workably cured in about an hour… and practically cured in 3-4 hours. So the 3-day cure time for EZ Poxy with E-Z 84B is definitely an adjustment for me . . .

And with that, I called it a night.
NOTE: I’m cheating here a bit on this blog by traveling into the future 12 hours (as I go to post this actually the next morning) to show that the E-Z 84B epoxy is looking good for having spent the night in about a 65° F shop and again, taking into account a 3-day required cure time. The BID layup is dry, but quite flexible still. On the flox dollop I was able to cut into it a good bit with a razor knife. I’ll check this out in another 12-24 hours and report back on it.
I’ll further note that since I plan on being ready to paint the interior strake baggage areas and cabin in less than 3 days, I’ll be sticking with MGS epoxy for much faster cure times to ensure all epoxy is cured when I shoot the paint.