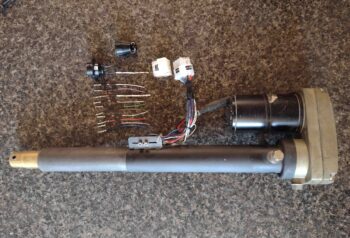
This morning I finished up a project that I’ve been working on over the last few evenings to insert a Molex connector into the wiring bundle between the nose gear actuator assembly and the P1 CPC connector. The main wires that run through the P1 connector are the gear actuator motor power wires, the up/down limit switches wires and a slew of signal wires for the gear up/down/transit indicator and warning lights.
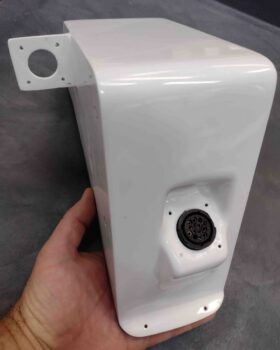
The issue was the interface between the P1 connector and the NG30 cover. In the quest for easy maintainability and access, the question regarding the P1 connector was how to mount it to the inside of the NG30 cover that would then allow for it to be disconnected in an efficient manner when the NG30 cover was removed.
If there were a reliable way to mount nutplates to the corners of the plastic bulkhead flange on the P1 connector, that may have been a potential solution… albeit not the most elegant or reliable one over the long run. That solution would require having to remove 4 extra screws every time I wanted to remove the NG30 cover. Moreover, the ability to mount nutplates to the bulkhead flange with the space provided was problematic.
Although I don’t like adding connections into electrical circuits, after literally years of pondering the solution to this issue I decided to proceed with adding a 12-position Molex connector into the wire bundle between the P1 connector and the nose gear actuator motor and limit switches. This would allow me to separate the NG30 cover from the NG30 by simply disconnecting the Molex connector in a couple seconds (vs a minute+ of removing screws).
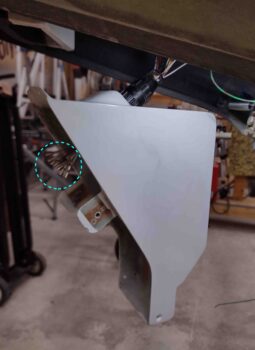
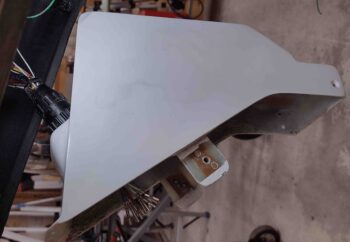
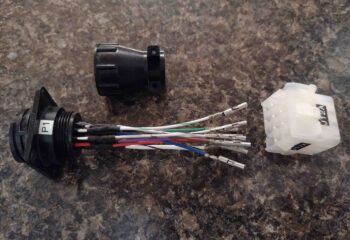
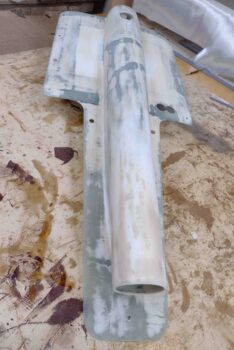
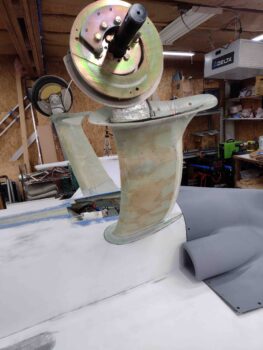
Time has a way of masking problems, and one potential issue I had to check was the fit of the P1 connector into the currently painted NG30 cover. Thus I had to clean the paint out of the P1 connector mounting hole on the NG30 cover since I haven’t had the two halves of the P1 connector together through the NG30 cover connector mounting hole since after it was painted. Clearly I definitely wanted to ensure that there was still enough clearance for that to work… as you can see here, there is just enough. It’s tight, but the halves do connect [note the terminated ends of the wires circled in light blue].
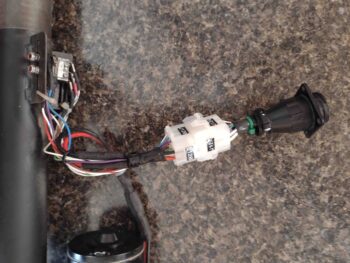
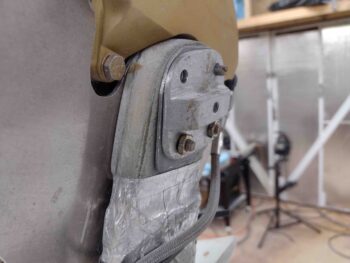
I turned the above pic sideways to show how the external side of the P1 connector will look when the NG30 cover is installed in the nose of the plane.
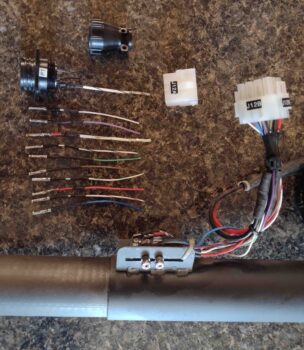
Going back in time a few days, this is how this task evolved. First I cut the bundle of wires close to the original P1 connector, leaving about an inch of wire hanging off the CPC sockets. After mapping out the wiring on paper, I then terminated the motor side wire bundle with Molex pins and mounted them inside one half of the Molex connector.
I then had a decision to make: cut and terminate both CPC and Molex sockets onto fresh wires? Or add lengths of wire to the existing 11 CPC sockets and then terminate the opposite ends with Molex sockets? I chose the latter.
Since I didn’t want to waste any CPC sockets (the power wire sockets are gold plated) I went ahead and simply found the same color wiring in my spare wire bag and soldered these lengths to the existing CPC sockets. I then added heat shrink to protect the solder splices.
Once the wire lengthening process was complete, I then stripped and crimped Molex sockets onto the ends of the newly added lengths of wire.
I then wrapped the wire bundles in tape, secured them with a zip tie and terminated the sockets into their respective connectors (after performing continuity checks on my work).
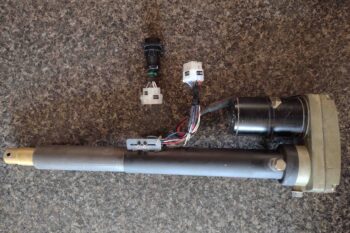
Voila! Here we have the new J12 Molex connector in place on the nose gear actuator.
And a closer look at it…. all nice and clearly labeled!
I then went out to the shop and spent a good 45 minutes in final prep on the bottom cowling to allow me to apply thickened (with micro) gray primer.
Although I could see about a dozen pin holes on the surface after about an hour into the cure of the primer, I’m extremely pleased with the surface contour and smoothness of the cowling.
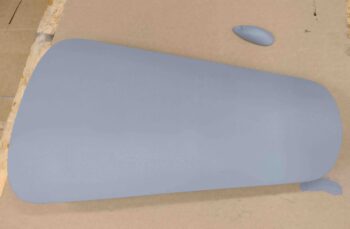
With the same batch of thickened gray primer I also applied it to both the nose hatch door and the belly video camera mount.
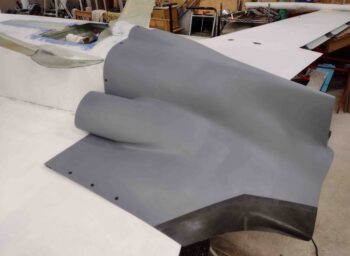
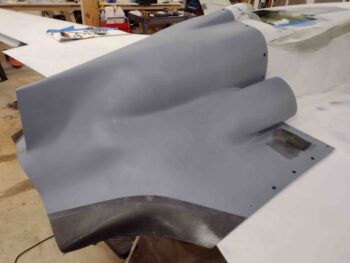
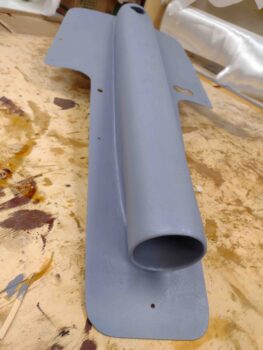
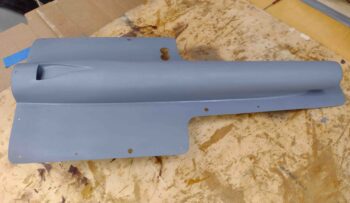
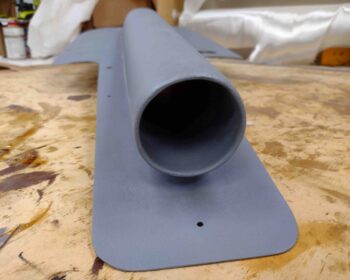
I had planned on applying primer to the RAM air scoop as well, but I knew it would take a while to get it sanded to the final point of being ready for primer… and may have quite possibly needed some refills in areas with West 410. Thus, I did my first round of primer above, and then got to work sanding the RAM air scoop/hell hole hatch cover for another good hour+. Thankfully I wouldn’t need any more filler on the RAM air scoop and immediately rolled into cleaning and prepping it for primer.
As you can see it turned out very nice.
Again, I’m very happy with how the thickened gray primer laid down on the RAM air scoop/hell hole hatch cover.
I know I’ll be tweaking the RAM air scoop opening to dial it into as much of an evenly thick, concentric circle as possible… but it’s already looking pretty darn good IMO!
There were actually a couple of tasks I knocked out pre-primer but didn’t get pics of until a bit later.
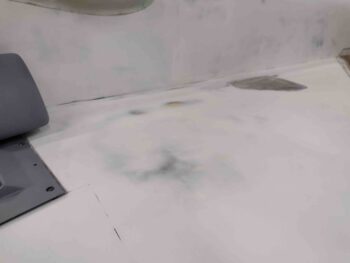
First, I used 220 grit sandpaper to wet sand the thickened white primer I applied to the aft inboard area of the left strake to help clean up some surface irregularities there. It really came out nicely, although I still have 2-3 minor spots that will need filling before final primer and then paint.
I also removed the right wheel assembly to expose the axle bolts and then allow me to remove one of them to check its length (yeah, I didn’t have the length annotated anywhere…).
Making and installing the inboard brackets to secure the wheel pants not surprisingly caused the axle bolts to be just a hair short. Turns out that the bolts I had installed were AN4-21As, not the AN4-22As called out for in the plans. Just another example that if I had followed Burt’s guidance I wouldn’t need to swamp these things out now… ha!
Regardless, I do need to clean up the wheel assemblies and ensure the bearings are nicely packed with grease, so this endeavor shouldn’t be an overly difficult or time-consuming one in addition to my other wheel beatifying duties.
Tomorrow will be a short build day, but I do at least plan to get those pesky pin holes filled!

