
I’ve had my Trio Pro Pilot autopilot back from Trio Avionics for over a week now with its screen repaired. As I noted in the project overview, May and June have been crazy busy and the latter half of last week we were up in Williamsburg, VA on a mini-vaca that included Bush Gardens and Water Country USA (trying to regain/retain my youth!).
I’ve also been researching/designing/compiling and assembling my own in-house capability to dismount/mount virtually any tire as I needed to replace my motorcycle tires since I had the rear one go flat on me while cruising down the Outer Banks with Jess. The local tire-changing businesses want from $100 to $300 to change one tire, and with me being the tightwad that I am, I decided I needed to learn a new skill. That of course took a couple of weeks off and on to figure out.
Anyhoo… although I’ve done a few plane-building tasks in the shop here and there, I’m finally getting back onto the build consistently enough to report my shenanigans on the blog.
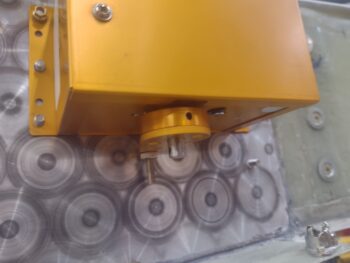
Since the wings aren’t mounted and I don’t have the outer aileron control tube available, I temporarily installed the forward heat shield on the right side to assess whether the autopilot roll servo pivot arm should face forward or aft (as it’s not yet mounted in place, see tape below).
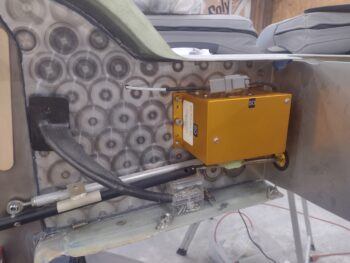 After setting the aileron control tube in its approximate alignment using small plastic CPC pin & socket storage bins… and a screwdriver, I then played around with possible positions and angles of the servo control tube (silver) that connects the servo pivot arm to the aileron control tube (black).
After a few machinations it was very clear that the control tube angle was much shallower with the roll servo pivot arm facing forward —as in the pic below— than facing aft. Plus it’s a cleaner install with all the components closer to the to CS spar and tucked out of the way rather than with the pivot arm facing aft and everything hanging in the breeze!
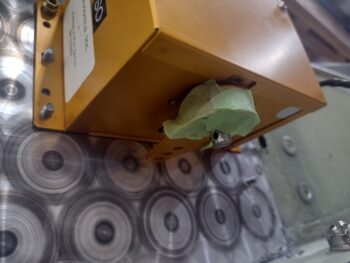 Again, as you can see in pic 1 the servo pivot arm is temporarily taped into place since the 4 screws that secure it have Loctite 222 pre-applied and are reportedly fairly difficult to remove once installed (per manual).
That being said, I was going off an old install write-up from Nick Ugolini where he stated to connect the control tube to the center hole on the pivot arm, but that was for the pitch servo, which has the pivot arm facing outboard from the body and thus easy to relocate from hole to hole for the servo control tube to dial it in. In both the install manual and in talking to Chuck Busch at Trio, typically the outer hole is used for more leverage, and after another re-read of the manual I decided to swap the securing bolt from the middle hole on the pivot arm to the outermost hole before I installed the mounting screws (pic 2). Clearly with the pivot arm facing forward, underneath the servo, if I wanted to change holes I would have to remove the pivot arm… so better safe than sorry on the leverage.
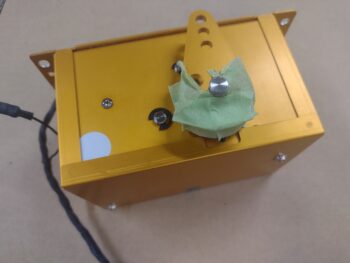
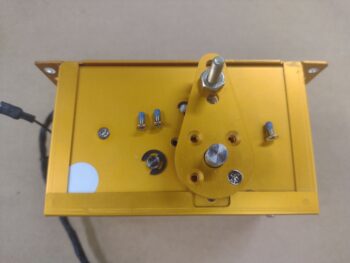
BUT, that all being said…. when I attempted to remove the first screw I had threaded in above, it came out quite easily… too easily in my book, given it had Loctite 222 pre-applied. So Iinstalled just one more screw before temp installing the roll servo back onto the CS spar. I’ll call Chuck tomorrow and confirm the Loctite situ and get a couple of other questions I have answered.
 With the roll servo in place on the CS spar, and cables connected up via the Deutsch connector, I then re-installed the screen-replaced Trio Pro Pilot autopilot control head into the panel.
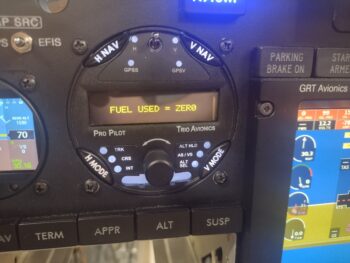
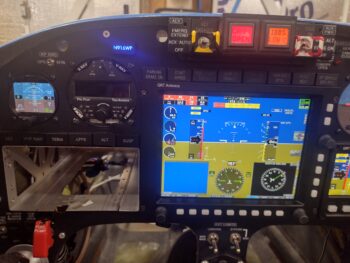 I then fired it up and was pleased to be greeted by an operational screen!
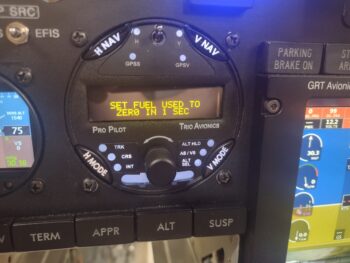
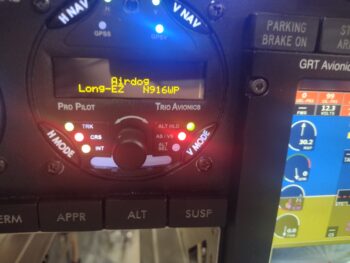 Here’s a couple more screens, which is about all I can show at this point since it doesn’t report much without a GPS signal (which I have none with the bird in my metal shop).
And with that, I called it a night.
Back to pressing forward!