
Today was one of those days where I was in full build mode all day long, but then at the end of the day it felt like I hadn’t done much.
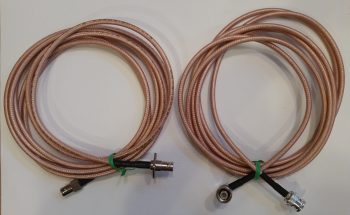
First off, once again the nice man in the brown truck (UPS) brought me more airplane parts… Today I got the COM1 and XPDR antennas that I ordered, terminated with the appropriate fittings. One more thing off the list!
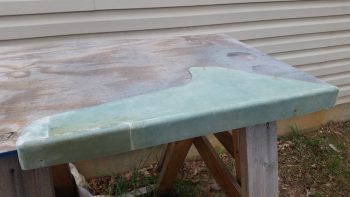
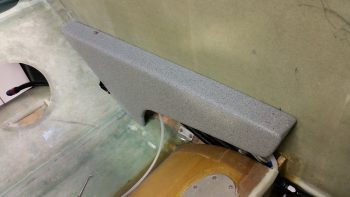
I started off on the actual build by drilling a few sets of tiny holes to inject fresh epoxy into some air bubbles along the joint of the front extension pieces that I had glassed onto the left GIB armrest. This armrest is definitely the ugly duckling of the armrests, and admittedly looks pretty nasty where I glassed the front extension pieces into place (I was originally planning on having a throttle handle back here, but then realized first that it was located too far aft, and then second, that I simply wasn’t going to install one).
That’s why it’s so cool, and so much fun honestly, to see it turn out like this with just a few passes of a primer spray can.
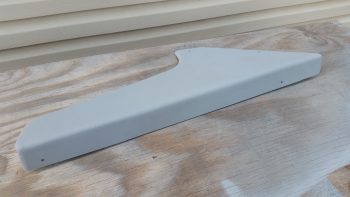
I let the primer cure for a few hours, cleaned up and sanded a few minor imperfections, then shot two coats of the gray granite interior paint.
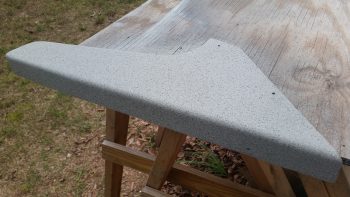
I then let the topcoat cure for about 6 hours before shooting it with a couple coats of matt clear coat. A little over an hour later, when it was dry to the touch, I set it in place to get the pics below.
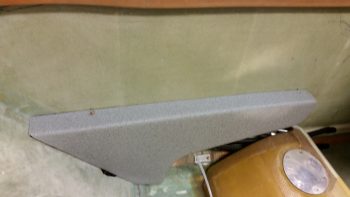
I have to say, I’m really digging this color. It’s not super flashy nor does it make a huge fashion statement, but it really does look good. And of course, as I often state, the pics don’t do it justice.
Although I documented my painting sequence on the armrest, it’s not all I did today, nor was it the primary goal on my task sheet.
I don’t have any pics showing my progress, but today I actually determined the size and shape of the valve lever arm for the heating/air system. This valve is the one that will determine whether incoming fresh air is left alone to be routed through the ducts for cooling air, or diverted to the heat exchanger for heating air. I cut out, shaped and cleaned up the pieces to ready them for install via flush-mounted rivets. I was getting ready to drill the holes for my rivets when a buddy called and I ended up meeting him out for dinner and a couple beers. So… I’ll get some pics of my heating/air valve work tomorrow.
In addition, as I was trying to consolidate my metal cutting tasks, I had on my list to cut an L bracket for mounting under the Matco parking brake to secure the brake’s ON/OFF actuator cable (with an Adel clamp). As I was trying to finalize the dimensions on that bracket for cutting –remember, I have to pull saws out of an outside shed so I like to cut all that I currently have on my list at one time for efficiency’s sake– I determined that I don’t need a bracket at all, just some 1/4″ Nylaflow and a click bond mounted on the left side NG30 plate and I’ll be good. So, check the parking brake cable install design off the to-do list as well! [Note I said install design, and not the install itself].
Again, tomorrow I will continue to work on the GIB area stuff, with the heating & air system valves my specific priority until I get those finished.