
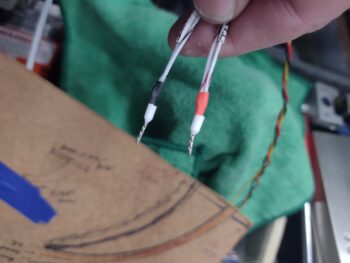
Last night I started getting all the wires squared away for the fuel site gages and strake baggage area lights connected to the dimmer, soldering the ends of both pairs of wires together. However, when I went to insert the wire pairs into the dimmer switch terminal block, the combined wires were too fat to fit into the terminal socket. I punted until today to finish this wiring job.
Now, it seems like a fairly easy job, but cutting off the soldered tips resoldering the pair of wires so enough wire was left remaining to crimp on a pin took about 20 minutes all told.
But then getting them into the very tight space of the REMOVED (yes, removed… as unmounted) dimmer switch terminal block still took another 20 minutes of craziness. Sheesh… nothing EZ on this bird it seems!
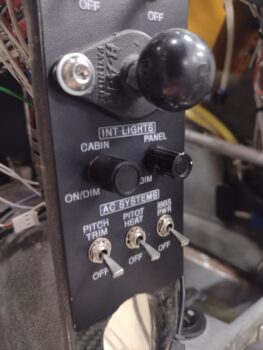
 The dimmer on the left labeled “CABIN” is the one I just completed the final wiring and reinstallation of…
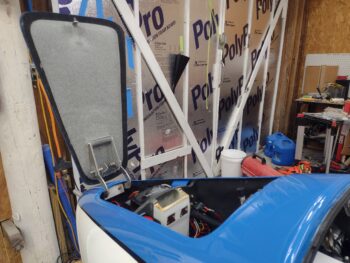
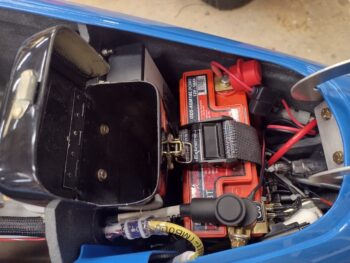
 I then spent another few hours finalizing the install of all the components into the battery compartment. First went in the IBBS (right side of pic), then the battery with all the cables attached, including the G0 battery ground bus. Next came the tool box install. Note that I also finally added Velcro to each side and installed the blue ANL-40 fuse link cover (left side of pic).
 I then assembled all the hardware, hinges and nose hatch door and installed it onto the nose.
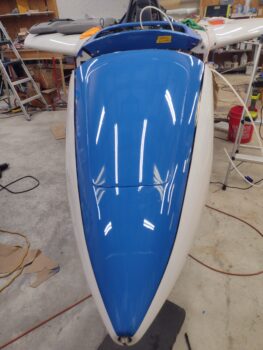
 Here we have the nose hatch door installed and in the open position. Note also that the Dual GPS puck is installed on its slide-on mount just aft of the Napster bulkhead.
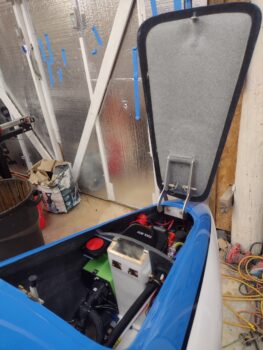 Here we have the tool box cover in the open position (left side of pic) and the pitot tube in the unlocked, stowed position pushed into the nose, where it butts up against the battery strap.
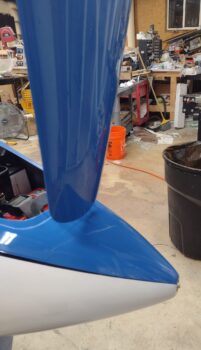
 This is what the front of the nose looks like with the pitot tube in the unlocked, stowed position… pushed into the nose.
 I then closed the nose hatch door, locking it in place into the latch.
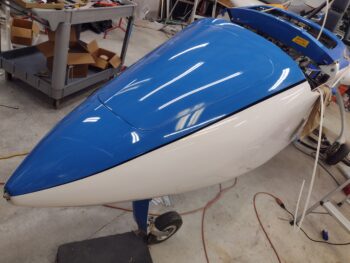 And one more shot with the nose hatch door closed and locked.
 Pressing forward!