This blog post actually spans about a week of some light off and on work. Most of it I didn’t capture in photos, and even more of it fell in the realm of planning.
One thing I did was check out an option I had for labeling the instrument panel. It involves printing out a black surrounding background around white lettering (technically the color of the paper). Once treated with some spray, this becomes like the soak and apply decals we all used on model airplanes we built as kids.
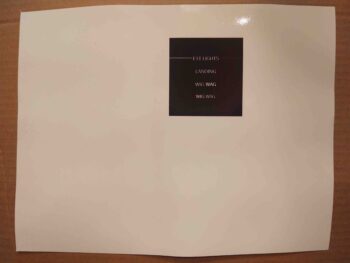
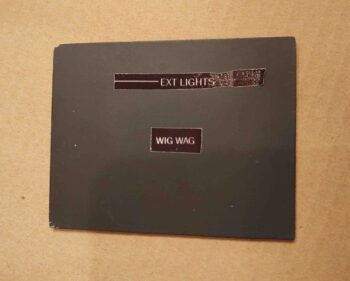
Here are the labels ready to be soaked in water and applied. The black plate is a spare piece of aluminum that I painted the same color as the instrument panel.
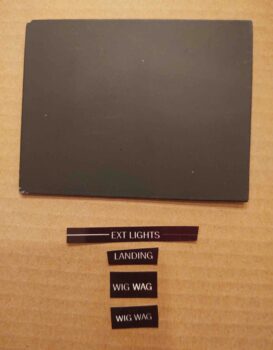
I then noted a significant issue. When I cut the white substrate paper (above) it creates a white edge on the appliqué. Unless you go straight vinyl letters, the edge of the applied lettering is really what we’re trying to hide, and in this case it is clearly visible with it’s glaring white perimeter.
Unfortunately this test was a resounding NO-GO.
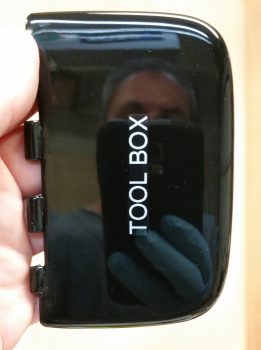
So at this point I think I’ll probably just use my standard P-Touch label maker to label the panel. Then I’ll clear coat the panel and labels in the same way I did my nose tool box. In the end I expect it to look very acceptable for what I need.