
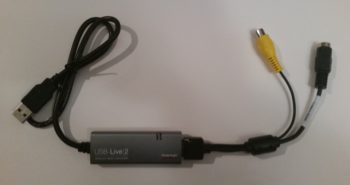
I started off today receiving the package from GRT with the USB video module that I discussed in yesterday’s blog. I looked it over a bit and noted how lightweight it is.
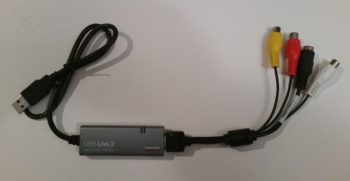
I then made it even a little lighter by summarily lopping off the left & right audio feed jacks since I know I won’t be using them in my configuration.
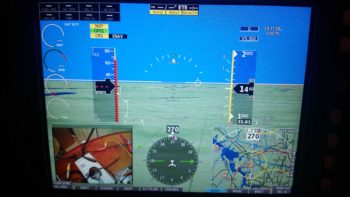
Of course I couldn’t resist trying it out, so I hooked it up to my 4-port USB hub, connected the camera and then fired up the panel. Within 2 pushes of a button I had the inset showing what the camera was viewing. Awesome! Especially since there was no software configuring or loading required.
Within the next few days I should good a manual video channel switcher normally used by gamers that I got for a few bucks off of Ebay. I’ll use that for some testing and report the data back to the guys developing the video auto-switching module on the AeroElectric Connection forum.
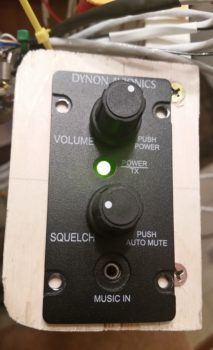
A sideline benefit to firing up the panel and checking out the new video capability was that I also got to power up the Dynon Intercom for the first time. Now, I didn’t do anything with it to test it out, but I didn’t see any sparks, flames or smoke, so I’m going to call it good for now!
I then went to the shop and spent well over an hour dialing in the left armrest, focusing on its fit & interface with both the heating switch panel and, yes, the cupholder. After getting the fit as close as I could, I decided that I needed to lock it into position by installing some mounting brackets –4 out of the 5 identified mounting bracket positions so far– to keep this thing from going all willy nilly on one end while I’m trying to do something on the other end.
Before I got deep into the armrest mounting though, I only had less than a couple of hours to make a lot of noise (I live in a townhouse with a STRICT homeowners’ associate that has a tizzy if I make noise after 10 pm). One of those noisemaking tasks was to trim back the Nylaflow, glass and micro about 4″ so that I could mount the parking brake handle farther forward at the left side base of the nose wheel cover (NB).
I originally planned to have the parking brake handle installed adjacent to the nose wheel viewing window on the left side of the center panel strut, and the nose hatch release T-handle on the right side. After assessing it for a while, I wanted it farther forward to get it out of the way during flight ops, and plus I wanted to make it so that I had to unbuckle my shoulder harness and lean forward to get to the handle…. which of course leaning forward is infinitely easier to do in a Long-EZ with the canopy open. So, in short I’m saying that for both T-handles I wanted to ensure it was no-kidding ground ops thing.
After making a bunch of noise by ensuring that I could move the parking brake handle conduit, I then made a bit more when I trimmed the cable sheath on the parking brake cable assembly with the Dremel tool. I cut a piece each of angled aluminum and 7-layer glass bracket stock for 2 more mounting brackets for the left armrest.
I then started making quite a bit less noise by simply using the drill to finalize the mounting brackets for the left armrest. I made up one bracket for a #10 screw, and the other a bit smaller for a #6 screw.
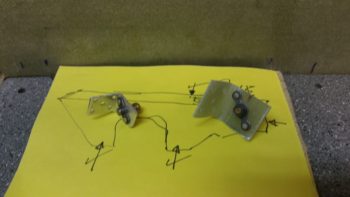
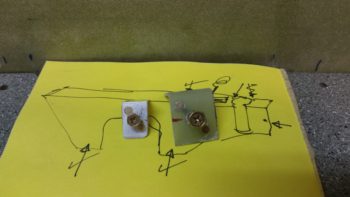
I then prepped the left armrest by taping up the edges in the immediate area of the mounting brackets, and then attaching the brackets in place.
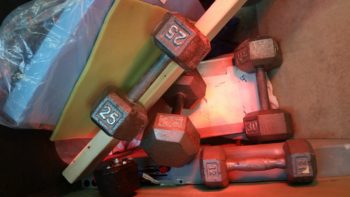
I then whipped up some flox using fast hardener and floxed the left armrest mounting brackets into place. Although just about each one needed some type of persuasion with a heavy dumbbell to keep it in place.
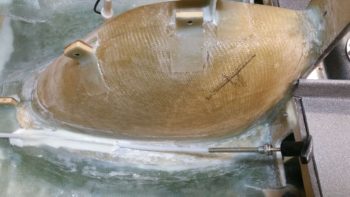
Also, to be clear, I have a few more mounting brackets I’ll need to install on the left armrest, this is just round #1. [BTW, the left armrest is at the very bottom of the pic, seat bulkhead is on right side]
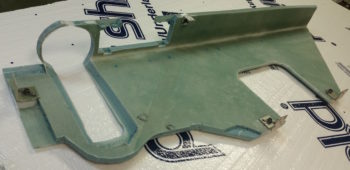
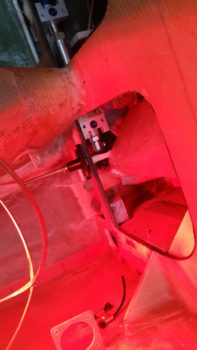
Here’s a shot of the wheel well cover (top left) and front side of the panel. I have the heat lamp shining primarily on the left armrest’s very forward mounting bracket that is attached to the aft side of the lower left instrument panel (lower right corner of pic). Since I had some leftover flox, I very quickly finished prepping a small bracket I had cut from the 7-layer glass bracket stock I made a while back for the thigh support CAMLOC fasteners. I then floxed it in place on NB (middle left of pic) for use in securing the parking brake handle.
Tomorrow I’m meeting some friends for lunch over in Maryland, so it will probably be a bit shorter build day. But I will try to knock out as much as I can.