
I started off today by pulling the peel ply and trimming up the layup that secured the halves of the GIB headrest gap cover together… yep, looks pretty much like it did before.
One glaring omission in this blog post is that I rolled right into cutting CF and laying it up on this GIB headrest surround cover… but didn’t grab a pic of it. I’ll of course grab a shot of it tomorrow.
I then got busy knocking out a couple more tasks on the bottom cowling before I sink my teeth into the exhaust pipe configurations.
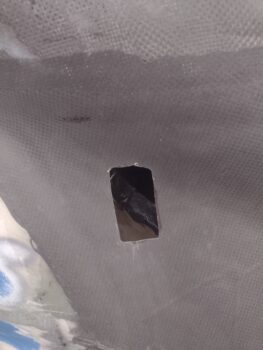
For the clearance bump on the right side lower cowling, I expanded the hole aft and up just a bit… by about 1/4″ each side.
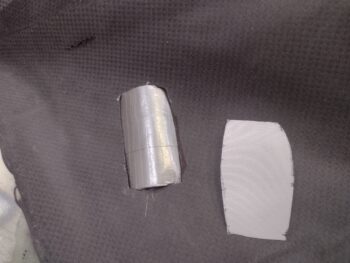
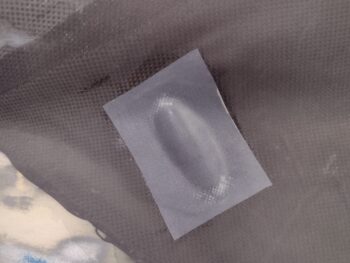
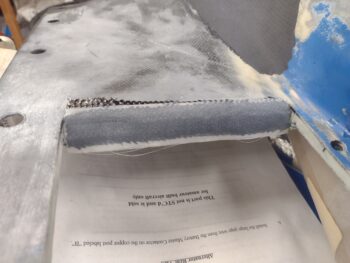
I took a piece of cardboard, taped it up and stuffed it into the hole and taped it in place. I then cut out a piece of peel ply for the face of the exterior cardboard bump form.
I then wet out the peel ply on the taped cardboard area before laying up a single ply of CF.
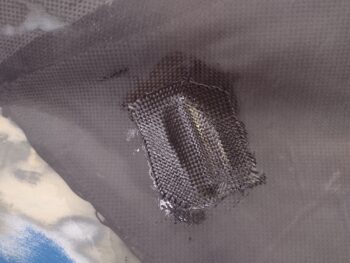
I then peel plied the CF layup. To be clear, these pics look like an optical illusion to me, where they seem to show a depression in the side of the cowling, when in fact it is a bump outward… just in case these pics are playing tricks on your eyes too!
At RR I spoke with Terry Lamp, the builder of Marco’s Long-EZ JT, as we actually sat underneath the plane. I had never really looked at the exit side of JT’s oil cooler and realized that the edges were all angled out from the oil cooler surface. I asked Terry about why he did that… he stated that they claimed that it helped with better oil cooling by exiting the air out of the cowling/cooler in a more efficient manner. He also noted that the only requirement was for the aft side, but he did the other 3 sides just to make it look the same on all sides.
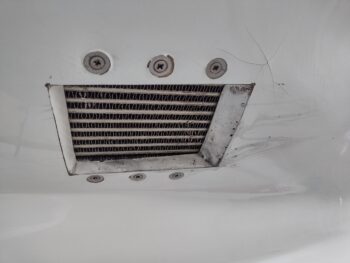
Well, with JT’s great cooling characteristics, both in regards to CHTs and oil temps, I want to do everything I can to help optimize my cooling as well… so I followed suite and copied that oil cooler exit mod. But only on the aft edge.
I started by marking the bottom cowl surface and the inside oil cooler support wall with about as much angled trimming that I could get away with.
Then I took my trusty Fein saw and lopped off the corner of the oil cooler exit aft edge.
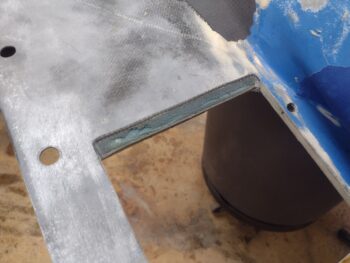
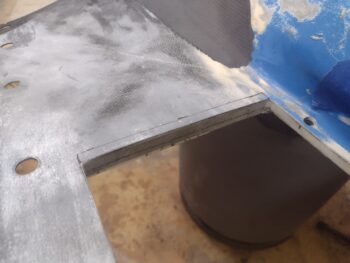
I made flox corners on each side of the angle, filled those, and then filled the surface foam with some thicker micro. I then laid up a ply of CF.

And then of course peel plied the CF layup.
I then turned the shop heaters up and left all these layups to cure overnight.