
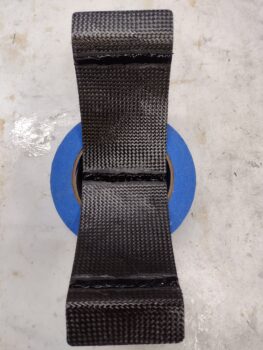
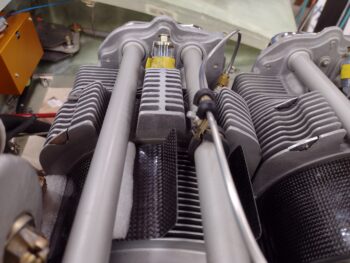
Today I got all the remaining outside cylinder (fore & aft) base baffles glued onto the engine cylinders. I thought I would show one of the baffles here with the Toyota glue applied just before it went onto the cylinder.
Here we have the 4 final cylinder base baffles glued and secured in place, starting clockwise from top left: Aft left/cylinder #1, aft right/cylinder #2, front left/cylinder #3, and front right/cylinder #4.
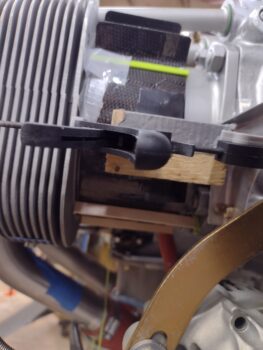
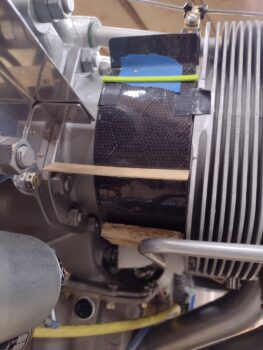
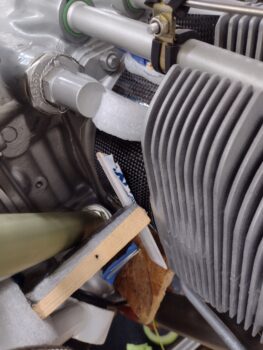
You can see I employed everything but the kitchen sink to secure these base baffles in place during cure, each cylinder/baffle combo clearly being completely unique as compared to the other ones. It took about 45 minutes per baffle to prep, create and dry run the securing accoutrements.
In addition, the Toyota glue needs 15-18 hours to set up for final cure, so I left them to cure and pressed on with some Neanderthal machining.
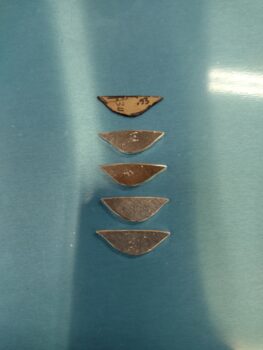
I made up templates (one shown below) for the different sized inboard and outboard fin dip filler tabs since the inboard is a bit bigger than the outboard. I tried to put these into F360 CAD but it was being finicky (or I was) so I punted and just went ol’ skool using the bandsaw and the Dremel with a cutoff wheel to get them cut out.
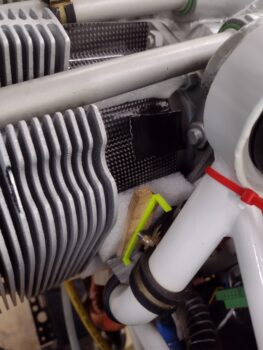
I didn’t grab a shot of the 4 outboard fin dip filler tabs before I glued them into place on the respective cylinders, the left shown here.
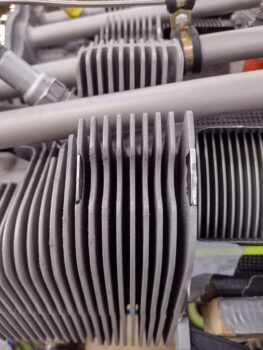
I used 0.050″ thick aluminum on the outboard because the fin at this point is the same thickness as all the other fins, around 0.080″. The final inboard fin on the cylinder head is the thickest of all the fins, nearly 1/8″ thick. Because I had some scrap that fit the bill in not having to cut into any fresh stock, I used 0.090″ thick aluminum on these inboard fin dip filler tabs. Here they’re shown with the template I made up. The marks are again from my Neanderthal machining where I had to use vice grips to hold the tabs while shaping them… these inboard tabs especially are not cosmetic, so I’m not overly concerned about these “tooling marks.”
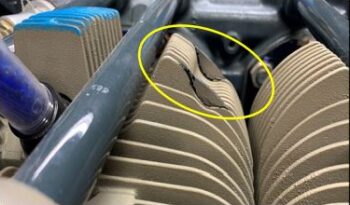
On a few fins, both inboard and outboard, I had to account for paint buildup globs and actually create a divot in the mating edge of the filler tab to allow it to fit flush with remaining dip surface edge.
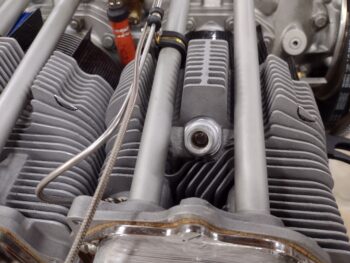
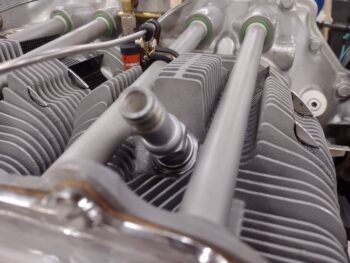
Here we have both inboard and outboard fin dip filler tabs glued in place (Toyota FPIG) on the left cylinders (pic 1) and on the right cylinders (pic 2).
This shot shows the thicknesses of the inboard vs outboard fin dip filler tabs.
Finally, I’ll remind everyone that these filler tabs are my blatant copying of Dave Adams’ same efforts that he wrote-up in a COBA Canard Aviation article.
Tonight was again a very cold night, with frost already forming late in the evening. I put heat lamps under the engine pointing upwards and covered the top of the engine just to ensure there was decent temps for the glue to cure. Tomorrow I plan on installing more baffle segments while also machining the 2 each cylinder #2 fin/baffle standoff supports. At this pace it will be at least another 2 days before all the inner baffles are installed.