
In my quest to install the Mike Melvill designed lower carbon fiber cowling, I need to emulate his process as to how he installed his cowlings. Just as I had to extend the bottom of my firewall down 4 inches to mimic Mike Melvill’s original engine-cooling NACA scoop (which he filled in and glassed over) depth, I have to first create the original plans version cowling lips to then modify to add on the “new” cowlings…. again, in the same manner Mike Melvill did.
Step 1 of my roughly 10-step lower cowling install is to create the 1.6″ original cowling lips on the aft edge of the inboard strake/CS spar. As a point of note, in support of my decision to move forward with the lower cowling install, this 5-ply BID layup is of course way easier to do with the bird inverted than it is upright.
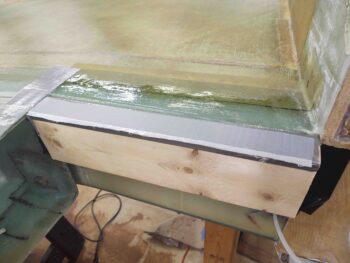
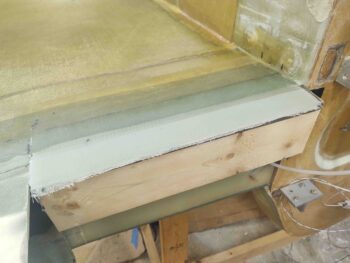
I cut two 2x pieces of wood to length and wedged them between the inboard wing edge and the edge of the firewall. I then taped the sides and bottom edges to ensure they were nice and secure. I then taped the top edge to use as a mold release for the glass.

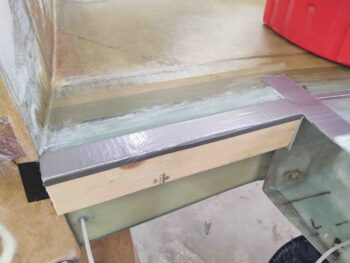
This flange will be what was the original lip that the front edge of the cowling would slide up under and then be secured by screws. CAMLOCs were not allowed along the front edge of the upper and lower cowling per the original design since you couldn’t secure the CAMLOCs to the cowling. Sides and aft were fine to use CAMLOCs since the cowling surface was the external surface, and not slid up under another flange.
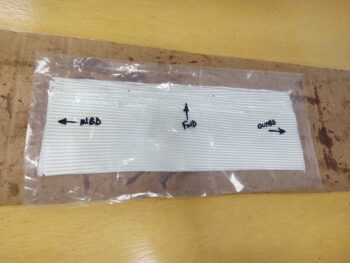
Since I will be adding a second flange from underneath (as situated) which will make up Mike Melvill’s mod to this original lip, I added a strip of 1.5″ peel ply to the top surface of the 2x glass support/mold.
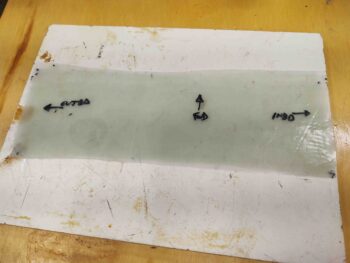
I then cut and prepregged 5 plies of BID. Unlike the plans which has a simple 2″ overlap onto the CS spar, I stepped my plies so that each ply decreased in front-to-back depth by 0.3″. Nothing huge, but I just figured this stepped glass would provide a smoother transition when I finish the bottom strake.
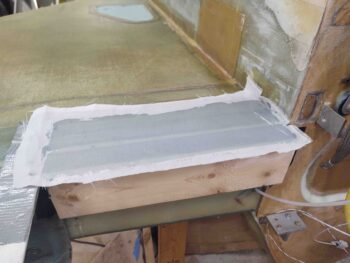
I then wetted out the 5-ply prepreg and laid it up. I then peel plied the layup.
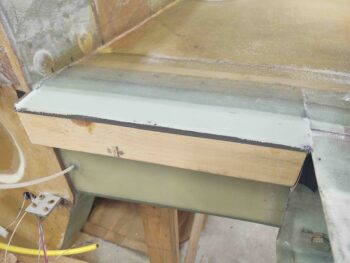
I then cut and prepregged the BID for the other side.
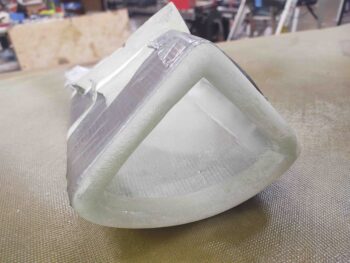
Jumping ahead a few hours, after a good initial cure (I used fast hardener) I pulled the top peel ply off the layups. I also pulled the lip up just enough to separate the glass/bottom peel ply from the taped 2x piece on each side. I still left the wood shelf forms in place overnight however just to ensure these overhanging glass lips were supported during an overnight cure.
After I finished the original layups above I got to work on the Berkut-style armpit air intakes. These came from Feather Light (now Aero Composites) in separate pieces, that although not entirely egregious, did need some work to mate up decently enough before glassing together.
I first started by sanding down all the surfaces on these air intake scoops.
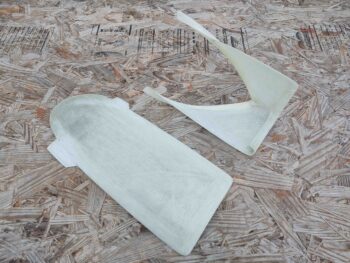
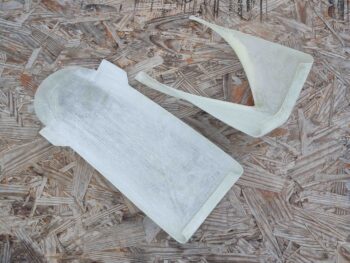

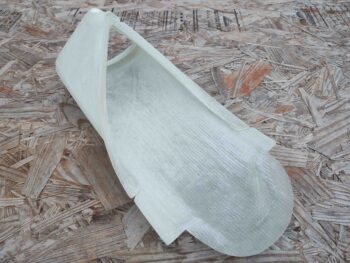
And then a quick shot of how they’ll look once combined together into one piece.
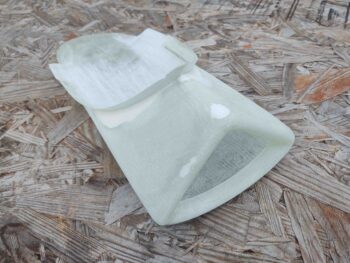
I was able to get the first armpit intake scoop joined together in the correct configuration, secured by duct tape, to allow me to glass a strip of BID in each corner along the inside joint. I used about a 1.5″ wide BID tape to provide a 3/4″ overlap onto each surface.
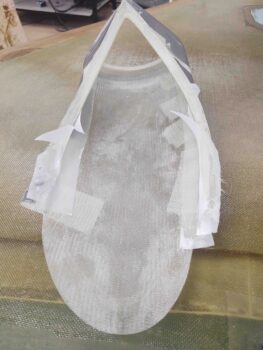
Here’s another shot of the internal glass mating of the first of two armpit air intake scoop.
It was getting late and there’s quite a bit of fine trimming and fiddling around to get these armpit intake scoop halves aligned, so I’ll press forward with the other side tomorrow.
Tomorrow I also plan on pressing forward with my other lower engine cowling install tasks.