
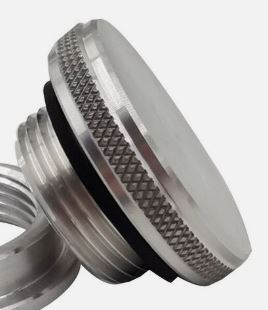
I started off today doing a good bit of research on my oil dipstick, to either buy one outright that would work or gather more info on making one myself. In my research I stumbled upon a post on the VANs air force forum that contained information about a billet aluminum knurled oil dipstick cap with the thread size and pitch that I need (my old Lycoming dipstick won’t work since the thread size is incorrect for the new Superior oil level tube).
With this cap being WAY cheaper than buying a Lycoming or Superior dipstick outright, I went ahead and pulled the trigger on it. Moreover, with its low profile design this oil dipstick cap already works much better in my configuration in regards to required clearance with the top cowl/oil check door than the taller stock caps. I’ll assess this cap after it’s delivered to see if it will work for me (some mods required!)… I’m cautiously optimistic that this thing will fit the bill.
I then spent a good little bit of time aligning and drilling the through-hole in the cross shaped left inboard inter-cylinder baffle before adding a grommet and then installing it. As I did on the right side, I also installed the 90° right angled tab using both glue and the 1/4″ bolt that secures the fuel injection distribution “spider” bracket. Also note that I did the final install of the -4 fuel line to the fuel spider.
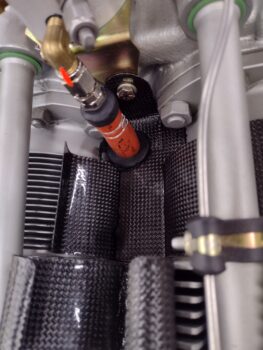
Knocking out these left side inter-cylinder baffle pieces finishes off the installation of all the CF inner baffles. I will have some minor gap fill tasks to complete, but for the most part I’ll be heading back to finish off the aluminum baffle installs.
I then knocked out a task I’ve had on my to-do list for quite awhile: machining the wing leading edge light mounting bracket, or at least a test bracket to check out both its weight and functionality. I’ll also remind everyone out there that these wing light installs are a prerequisite task to micro-finishing the wings.
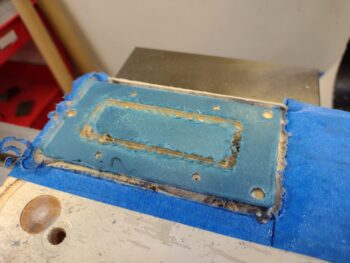
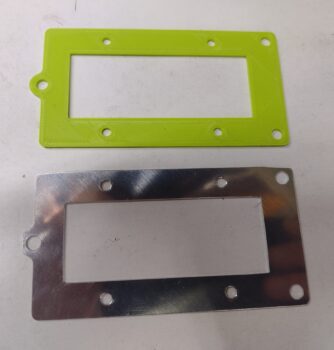
Here is the freshly machined wing leading edge landing light mounting bracket which I milled out of some scrap 0.032″ thick 2024 (from the aluminum baffles). The aluminum stock wasn’t a perfect specimen size-wise (a hair short in width and on height at one corner), but definitely close enough to provide a good working test bracket.
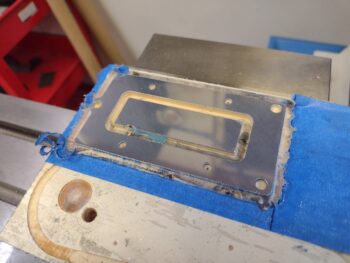
Here is the cleaned up newly machined wing leading edge light mounting bracket along with the previous 3D printed initial test bracket.
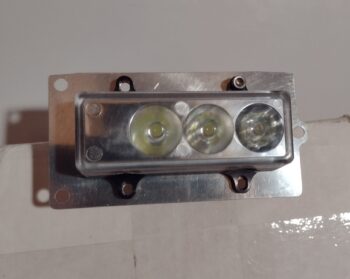
Finally, here is the machined wing leading edge light mounting bracket with an LED landing/wig-wag light test fitted into the bracket.
Tomorrow I plan on starting on the lower aft aluminum engine baffles. I’ll also be working on finalizing the trimming and final configuration of the exhaust pipes as well.