
Today was a carry over of sorts from last night’s assessment phase.
First, off I had marked the aft sides of the top cowling for trimming so each would flow better into the trailing edge of each respective wing.
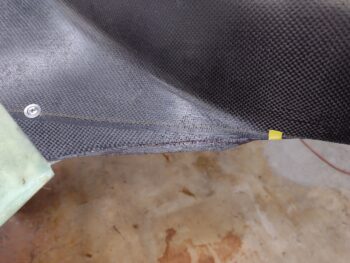

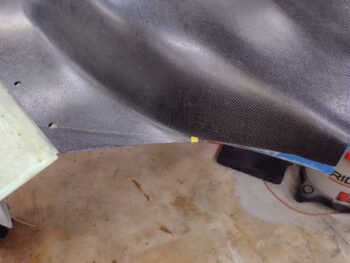
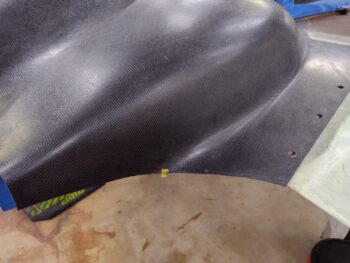
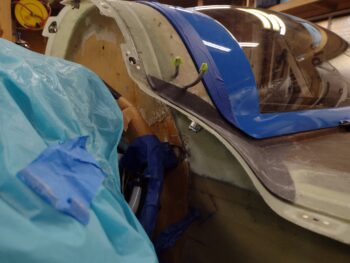
Today I started off with trimming those aft sides of the top cowling and then proceeded to take the top cowling off without grabbing pics first. So here’s the top cowling just set back in place for the pics.
The yellow tape on each side is about the same distance forward from the very aft opening of the top cowling. This tape represents the transition from vertical to horizontal and will come into play when I create the actual cowling trailing edge. Everything outboard of the yellow tape will be a sharp trailing edge with an underside lip that extends forward about 1.5″ (like the plans cowling), and everything inboard/aft of the tape will just be a vertical wall that wraps around the aft cowl opening.
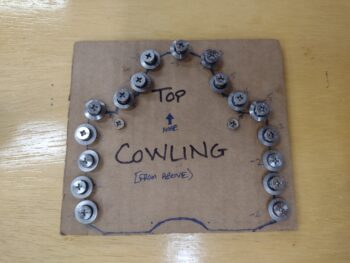
I then spent a good half hour creating a hardware card for the top cowling. These of course are very handy and keep the CAMLOCs organized.
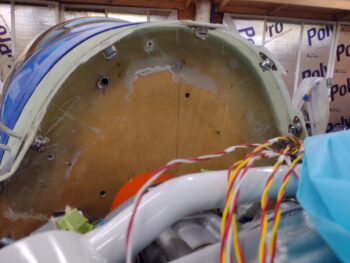
Here’s a shot of the left wing floating CAMLOC/SkyBolt receptacles, as best as I could get it with the bottom cowling in place.
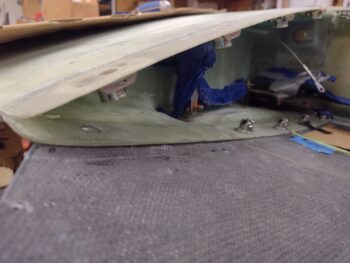
And here we have a couple shots of the CAMLOC/SkyBolt lightweight SS receptacles along the top cowling front edge mounting flanges. Yes, I still need to clean up the dead glass off the firewall from the flange layup.
I then spent a good amount of time mocking up and figuring out exactly the install position of the oil cooler.
That of course required some decisions to be made so I spent some time doing a bit of research as well before taking the scalpel to the lower cowling.
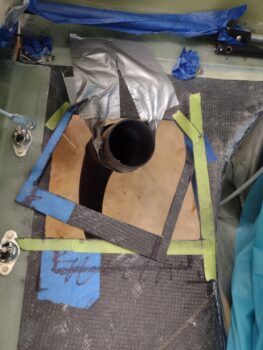
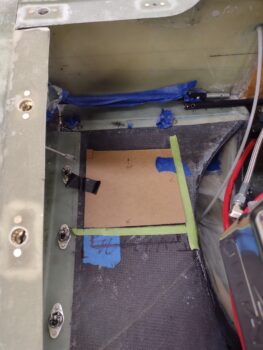
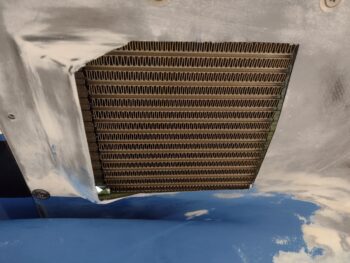
Here’s where and how my oil cooler will get installed. I’ll note that I have 13-row oil cooler whereas Mike Melvill had a 17-row cooler. You can’t go aft very much before the cooler is too close to the #3 cylinder, so Mike had to go forward into the little drop down scoop… about an inch into it.
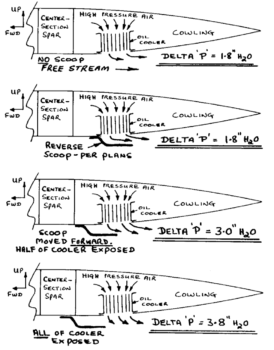
I’ll remind everybody what that scoop does, which was employed by Dick Rutan on his historic round-the-world Voyager flight. Yes, it may create a little drag, but it greatly increases the flow of air through the oil cooler by essentially sucking/drawing the air out of the cooler. Again, with a slightly smaller oil cooler and moving it about an inch aft I can get just about every bit of Delta ‘P’ action as shown in the bottom diagram.
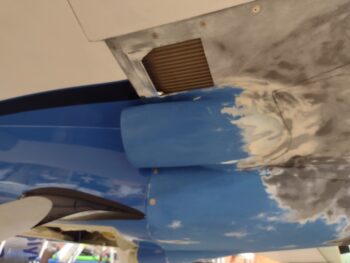
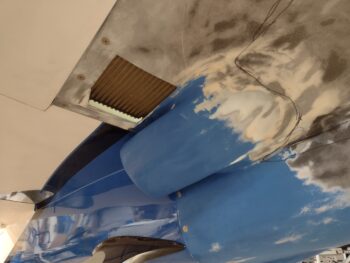
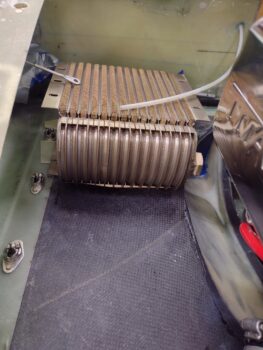
Here’s how that looks close up. I actually trimmed off about the aft third of the side triangular piece from each side as well (no pic).
And here’s a general idea of how the oil cooler will look. Over the years I’ve had about 3-4 plans on how to install it, and then this year alone I’ve had 2-3 different thoughts on how to install it. I’ve confirmed (to myself) that I’m going to install it primarily to the left wing root, at both the top and bottom cowling mounting flanges, but even that actual how-to and configuration plan has changed about 3 times just today.
Tomorrow I’ll start glassing the mounting tabs, etc. to get the oil cooler installed, while I also intend to knock out the cutting out and glassing of the top cowling oil check/dipstick access door.