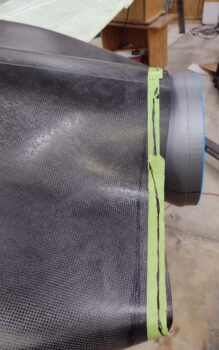
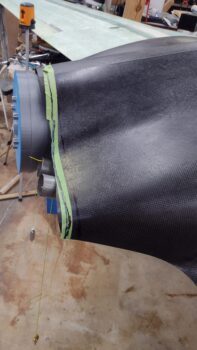
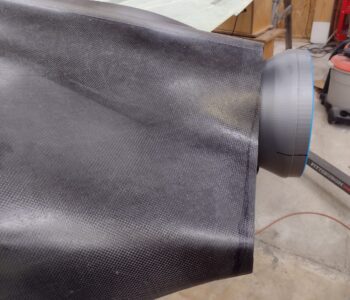
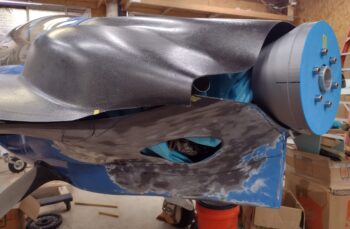
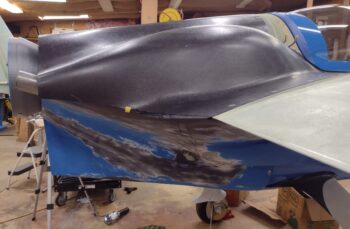
Apparently these huge grasshoppers showed up on my kitchen window to help me celebrate yet another significant milestone on the plane build: I’m declaring the top cowling is officially installed!
I decided to plow forward with getting all the CAMLOCs and screws knocked out in one fell swoop today and get it over with.
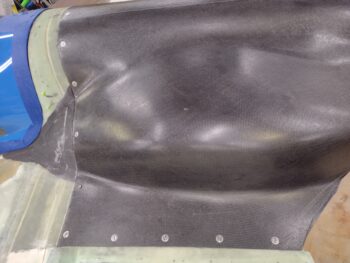
I started on the front edge and got the last 2 CAMLOCs and the screw platenut on each side installed.
Again, these screws here are just easy to get in and out screw/bolts that will be replaced with SS CS screws. However, since this is a regularly accessed area I will NOT be using the “Melvill” SS hex head screws here. Those are reserved for components that are rarely removed like ailerons and rudders, and in areas that I want to look particularly sexy! <grin>
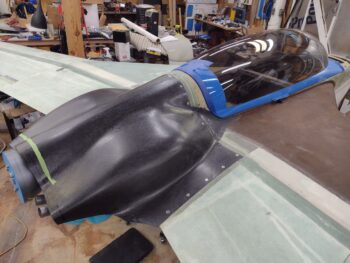
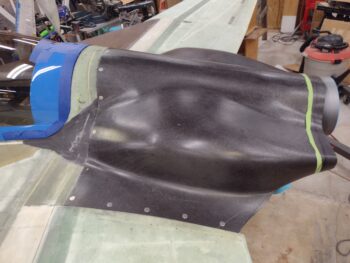
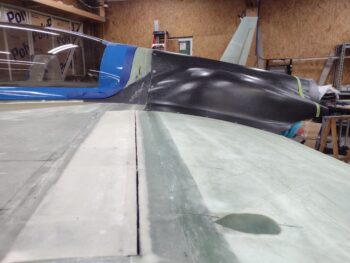
A couple more shots of the top cowling in place with ALL the CAMLOCs and screws installed.
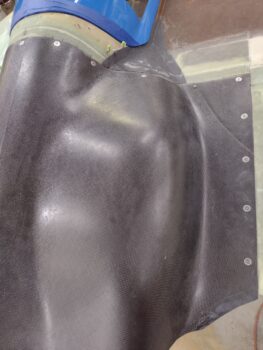
I know I promised a pic of the inside of the flanges to get a look at the top cowling CAMLOC receptacles, but that will have to come in the next day or two.
Here’s a good look at the right side of the top cowling replete with installed CAMLOCs.
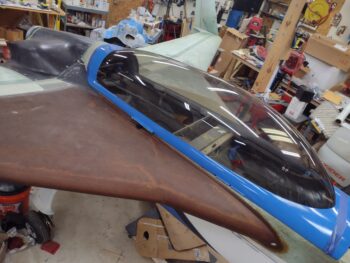
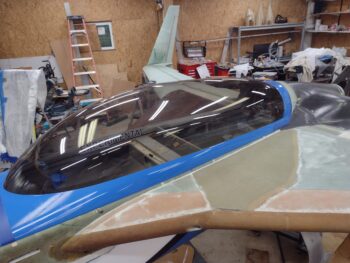
And now that I’ve convinced you that the top cowl is in fact secured to the aircraft, a couple of CnC (Cowl and Canopy) shots!
Let’s check the canopy/D-deck/top cowl angle knowing that it’s secured in place… not bad!
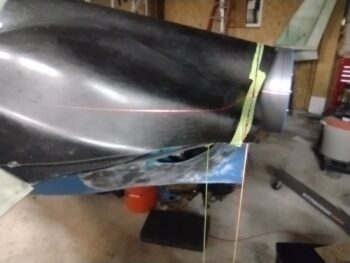
I then dimmed the lights and broke out the laser level to start down the machinations road of getting the aft edge of the top cowling trimmed. This is one of those take-a-deep-breath-and-dive-right-in events that seem to happen at too many intervals on this build!
Note that I dropped a plumb line on the aft opening of the lower cowling (oh, I installed the bottom cowl btw) as both a reference to the lower cowl opening edge and also to verify that my laser was shooting level vertically.
I transcribed the bottom cowl outer edge line to the bottom outboard edge of the top cowling, and used that and the inboard plumb line to mark my cut line.
I then did the same thing on the right side, dropping yet another plumb line. It was then that I realized I had a slight offset issue with my laser shots since my lines met at the top cowl centerline about 1/4″ off from each other.
I realized one reference wasn’t good enough to really get 90° so I lined up my laser shot to hit both plumb lines and the outboard reference mark, on both right and left sides.
Bingo! That did the trick.
Since my marking tape was all marked up, and it was a bit dark and I was wearing the red protective “Bono” glasses, I just went ahead and marked the laser line with the forward EDGE of the tape.
Again, I grabbed my TRUSTY Fein saw, took a deep breath, and trimmed the aft edge of the top cowling.
The only minor issue I encountered was cutting the top cowling joggle near top centerline resulted in a bit of a slight line movement forward… of course this can be remedied at finishing but may take a ply or two to reestablish that very faint indent forward.
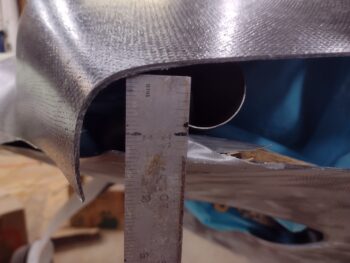
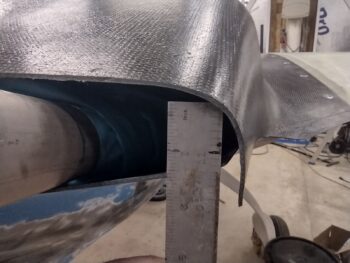
To show you the tightness of the outboard gap between top and bottom cowling, I grabbed these shots with a ruler. Now grant it I could have alleviated some of this narrowness by cheating on the top cowl angle a bit, but I wanted to maintain that angle as near-perfect as I could make it out to be.
The current vertical gap is about 1.3″ on the outboard sides. I’m actually not going to increase it a whole lot… probably just a hair under an inch more (bottom cowl lip lower) since I’ll be shifting the exhaust pipes a bit more inboard; again as per Mike Melvill’s write-up in CP83.
From the outboard part of the aft cowling opening moving inboard —right where it starts to really expand/open up around the spinner— is currently about 3″ high. I only plan to open that up to less than 4″, just enough to ensure good vertical clearance on each side of the exhaust pipes.
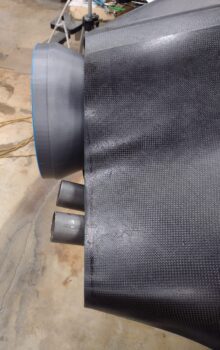
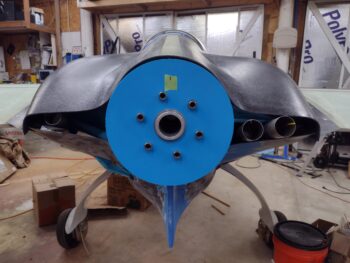
Here’s some afterthought “Oh yeah, I installed the bottom cowling btw” pics…
Moreover, after a few more minor shenanigans with the top cowling over the next couple of days, I then plan on throwing myself headlong back onto the bottom cowling for major rework & reconfiguration that needs to happen for both exhaust pipe clearance and to tie in the top/bottom cowling interfaces.
Yup… more good stuff. Pressing forward!

