
My goal by the end of this evening was to have all the flanges glassed for the top cowling and to have a minimum of 7 CAMLOCs installed to secure the top cowling.
Well, I’m happy to report that I met my goal. Not in the timeline I was looking for (I busted that by about 1.5 hours), but I got ‘er done!
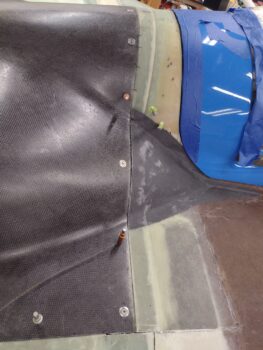
I started off by pulling the peel ply on the left wing flange that secures the top cowling on the left side. Again, I used 5 complete plies (as per plans) since I wanted it as robust as possible since I’ll be using this flange —in part— to secure the oil cooler to. The main mounting of the oil cooler will be on the bottom left wing flange that secures the bottom cowling. Both flanges will be beefed up in those localized areas for use in oil cooler mounting.

On the exterior side I drilled the holes for and installed Clecos to secure the top cowling to the newly glassed flanges.
I then removed the weights and the tape as the initial cleanup phase.
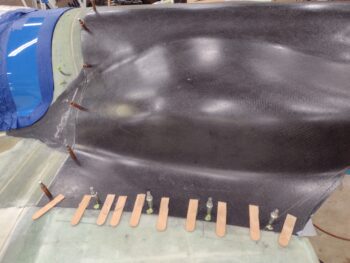
And then spent a bit of time knocking off all the hot-glued on popsicle sticks.
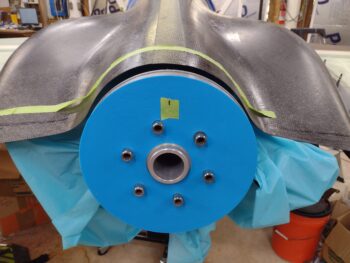
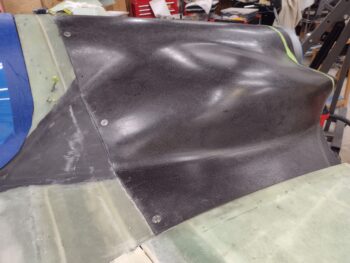
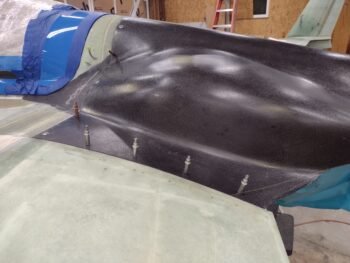
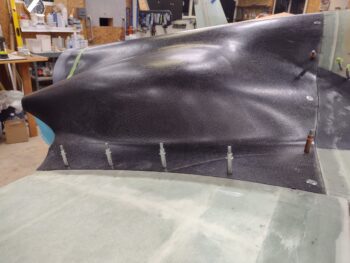
Here we have the entire top cowling secured to its mounting flanges via Clecos.
Although having all the flanges glassed in and the top cowling completely secured with Clecos to those flanges is cause for celebration, I do have a very minor casualty in my top cowing install: my centering tick marks show that I’m off to the right about 1/16″. I again included 2 pics so that my camera alignment would have only one set of tick marks centered.
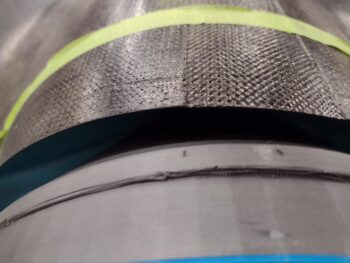
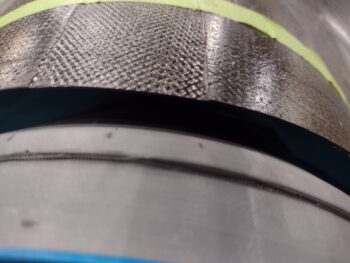
I’m fairly certain this happened when I had to wrangle in the right trailing edge of the cowling to get it to even up with the wing. You can see the 2 O’ Clock position of the cowling aft center is slightly lower and the 10 O’ Clock position, which is hair higher. Interestingly if you push down on the aft flat portion on the left side of the cowling about 0.1″ it straightens it right up.
There’s a lot more steps between now and final top (and bottom) cowl configuration, so I’m sure I’ll be able to tweak this back to symmetrical… just an interesting tidbit I thought I’d share.
I then removed the cowling and pulled the tape from the inside front right edge BUT kept the inside edge tape along the left side cowl in place for the next and final cowl flange layup.
First I pulled the peel ply, marked and trimmed the left wing top cowl flange. I am loath to point this out, but yes I have another few air blemishes that popped up (again: annoying!).
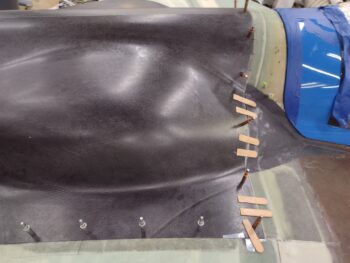
On the right front I pulled the topside peel ply and then marked the flange for trimming.
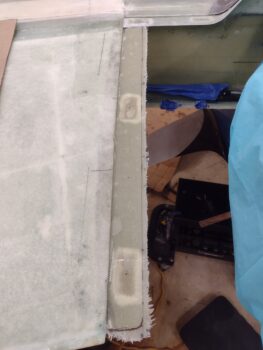
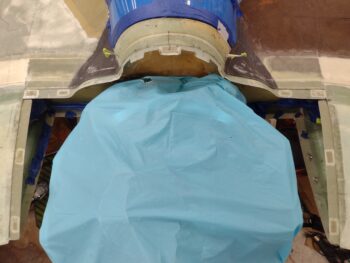
Here’s a pic of all the top cowling perimeter mounting flanges in a Π shape around the engine.
But wait! There’s more!
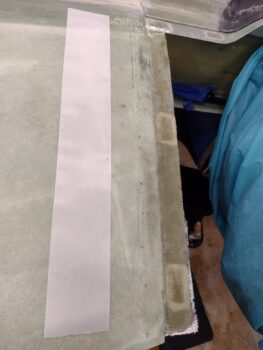
I added another strip of tape down the inside right edge of the cowling in prep for the final top cowling flange layup: the top 1-ply BID strip that overlaps the top of the wing onto the top of the top cowling wing flange.
Actually, before I laid up any glass I drilled tiny holes and injected nearly a dozen total little air pockets, blemishes, etc. I would say I was successful on a little over 2/3rds of those. BTW, with the G10 inserts being flat, I get their tendency to have hard time with not having a bit of air on the face of them. I should have added a bit of wet flox on the top side to allow them to conform better on the curves. I did hit the tops of those as well. All in all I would say this sideline task was a success, and got rid of quite a few of these uncommon air gaps.
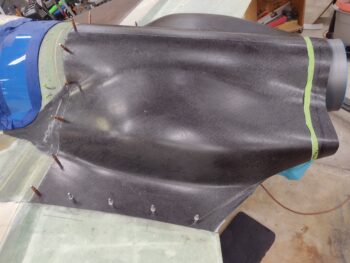
In the first pic the strip of BID is in place and wetted out, while in pic #2 I’ve added the peel ply that you see beside the layup in pic #1.

I laid up and peel plied the right wing edge flange the same as I did the left above.
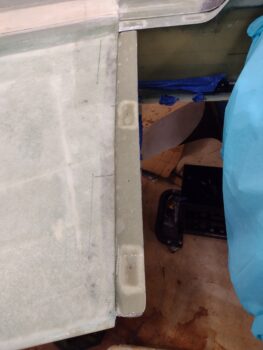
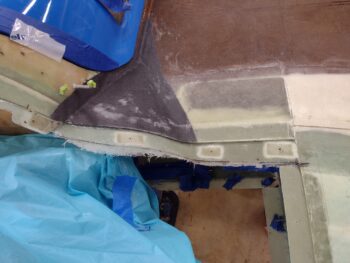
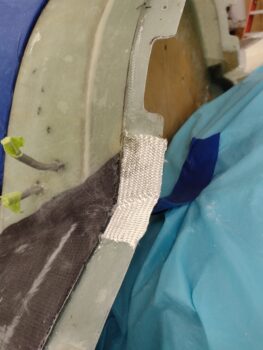
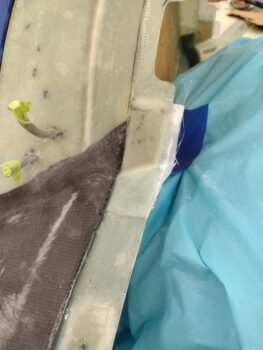
I also added a 1+ ply (some small filler BID pieces as well) layup in the corner on each side where the shoulder flange meets the D-deck flange. This should clean up that transition nicely.
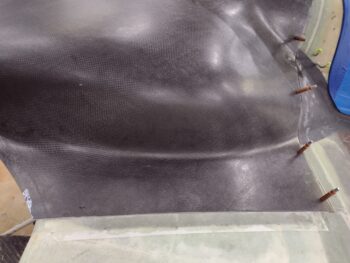
I then set the cowling back in place and installed all the Clecos along the front edge.

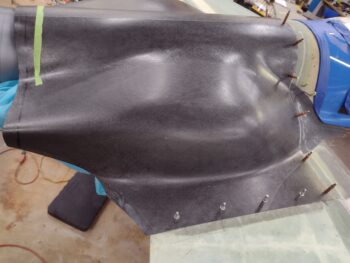
Clearly I couldn’t install the Clecos along the cowling wing interfaces since I had just laid up a ply of BID on each side, so I resorted to weights once again to ensure the top cowling was in position on the wing flanges.
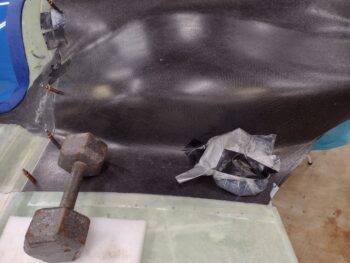
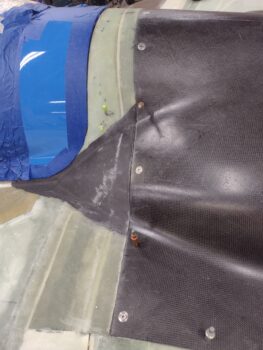
Here’s a pic of that on the right side. Again, that pesky trailing edge piped up and was just a hair proud.
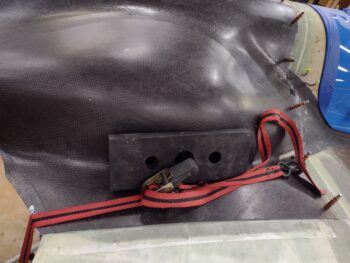
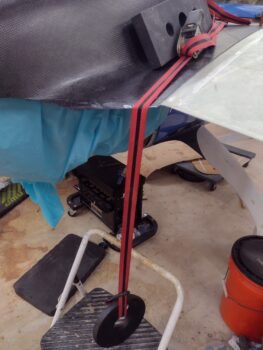
The center weight was already in place, so I grabbed 2x 2.5# weights and slung them onto a tie-down strap and hung the weights over the right side trailing edge. It worked a treat in keeping that aft edge in place. In fact, when I went to hang the weights down below, they just barely rested on the step stool I had below… literally the perfect amount of pressure and completely unintended with the step stool!
A few hours later I pulled the weights and removed the Clecos. I knew the MGS with fast hardener was about 90% cure… to the point you could remove the peel ply without it giving any hassle or being stubborn.
I then spent well over the next 2 hours installing 7 CAMLOCs along the front edge of the top cowling.
I didn’t mess with the corner just above the shoulder on each side since this had just been glassed and I wanted to let it get a full cure overnight before installing those CAMLOCs.
The final unfinished outboard position on each side (#2 in from corner) actually gets a K1000-3 platenut since I’ll be using a stainless steel CS screw in these spots.

As for the CAMLOC (technically SkyBolt) receptacles, I’m using the non-floating lightweight stainless steel receptacles all across the front edge of the cowling (except the 2 screw points, obviously). However, along the wing flanges I’ll be using the aluminum floating self-adjusting CAMLOC/SkyBolt receptacles… which is good because I have a good number of -2 CAMLOC studs that are too short to use elsewhere and need a good home!
I’ll get some pics of the receptacles tomorrow. It’s well past midnight and I’m beat, so time to call it a night!