
I started off today by drilling the fastener center holes for Clecos in the top cowling right wing lip that I laid up last night. I then pulled the Gorilla duct tape that was helping secure the cowling in place.
I then did the same thing on the left side for the front edge of the cowling, with holes drilled and Clecos in the new cured lip along the strake and shoulder. I also removed the duct tape here as well.
I then removed all the hot glued popsicle sticks along the left front edge of the top cowling, although I left the wood tabs along the left wing edge.
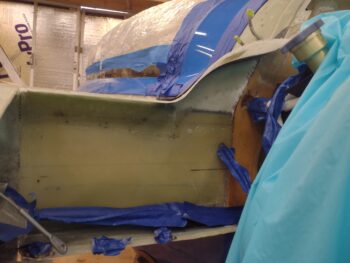
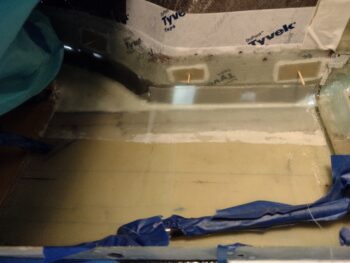
I then removed the top cowling and pulled all the tape off the inside edges of the cowling. I then pulled the peel ply off the new lips, both along the right wing top . . .
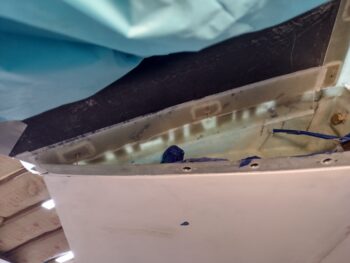
And off the top of the newly glassed left side strake and shoulder lip. I also pulled the peel ply from the underside of the new left-side lip and the face of the CS spar and shoulder aft foam wall.
Again, despite my best efforts of fighting them as best possible, I found a few more void spots that I am not happy with… I’ll correct these in the near future. I’m thinking MGS has a new number for their hardener and it may not age as well as the good ‘ol stuff because I’ve obviously been doing this for a good bit and haven’t seen this type of issue in all my years of building.
Regardless, I’m just about to the end of both jugs of MGS (285 and 335) and just ordered a gallon of Pro-Set to use in finishing out out all the upcoming layups. [Regarding MGS: 1) It’s nearly $300 a gallon for the 285, and 2) I’m not liking the new hardener as I just mentioned].
I failed to get pics of my trimming both new sets of top cowling mounting lips/flanges, as well as my marking and cutting the cowling front right and left side wing-interface for the ensuing top cowl mounting flange layups.
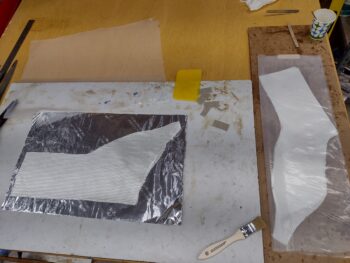
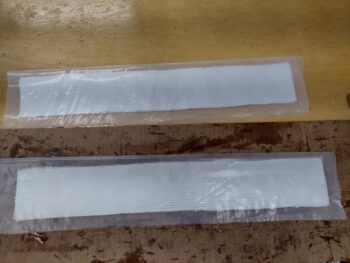
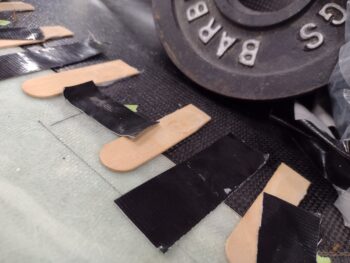
Thankfully my pattern for the left side strake and shoulder BID plies was about 95% good for the right side, with only some very minor tweaking required. With that, I cut out the initial 2 plies (that covers the entire shoulder foam aft wall —overlapping onto the CS spar below) and then the remaining 3 BID plies that is mainly for the flange portion of the layup, which I used my traditional plastic prepreg.
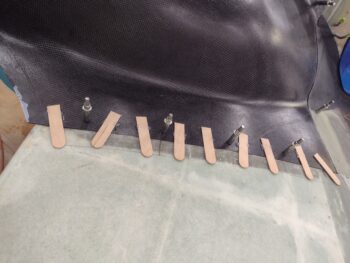
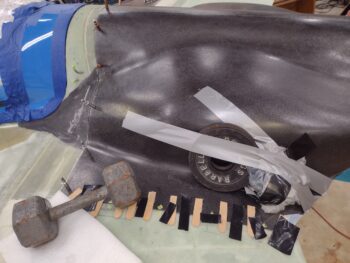
After taping up the cowling edge and adding peel ply to that edge, I then installed the cowling with the Clecos and secured the right front edge position with hot-glued popsicle sticks, Gorilla duct tape and a weight on the corner.
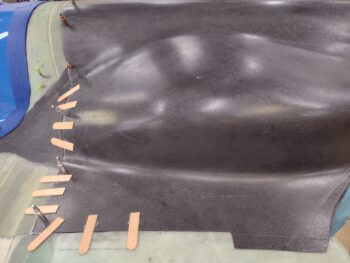
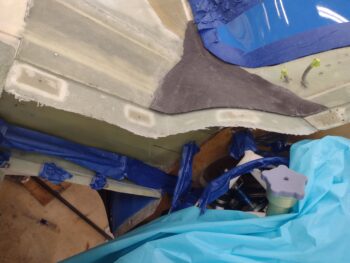
Here’s the 5-ply BID layup. I took 2 pics to show the entire layup since the light beam only hit one side or the other. Also note that I only peel plied the lower side of this layup since admittedly it was late and I didn’t see a ton of value added in all the effort of peel plying the upper side of it.
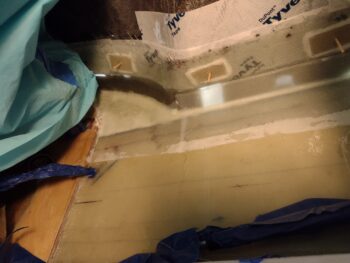
As you can see in the pics above I used the toothpick trick again for the added G10 phenolic hardpoints, and below you can see them peeking out from the upper left of the pic down to the lower right.
For the left side wing flange I used 5 plies of BID (vs primarily 4 on the right) since I’ll be adding another fastener mounting hardpoint (1/16″ G10 phenolic) for a screw to secure the oil cooler mounting arm (I’ll actually be mounting the oil cooler to the left wing root, including an additional 4 screws to secure it to the lower cowling, or rather the lower cowling to the oil cooler… clearly these 4 screws will need to be removed from the underside of the bottom cowling to remove it from the plane, while the oil cooler will stay attached to the left wing top and bottom flanges).
After cutting the BID for the left side top cowling-securing flange, I prepregged 2 plies in one setup while the other 3 plies went in a second prepreg setup.
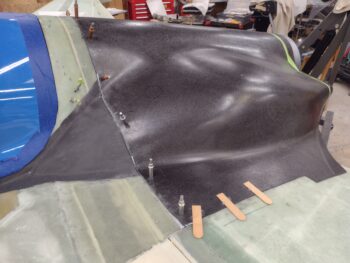
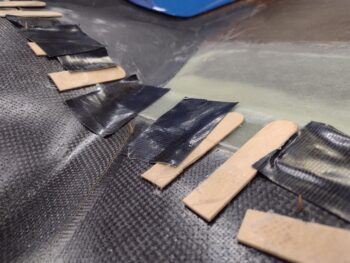
And as I did on the right side, I secured the top cowl left side even with the wing with popsicle sticks, Gorilla duct tape and weights (no trailing edge clamp required here).
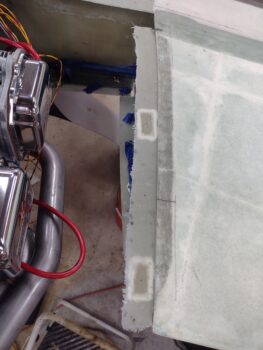
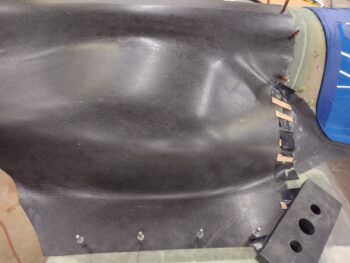
I laid up the first 2 plies in standard fashion, then embedded the 2x G10 hardpoints into the 3-ply BID prepreg setup to then lay that up… again using my toothpick trick.
Here we have the 2 toothpicks peaking through the surface of the upper cowling, again one in the very upper left corner and the other in the very lower right.
And with the layups looking good (and hopefully air free… so annoying!) I called it a night.