
I started off today by drilling holes in the CAMLOC positions for Clecos before pulling the top cowling off. I then pulled off all the tape and cleaned up the inside of the top cowling.
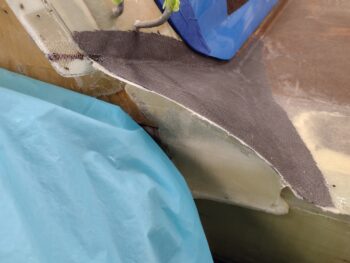
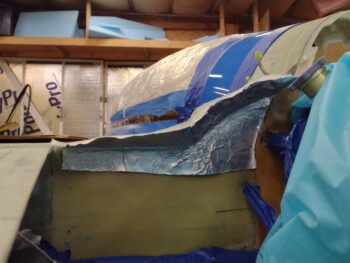
My next task was to investigate how my aft vertical “shoulder” pour foam dams held up on each side. I’d say there’s room for improvement, but since I doubt I’ll ever being dong this again I’ll just have to deal with all the pour foam that leaked down the inboard side of the strakes . . . of course this was one of the few times I was not cautious of protecting stuff below with painters tape!
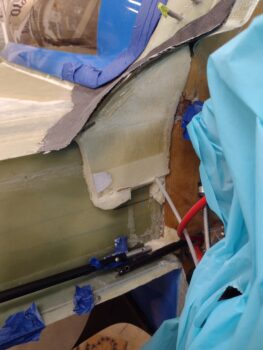
Here we have a bit of a mess… you can see some of the temp quick disconnect hardware was engulfed in pour foam!
All in all it wasn’t horrible, and it took me a good 10 minutes per side to clean up the mess and then I got to shaping the shoulder pour foam on each side.
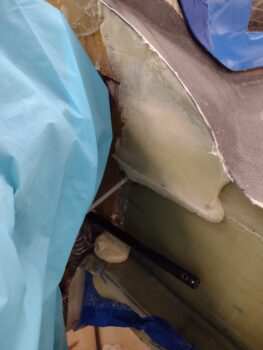
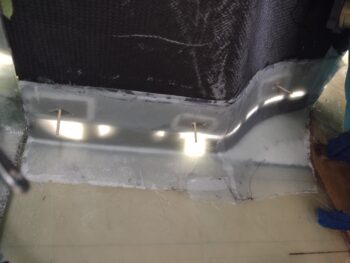
Also note the bottom edge of the D-deck flange where I’ve marked it for trimming, so I can connect the strake and shoulder flange to the D-deck flange with overlapping glass.
Although I hadn’t yet completely cleaned up the right side shoulder foam, here you can again see the lower edge of the D-deck flange marked for trimming.
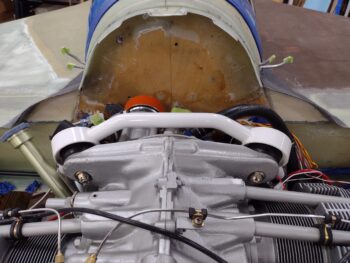
After both shoulder foam cores were shaped for glassing and the lower edge on each side of the D-deck flange trimmed, I grabbed this pic:
I then remounted the top cowling and spent some time assessing and marking up the cut lines to trim the front left edge of the top cowling, as well as the right side that mates with the right wing.
I was originally considering glassing the flange along both front cowling edges, but then decided against it in order to limit my variables and better control the mating surface elevations.
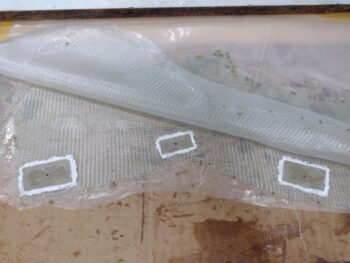
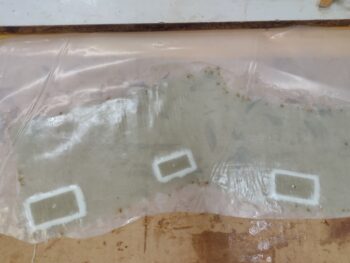
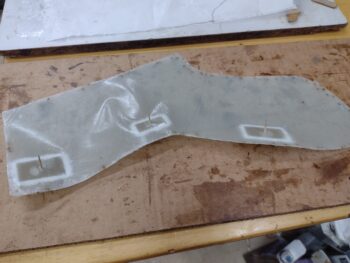
I spent a good couple of hours getting everything planned out and prepped for glassing the left side strake and shoulder flange, which I did with one layup. I laid up 5 plies of BID total, with the first 2 plies completely covering the aft foam core of the shoulder.
This initial 2-ply layup overlapped onto the CS spar adjacent to the firewall (below the foam). Since I didn’t overlap the layup onto the actual firewall, I made a “flox” corner (although I used dry micro to save weight) at the junction of the foam and the firewall. Also note I tried out using aluminum foil for “prepreg” vs the plastic I almost always use.
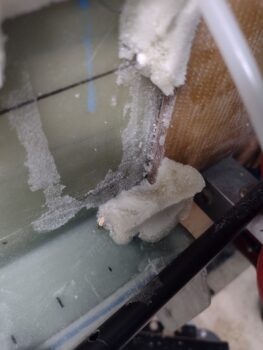
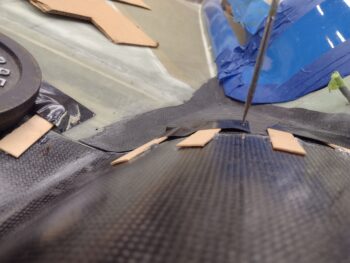
After my not-so-stellar emplacement of the embedded G10 hardpoints on the D-deck flange, I decided to employ a little bit different technique. I still made up the 1/32″ G10 phenolic tabs as I did before, but this time I predetermined where my fastener positions were going to be in the top cowling and drilled a small hole at each one.
Before embedding the G10 hardpoints I drilled a small hole in the center of those as well.
I then ran half a toothpick through each hole in the G10, and obviously through the BID as well, before laying up the 3 ply prepregged BID layup.
Then I used the pre-drilled holes in the top cowling as a position guide and simply pushed the toothpicks that were in the G10 tabs into the holes of the cowling. It worked a treat and quite EZ-PZ!
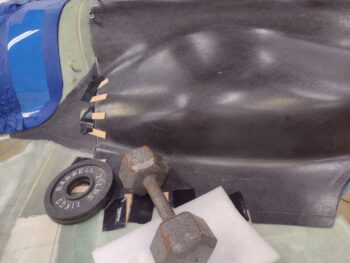
Here I’m pointing at the toothpick peeking through the top cowling on the shoulder. If you look closely over on the left of the pic —next to the glued-on popsicle stick— you can see the center toothpick also peeking out.
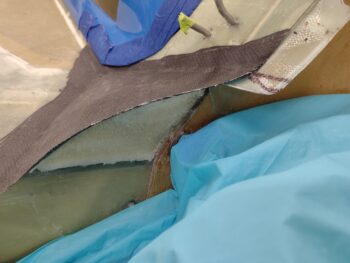
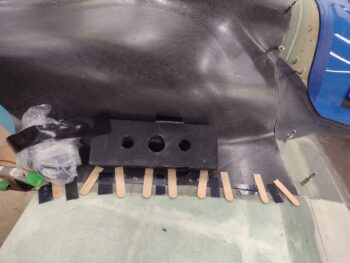
Here we have tape, popsicle sticks and weights holding the left “free floating” cowling (since there is no more front cowling flange) in the correct position as the underside layup cured.
In my attempt to be as efficient as possible and to get the top cowling installed in the least amount of time, I also laid up the top cowl right wing flange as well. Since I have the G10 hardpoints in 2 of the 4 positions —with still one more upcoming ply of BID on the top side that overlaps onto the wing— I decided to go with 4 plies overall, with a reinforcement ply at the bare (no G10) positions.
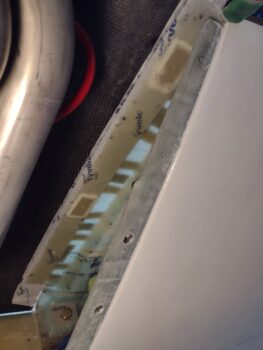
As on the left side, I used tape, hot-glued popsicle sticks and weights to keep the top cowl in position as the underside layup cured. However, to keep the cowl trailing edge wrangled in position I needed to add a clamp into the mix.
Tomorrow I plan on doing the opposite of what I just finished tonight, by glassing in the front right of the top cowling flange and the left wing flange as well.
And with that, I called it a night!