
Happy Thanksgiving everyone! Yes, even those of you who don’t celebrate the holiday (you know who you are!).
Well, I am THANKFUL that I was able to get a significant task knocked out today: the initial layup on the lower cowling right side aft/inboard exhaust pipe clearance bump. Again, this is the LAST of the clearance bumps, divots, channels, etc. that I plan on doing at this time, or see any further requirement for!
As I said in yesterday’s post, it was too late to make up a wood template/form last night, but that was the first and only thing on my list today —ok, and hot-gluing it into place— before heading over to Jess’s for a wonderful Thanksgiving feast! (All Keto too! Thanks Hon!).
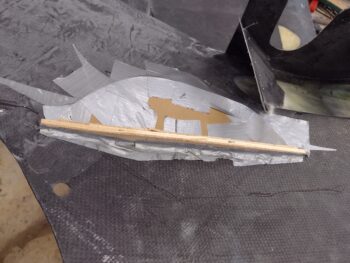
I used my same Metal Brake crate for cutting out this form with my saber saw before then trimming and shaping each end a bit to allow it to fit snugly into place. After I got it all situated, I then hot glued it into place.
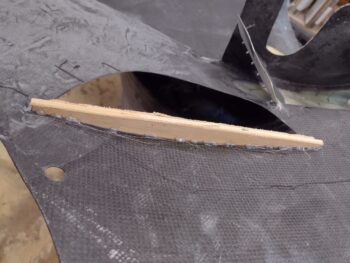
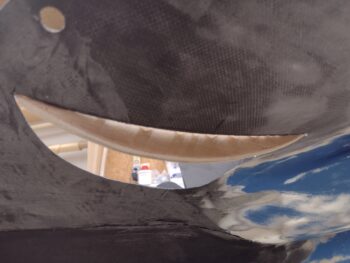
Here’s a lower external cowl shot of the wood vertical “smile” form hot glued into place.
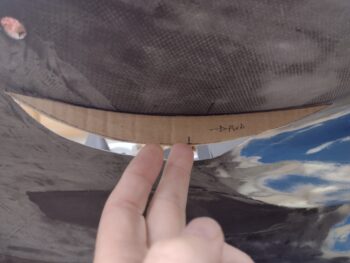
And me checking the original cardboard template against the hot glued in place wood form.
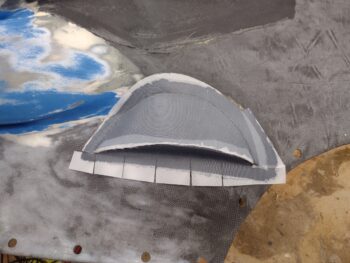
I then finalized the shape of the flatter, horizontal surface-taped cardboard form that I then hot-glued to the wood form’s bottom edge, and then taped into place everywhere else.
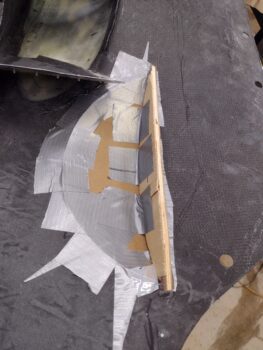
An outboard-in shot of the flatter, horizontal surface-taped cardboard form in place.
Again, in my haste the one thing I failed to take into account when making up the initial vertical cardboard “smile” template and subsequent wood form was the overlapping horizontal thin cardboard form on the bottom edge… that, and then add a couple of plies of tape and then even a ply of peel ply over that. That all served to add a good 0.1″ depth to this clearance bumpout, which obviously was not as much as I was planning on.
Oh, well… moving forward.
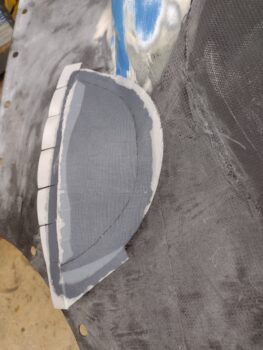
I was on the phone with my son when I kicked off the actual layup and forgot to grab a shot after I had prepped the surrounding CF for layup and of the form taped up with gray duct tape. Here it is after I wetted out the entire layup area and then added peel ply to both the vertical “smile” and curved horizontal parts of the exhaust pipe clearance bump.
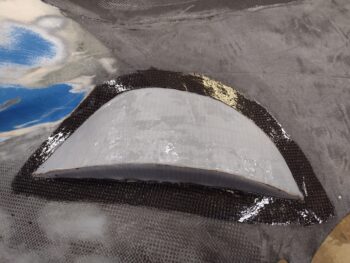
I then laid up 2 plies of CF that I had cut previously (along with the pieces of peel ply). Although a hair more pronounced than I was aiming for, the bump itself is looking pretty darn good (IMO).
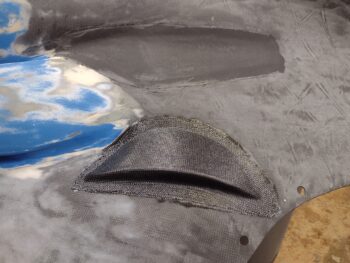
I then of course peel pied the 2-ply CF layup.
And another shot of the peel plied 2-ply CF layup on the external bottom cowling right side aft/inboard exhaust pipe clearance bump.
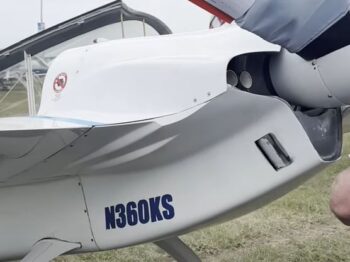
I’ll also provide yet another reminder that for the sake of saving time and effort, I’m shamelessly copying Klaus Savier in his bottom cowling clearance bumps for his exhaust pipes. I’m betting Klaus probably got this about as close to correct as you can get.
Now, that being said… I’ll note the beginning state of my bottom cowl surface is both significantly more sloping/angled inward (not horizontal as his is) and curved fore-aft where I placed my “swooshing smile” type bumpout. The bottom line is I think my clearance is a bit more pronounced than his is due to the starting bottom cowl characteristics.
Nonetheless, the exhaust pipe bumpout that I just laid up should serve its purpose for providing needed clearance and that’s all that matters at this point!
Pressing forward….