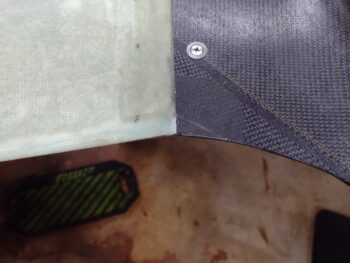
I started off today by trimming the glass and shaping the flox on the small gap fill I did on the left wing inboard trailing edge, where it interfaces with the aft left TE of the top cowling. Once I shaped the wing side, I then mounted the top cowling to check the gap… which obviously looks way better now that it’s filled.
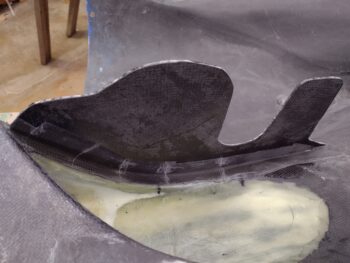
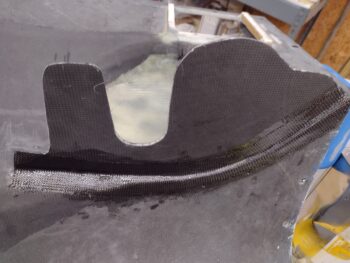
I then removed the bottom cowling, pulled the peel ply off the 1 ply CF tape layup that I did to secure the outboard side of the left armpit intake inboard wall. I then razor trimmed and cleaned up the cured layup.
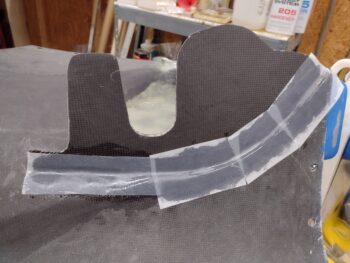
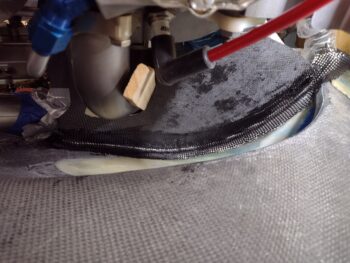
After some more trimming of the left side intake inboard wall to allow better clearances with the cold air induction tubes, I then laid up a 1-ply CF tape on the inside of the left side air intake wall.
I then peel plied the layup.
I had to run out to do some errands for a good part of the day, and upon returning early evening I mounted the bottom cowling back onto the plane and got to work on the right armpit air intake inboard wall. I spent a good 45 minutes trimming the inboard wall and finally got to a point where it was ready to install.
With the cylinders on the right side of the engine offset forward as compared to those on the left, it made the initial layup of the single ply CF tape significantly more challenging than the left side. Another minor issue I had was actually securing the inboard wall in place while I glassed it. For this reason I actually did NOT peel ply this layup as I wanted to minimize any added disturbance of the inboard wall… since I really had to do some contortions to get my hands in there to get this layup completed.
With this challenging layup under my belt, I called it a night. Tomorrow I plan on laying up the CF tape on the other side of the right side inboard wall to finish securing it. I also want to start work on getting the air inlet ramps installed as well.

