
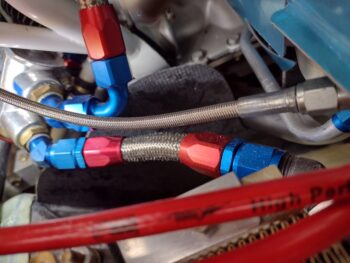
I started off today doing a few sideline tasks as I waited for the top cowl cross rib baffle to cure with the top cowl mounted in place for at least 24 hours, since I used Pro-Set epoxy for the final cross rib baffle layup.
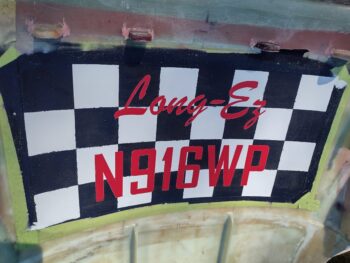
I grabbed the Aft nose/avionics cover and pulled all the surrounding overspray paper off before taking the cover outside and first lightly sanding it with 220 grit before then wet sanding it with 350 grit. This knocked off quite a few nibs but also exposed some underlying colors in the process, such as white dots now appearing in the black squares, which I’ll simply touch up. However, it made a huge difference in smoothness that I could tell just by running my hand across the painted surfaces.
I’ll carve an hour or two here and there out over the next month to attack each color at a time with touchups and let those cure at least 48 hours before going onto the next color. When all 3 colors have been touched up and cured, I’ll then clear coat the panel.
Although I could clearly fly without either the above or this next task being completed, personally I don’t want have a dozen nice-to-do projects staring me in the face after I get this thing flying. Especially since I’m sure I’ll have more important mods to tend to such as ramp vane/engine cooling adjustments, avionics configuration tweaks, etc.
Since I decided to copy Chris Randall’s method of running my fuel vents out the sides of the Turtledeck, it’s clearly made the area surrounding the GIB headrest/engine electronics compartment pretty gnarly and industrial looking.
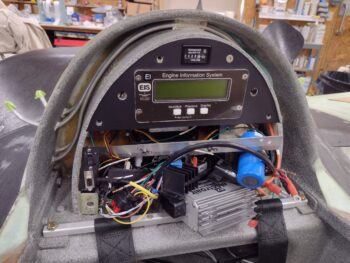

I took about 45 minutes to create a cardboard template that surrounds the GIB headrest and fills the gap between it and the outer Turtledeck shell to hide those unsightly fuel vent lines. However, I will have to do a few rounds of extra layups on this cover mod to allow for the electronics cooling intake and exhaust fans that are at roughly the 4 and 10 o’clock positions when looking at the front face of the engine electronics bay.
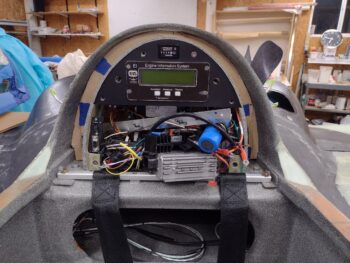
I have a cut OSB (“plywood”) mold that I used for the shape of the GIB headrest that I’ve kept since I made the headrest/electronics bay wall.
Ironically, as I was looking for it out under the carport that hangs off my shop, I ran across the very dirty extracted 2-ply UNI piece of exterior fuselage skin that I cut away to expose the area that I would create the depression for the landing brake on the bottom of the bird. Unlike the plans process, here I taped up the area of the landing brake before glassing the outside of the fuselage… thus was able to simply cut and pull this piece of fiberglass off the bird without all the foam and gunk attached to it.
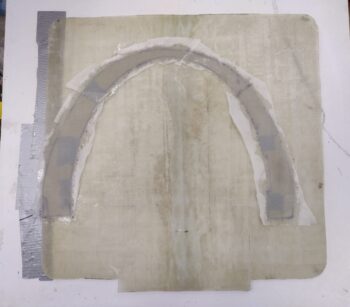
As I was pondering how to glass this GIB headrest surround cover, I was thinking it would be nice to have a starting substrate, preferably one that was all in one piece… clearly I had an Aha! moment and went and retrieved this very flimsy panel of fiberglass I’ve kept around for over 10 years now. I cleaned it up with Simple Green and the hose before sanding it down on the exterior (non-tape facing) side and pressed it into service.
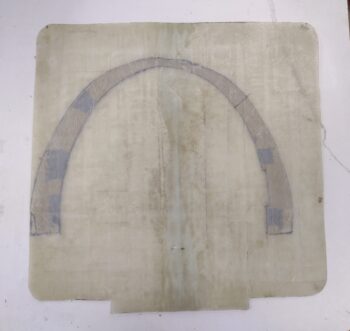
Since this panel is only 2 plies of UNI thick, I wanted to make it just a bit stronger as I add a kink to the lower left side (right facing camera) for the air intake fan. Moreover, my plan is to get the final shape and kinks dialed in and then do one final layup on it with CF as the outboard facing surface… yep, fancy!
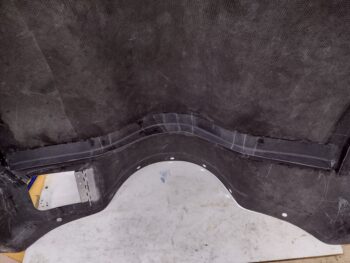
I taped my cardboard mockup template to the back side of the UNI panel and then outlined it with a thick black Sharpie. Since I could see right through it that allowed me to do my initial added ply of BID layup on the front without worrying about messing up my marked line, which just isn’t my layup perimeter, but also my cut line. I then peel plied the 1-ply BID layup (I used West epoxy here with fast 205 hardener).
By this point I was past my 24-hour cure time on the top cowl cross rib baffle, so I removed the cowling, marked my trim line on the peel ply and trimmed the layup with my Fein saw. I then removed the peel ply and cleaned up the layup.
Of course I then quickly remounted the top cowling to check the fit and clearances of the top cowl cross rib baffle. It’s a bit close to the actual front baffle wall, so at some point in the future I may trim the cross rib baffle down a bit more… especially if it interferes at all with the rivets that secure the baffle seam.
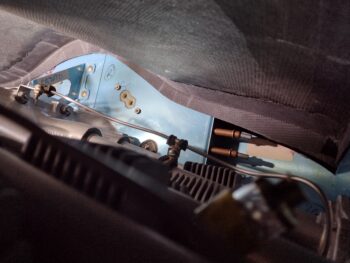
With the top cowling off I then had access to the armpit inlets. I sanded the rough edges of the intake inboard walls, and then spent about 20 minutes dialing in the shape of the left side inboard wall.
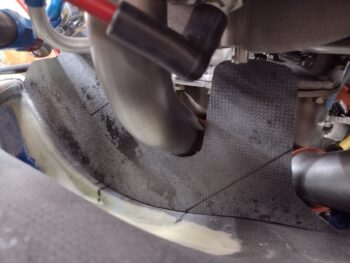
After another half hour of fine-tuning the shape, clearance and positioning of the left intake inboard wall, I pulled the trigger and secured it in place with a 1-ply CF tape in the intersecting corner on the outboard side.
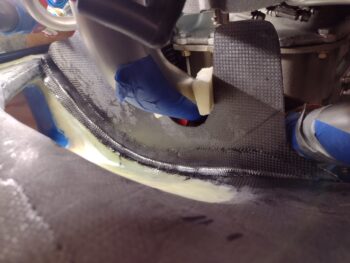
I then spent another good little bit reaching in there to peel ply the layup.
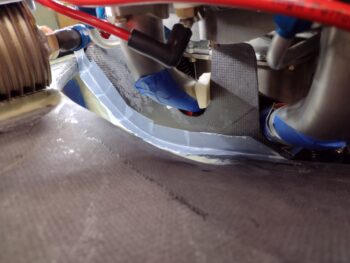
Tomorrow I’ll pull the bottom cowling off and layup the inside corner to finish securing the left intake inboard wall. I already know that I need to do a bit more trimming on the aft side as well.
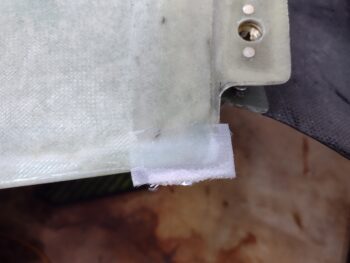
I had just a bit of epoxy left in the cup (par usual!) so I decided that my last task of the evening would be to layup a ply of UNI and a ply of BID overhanging the left wing inboard TE by about 1/4″. I then added a blob of flox on the aft TE corner pressed into the now overhanging glass above it. I then peel plied the layup.
This layup with flox is to remedy the noticeable gap that I have —obviously on the wing side— between the left wing TE and the top cowling left TE.
Tomorrow my main goal is to get the right inlet inboard wall shaped, positioned and “glassed” (CF) in place. From there I’ll start working the inlet ramp installs.
Pressing forward.