
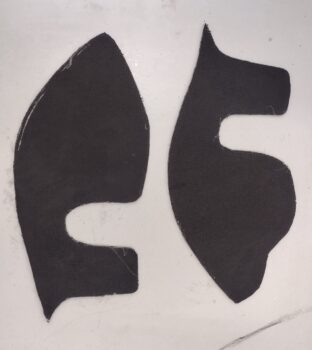
I started out today by taking the armpit inlet inboard wall layups outside and cutting the walls out. They’re still in the rough just-cut state and I’ll sand down the edges tomorrow.
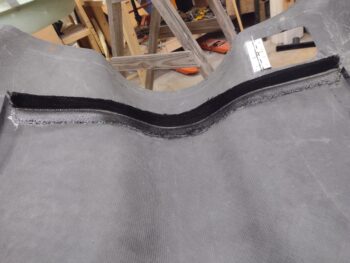
I then got to work on the top cowl cross rib baffle front side 2-ply CF layup by first pulling the peel ply (after taking the top cowling off the bird) and then cleaning that up.
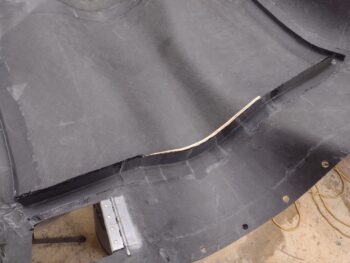
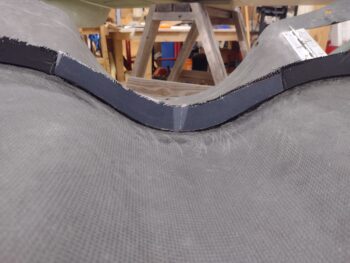
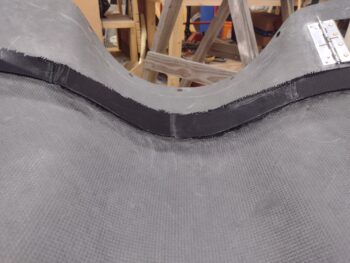
I then pulled the wood form and cleaned all the hot glue off. Remaining was the initial peel ply that I put on before laying up the center front 2-ply CF (pic 1). I then pulled the peel ply off and cleaned that up as well (pic 2). I then prepped the entire aft side of the top cowl cross rib baffle and —don’t forget!— stiffener for the aft side layup.
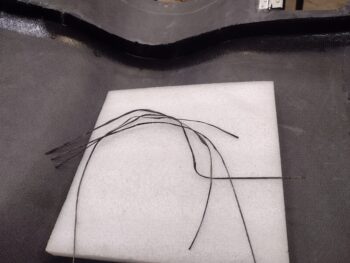
I had some single strands of CF UNI left over from a long time ago, and decided to use those as filler at the base of the front layup to fill the resulting bottom gap (corner radius) and create a bit of a fillet as well. I have to say, it worked pretty darn well.
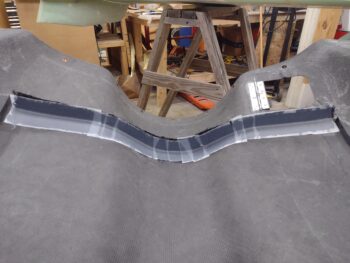
I then added in 2 plies of 1″ wide UNI to help strengthen this cross rib baffle and stiffener, in addition I added an extra ply of CF to make it 3 total on this layup, 5 total for the cross rib baffle/stiffener. Here’s all the CF and UNI laid up.
I then peel plied the layup. All in all it took well over 3 hours just to prep and do this layup, but I think it turned out PDG.
I then left the layup to cure… and just like last night I’ll let it cure for a good 4-6 hours to set up and then mount the top cowling back onto the bird to have the final cure happen “in situ.” Tomorrow I plan to start working the armpit inlet walls and ramps full bore.