
Today was a much warmer day than it has been in the last few weeks, and I had promised Jess if we had another nice warm day we’d either take the boat or the bike out. I didn’t want to mess with prepping the boat or making an entire day of going out, so we just hopped on the ‘ol Harley and cruised out for a few hours.
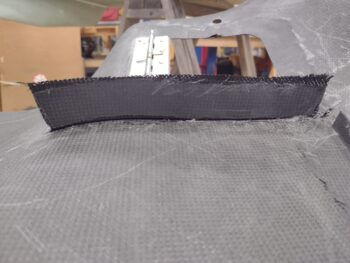
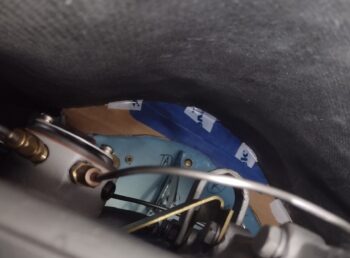
Before Jess came over for our scoot, I wanted to get something knocked out on the plane build. I decided to add the first of two reinforcement plates for the aft right baffle Melvill-style bracket. I of course had some VAN’s baffle kit right angled brackets on hand so I repurposed one of those and pressed it into service as a reinforcement plate.
After lining up the new bracket plate on the front edge of the “Melvill” bracket I drilled a hole and then installed a Cleco to secure it. Then another hole and another Cleco. All told I drilled 4 rivet holes. In addition, if you look at the bottom front corner you can see where I marked the Melvill bracket for trimming since there is no engine surface behind the bracket in that area.
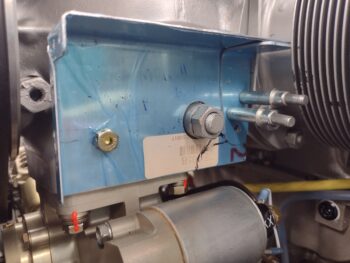 I then trimmed the Melvill bracket, the reinforcement bracket, countersunk the rivet holes and riveted the repurposed bracket (I guess these are both repurposed eh?) into place.
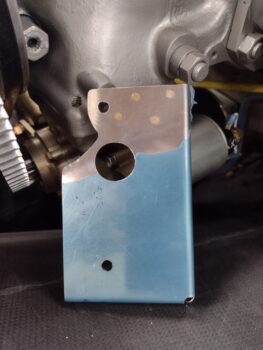
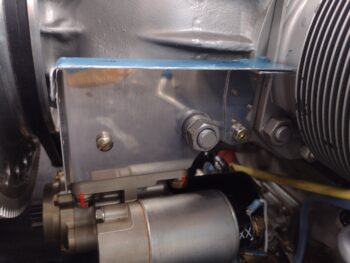
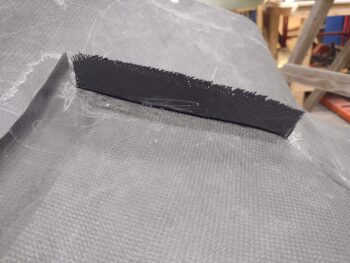
Here’s the final product for this first reinforcement plate on the Melvill bracket. The aft reinforcement will also go upwards but also aft and will look a bit like a reverse ‘L’ or ⌋ shape.
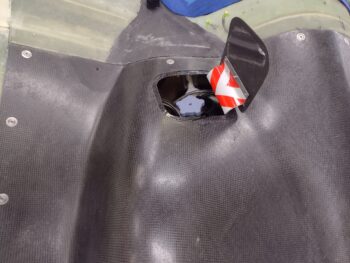
Although I plan on letting them cure fully until tomorrow before cutting out the armpit inlet inboard walls, I also went ahead and pulled the peel ply off of those layups.
After getting back from our ride where we hit a little coffee joint out on the beach, I then got back into the shop to work the top cowl cross rib baffle.
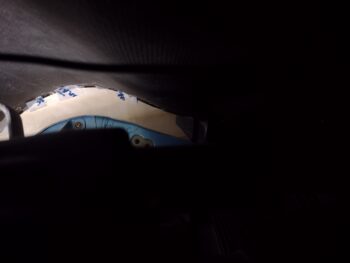
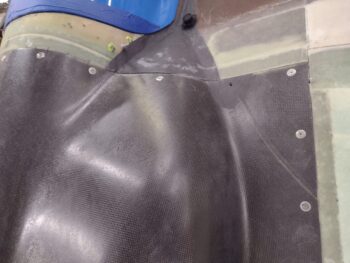
Here we have the outboard segments of the top cowl cross rib baffle with the peel ply pulled.
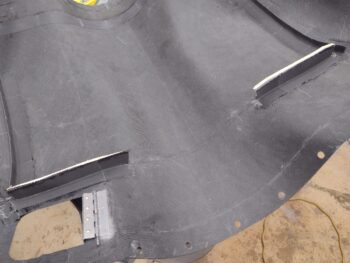
I then removed the wood forms, pulled the aft side peel ply and cleaned everything up for the left outboard side (pic 1) and right outboard side (pic 2) segments of the top cowl cross rib baffle.
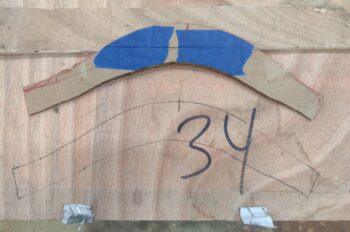
I then spent about half an hour dialing in my initial cardboard template to the shape of the center area of the upper top cowl… after remeasuring the width of the cowl as it was installed in place on the plane.
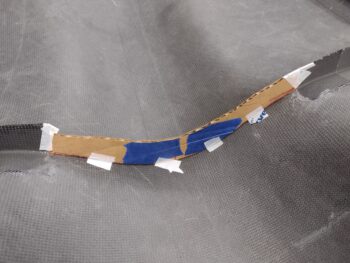
Apparently my installed cowl-width measurement was much better this time around (And I was a bit over 1/2″ off the last time from this measurement) as when I test fitted the cowl with the top cowl cross rib baffle cardboard template in place, the fit was spot on.
I then outlined the cardboard template onto the plywood top lid for the metal brake crate.
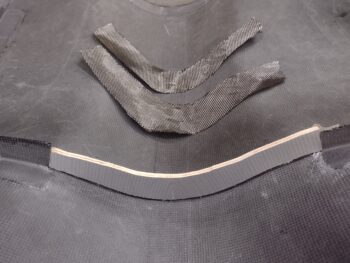
I then cut a new wood form for the top cowl cross rib baffle center section, and after a couple minor tweaks it fit right into place between the 2 outboard segments.
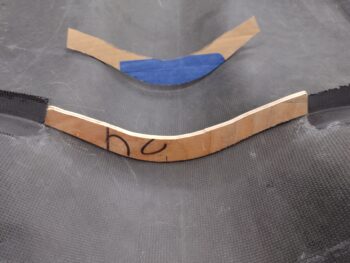
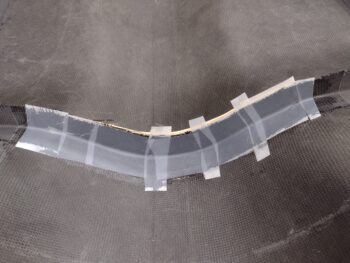
I then double checked my wood form fit by taping it into place and remounting the cowl…
And installing nearly all the CAMLOCs around the perimeter. All looked good this time around!
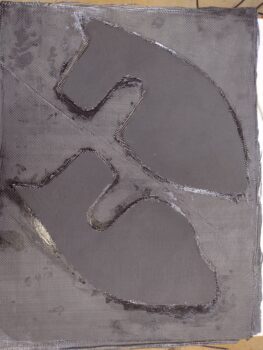
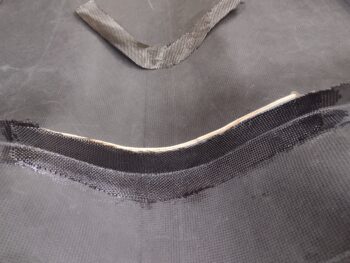
I then cut 2 plies of CF and the initial peel ply that matched the shape of the wood form. I then added duct tape as a mold release to the front of the wood form and hot glued it into place, again between the existing outboard segments of the top cowl cross rib baffle.
I then laid up the first ply of CF, after I wet out the peel ply that covered just the taped portion of the wood form (not any on the cowling). Not wanting to add any more forward surface depth of the top cowl cross rib baffle, I only overlapped this first ply onto the existing outboard segments by about an inch each side.
The second CF ply was shorter in width and did not overlap onto the existing segments as the first ply did, but was just pretty much the shape of the wood form on the vertical side.
I then peel plied the 2-ply CF layup.
I used Pro-Set epoxy to give me a fairly long cure time, so first thing in the morning I’ll mount the top cowling into place so that the final cure of this center top cowl cross rib baffle section will set with the top cowling secured into place with all the CAMLOCs installed.