
The fuselage that is . . .
I did some major spring cleaning on my shop today, pulled a ton of stuff that I had buried against the wall that all in all still stole away 2 feet of depth on that side. Long before I got in deep into custom motorcycle or airplane building, I did a lot of woodworking. So I have a fair amount of nice wood that all went into the back room awaiting transport down to NC.
I also removed a couple of high shelves and the 4 padded hooks I had up high for the canard, since it won’t be going back up on those hooks.
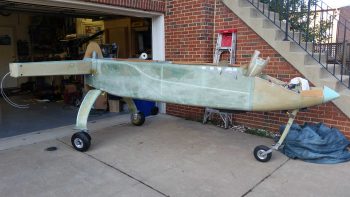
After a number of hours I was finally ready to move the fuselage out and put it back in the shop nose first. Here’s some pics of that short trek.
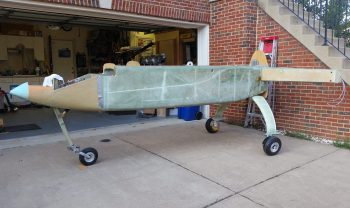
And a head on view of the fuselage’s new setting for a good while.

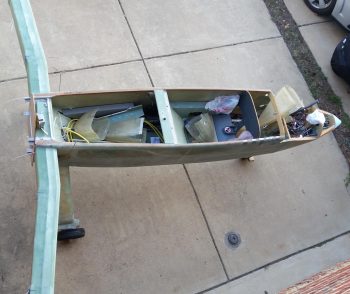
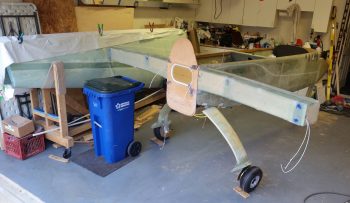
And an aft view.
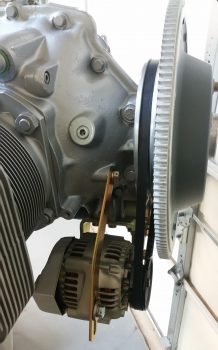
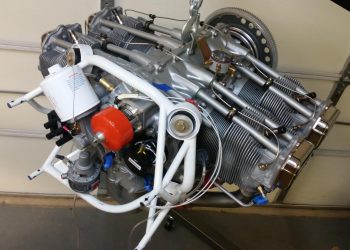
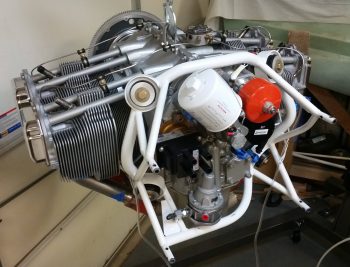
Saturday I received an order from B&C with my engine ground strap, a couple of oil filters and a couple of the shorter Gates 7312 alternator belts. Before I got to moving the engine around I went ahead and slipped a new alternator belt into place.
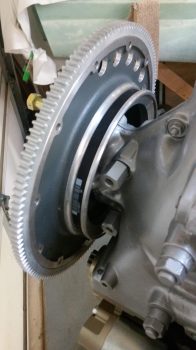
Another shot of the new alternator belt in place.
Before I mounted the engine mount to the engine, I reviewed my notes. One Canardian had a trick he swears by using a “silver bullet” . . . You start with a standard 7/16″ bolt.
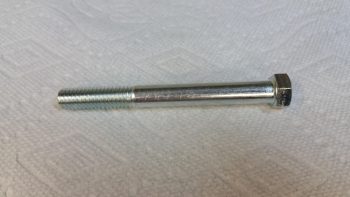
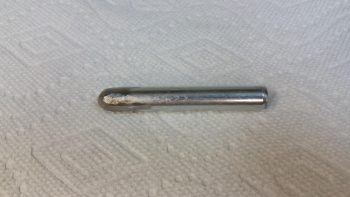
Chop the head off and grind it into a bullet looking pin. Now, he said 2-3″, but I don’t know what engine he was installing. The concept is simple, use the silver bullet to align the last two Lord rubber vibration dampener assemblies (one at a time) to the engine mount holes and then press the actual bolt in behind it, pushing the silver bullet out the other side.
The concept works great, but for an 320 case I think 1.5″ is the max length you can use since there’s not enough clearance on the other side. The one I made is about 2-5/8″ long and would get blocked from coming out the other side by some part of the engine.
So I didn’t use the silver bullet, but installing the engine mount to the engine versus mounting the engine to the engine mount with the latter pre-mounted to the firewall made it EZ enough anyway (albeit, still a ton of the usual fiddling about).
I had bought 4 castle nuts to use but I will say that I’m wimping out on using these at every point, especially under cylinder #4…. no way. So I put a mini-order in with ACS for two AN363-720 lock nuts as called out for in the Long-EZ plans.
Also, for a newb like me, I was concerned at first that my AN7-35A engine mount bolts weren’t long enough since I couldn’t get a thread showing until I compressed the installed dampener mounts a bit with squeezes clamps. However, in the end I needed to put 2-3 washers on to keep the cotter pin hole within the castellated part of the nut and not end up well past it when all was properly torqued (450-500 in-lbs).
I really don’t like doing things twice if I can avoid it, and I was going to make every attempt to make this engine mount install onto the motor my last one. But alas, it was not meant to be. While doing a good round of patting myself on the back for a job well done … haha! I noted that fuel pump looked awfully close to the engine mount… REALLY close as a matter of fact. Well, when I tried to thread in the FUEL OUT fitting onto the pump the engine mount wasn’t having any of it.
Thus the engine mount will have to come off at least once more AND I have to buy another 90-150 degree extended fitting (which means steel now) to get by that engine mount reinforcement tube. It will be a really tight fit, but if the fitting goes in first I don’t foresee any clearance issues . . . again, just all really tight (but then again, we’re talking about a Long-EZ here! Everything is really tight clearances…)

Tomorrow I’ll work more on getting the engine mounted to the firewall to get a ton of much needed data . . . which, as was evident tonight, I already am!