
Starting out today was all about getting this silly paint stuff figured out. Unless some real egregiousness rears its ugly head, I’ve got the paint system figured out: 2-part polyurethane yacht paint from Epifanes. I went with the 2-part because unlike single part polyurethane the 2-part coats can be sanded and re-applied, pretty much like a standard type paint… not one coat and done like single part. This means if you need to rework a composite area on the plane, touch-up, recoating and maintainability is not an issue.
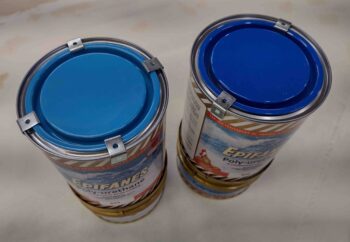
The only real issue is availability…. the color on the left below is Capri Blue, the color on the right is Bright Blue. Although I actually originally planned on a darker blue such as the Bright Blue on the right, which I love, I kept hearing the voice of Burt (and a few other builders!) cautioning me against going with a darker paint…. which I eventually relented to and set aside my rebel, rogue ways on this task.
The problem is that there is another blue, Bold Blue, that Epifanes makes (in theory) that is in between these colors in shade. It’s just been unavailable for over 3 months! To get some paint in hand I pulled the trigger on the darker blue, but over time realized it was just too dark in reality. Then I got the light blue to test, and upon receiving it’s just too light for my taste.
What to do?
Well, I did a taste test of sorts with these colors. I still really love the dark blue, but again, I’m trying to be responsible here and mitigate as best possible any heat issues cropping up on the bird’s finish.
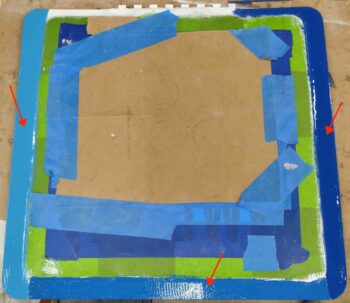
As you can see, I used the inside edge of the landing brake as a real world test canvas and applied the light blue along the left edge, the dark blue along the right edge, and a 50/50 mix of both (more along the lines of the Bold Blue that I wanted!) along the bottom edge. Keep in mind this pic is right after I painted the edges . . .
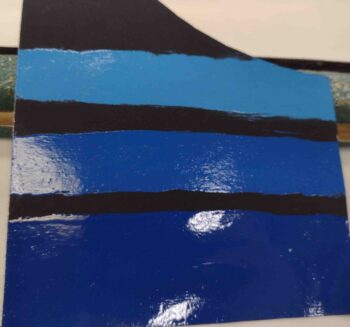
Since the cured paint looks a tad bit darker as you can see on this test swatch I made with the excess paint from each application. I used a piece of black project cardboard to assess how each color would contrast with the black, which is one concern I had with the darker blue in that it might be so dark the black trim would be harder to see.
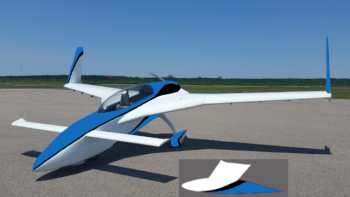
I want to keep my color scheme simple in the amount of colors I use. White flying surfaces and white base with a good bit of blue bordered by a black accent stripe. No other colors involved.
My original color scheme was this… clearly I really like it. But admittedly the blue is pretty dark. I wouldn’t have any real concerns with using this darker blue except one main area: the canopy frame. Since it is carved and constructed out of blue wing foam, I clearly don’t want it getting too hot and having the glass delam.
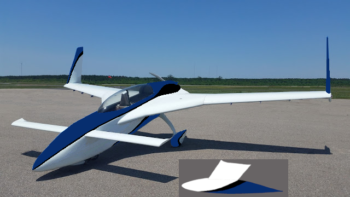
Thus I’m lightening up the blue paint in my scheme a couple of shades to avoid poking the bear… keep in mind I snagged a color match from the original test pic of the landing brake to create this pic below. The actual blue color will probably be just a very tad bit darker than what we have here, once fully cured (see color swatch above).
One reason I started out the work day focusing on paint was that I new the folks I deal with have a few cans of Capri Blue on hand. Almost literally nothing else is in stock. So after I assessed the paint colors and decided to go with the 50/50 mix, later in the afternoon I pulled the trigger on another can of the Capri Blue… giving me 2 cans each of the light and dark blue paint.
Also, being Friday and a business day, it allowed me to get on the horn with the Epifanes folks and ask a bunch of questions before pressing forward in my upcoming paint adventures.
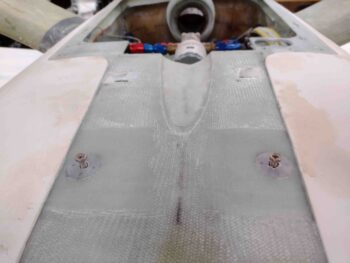
Back on the build… I then pulled the peel ply from the RAM air scoop EZ Point layups, used a small drill bit to remove the protective plastic inside the threads, and then carefully trimmed the glass away to expose the screw holes. I then tested out a couple screws to ensure that the EZ Points were still fully operational… which they were.
I then spent a few hours sanding, tweaking and dialing in the aft fuselage sidewall interface with the bottom cowling. So far the results look promising in removing a rather notable indentation at this junction.
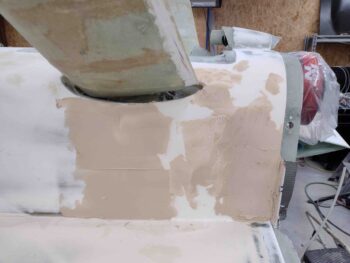
Again I failed to get any pics (thought I had) of the results of the original sanding, but here is the subsequent round of “micro” fill that I applied to the aft fuselage. I used straight West 410 filler here since I wanted to be able to sand down the edges —especially along the very front edge of the fill— to blend and fair in this fill with the previous fuselage fill.
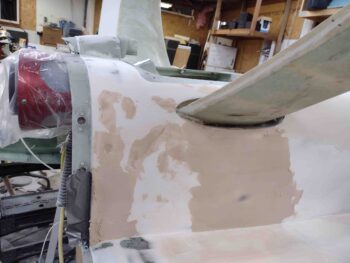
I also added some of this straight West 410 to some spots on the front side edges of the bottom cowling as well.
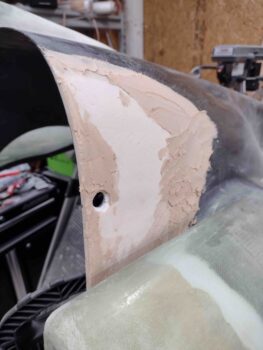
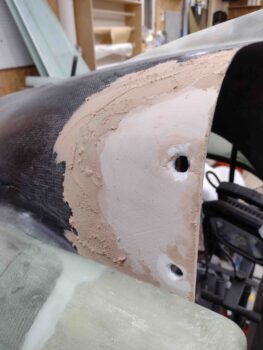
With my latest round of “micro” finish applied to both the aft fuselage and the bottom cowling, I left it to cure overnight.