
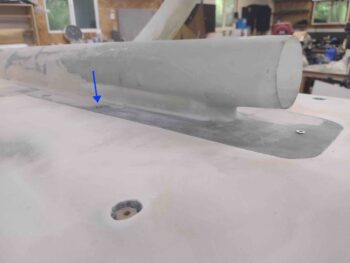
I started out this morning pulling all the weights off the RAM air scoop mounting flanges. The resulting pics show you the screws securing the flange to the bottom of the fuselage.
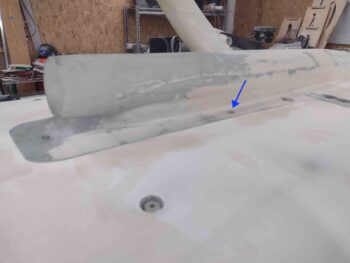
Grant it there is a longer section between these screws to the front center screw than I’d like there to be, but with the available real estate to mount into between these points being virtually non-existent, beggars can’t be choosers.
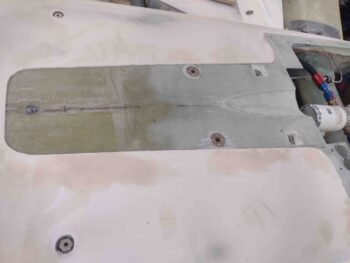
I then unscrewed the screws from the newly floxed-in EZ Points and all the other attaching screws and CAMLOCs from the RAM air scoop/hell hole hatch cover.
As a point of note I’ll again simply highlight the acceptable —but not the most desired— gap between this pair of EZ Point hardpoints and the center screw up front. But clearly I feel that the configuration and positioning of these attach points will hold this RAM air scoop in place on the bottom of the aircraft just fine…. lest I would not have proceeded in the fashion which I did!
I then got busy sanding down the area around the installed EZ Points, and a bit of the surface of the EZ Point locking nuts themselves to level it all out in prep for a ply of BID, to add yet another bit of strength to these RAM air scoop attach hardpoints.
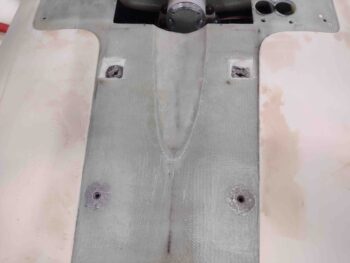
After stuffing the threads with plastic Saran wrap, I then laid up a ply of BID over each EZ Point, and then peel plied the layups.

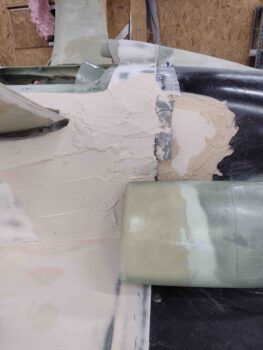
While the EZ Point layups cured, I then got busy on what I currently consider the long pole in the tent as far what is the priority to get knocked out on this build: the aft fuselage to bottom cowl interface surface leveling on each side.
I taped up the front edge of the bottom cowling on the vertical sides and a bit on the bottom right side to protect it from the “micro” finish that I was about to apply to the aft fuselage side of this intersection.

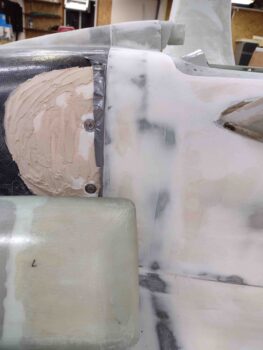
Which I did here. I mixed up some West 410/micro fill and slathered it on both sides.
The “micro” wasn’t too dry, but it was dry enough that I needed to use my heated blades to get a good application.
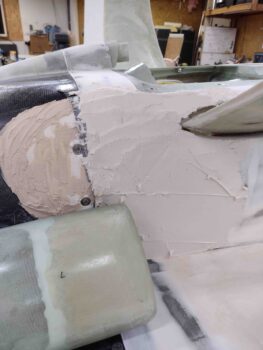
I then left the latest addition of “micro” fill to cure overnight.