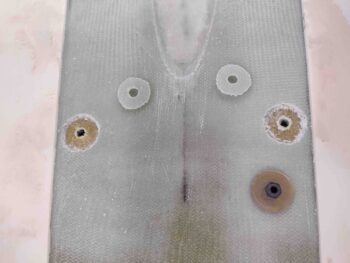
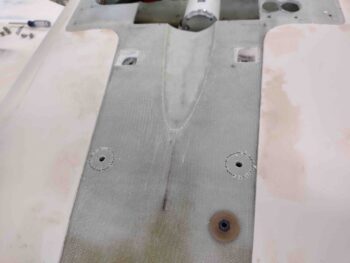
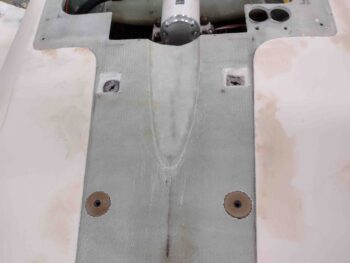
After some researching, assessing, measuring and investigating I determined that just like the threaded phenolic CAMLOC receptacles (upper area in pic below) that I had to go down through the original bottom skin glass, I would have to do the same for this latest pair of threaded hardpoints for the RAM air scoop.
The difference here was that A) I had to drill through a ply of Kevlar (turned out not to be a big deal) and B) the area immediately “above” (below here since inverted) these EZ Point locking nuts were the respective thigh support sump tanks… so diligence and care in going down through the original skin was of upmost importance, lest I put a nice hole in one or both bottom(s) of the thigh support sump tank(s).
After ensuring my center hole was good, and no damage to the bottom surface of the thigh support sump tanks had occurred, I then marked the respective outline of each EZ Point locking nut before drilling a series of closely spaced small holes all around the marked radius.
I then used my Fein saw to cut out the exterior fuselage skin circles to inset the EZ Point locking nuts….
 As you see them test fitted here.
I then taped up the bottom surface of the RAM air scoop mounting lips (each side) and bolted the EZ Points to the underside of these mounting flanges. I then floxed the EZ Points into their respective fuselage-bottom divots and secured the RAM air scoop/hell hole hatch cover in place.
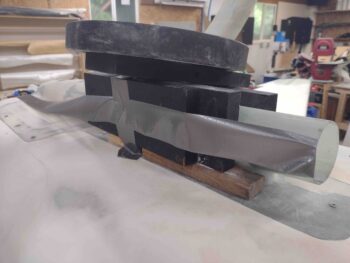
Moreover, to keep the RAM air scoop flanges —and thus the EZ Points themselves— pressed as firmly down in place as possible, I added a fair amount of weight on top of the RAM air scoop side mounting flanges.
Another shot of the weights to press the EZ Points firmly into place while curing.
With that, I left the newly installed EZ Point locking nut hard points to cure.


