Adding ancillary components like wheel pants and baggage pods to our birds tend to be interesting endeavors and a bit of ironic humor in that the vendors selling these items tend to highlight install times way lower than the time it actually takes in reality to complete these installs.
And so it is I would say with the baggage pods.
My goal today was not to finish the baggage pod installs, but to optimize my efforts with the plane being inverted. One such task that I assessed would be much easier with the bird upside down —again, due to simple gravity— is the installation of the underwing baggage pod threaded hardpoints. These make up 4 of the 6 threaded hardpoints that secure the baggage pod to its respective wing. Yep, in my crazy way of doing things I already embedded the top of wing threaded hardpoints in the wings before I glassed the top skins back in 2012.
Little would I have guessed that this one task would end up taking almost 8 hours total!
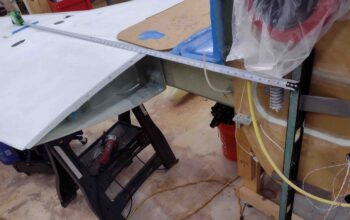
I started off by measuring out from the AC centerline (BL 0) to BL 61, which per Gary Hunter’s install instructions is the mark for Long-EZ baggage installs. Again, BL 61 is what I used when I embedded my topside wing hardpoints prior to skinning the wings.
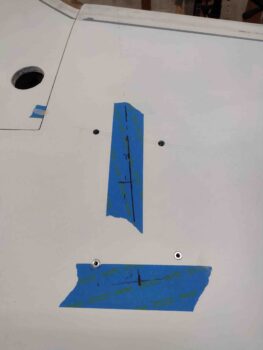
The above measurements, marked on a piece of painters tape on the wing surface, served as a crosscheck to ensure that my laser line shot was in the realm of reality. I’ll also note that when I measured out to BL 61 with the tape measure, I ensured that it was as close to exact parallel with the aft edge of the engine mount to keep it perpendicular (90º) to AC centerline.
Clearly my crosscheck hash marks on the wing were all well and good, but I would need a projection target aft of each wing to ensure I was shooting my frontside laser from BL61 to a known BL61 point on the other end, aft.
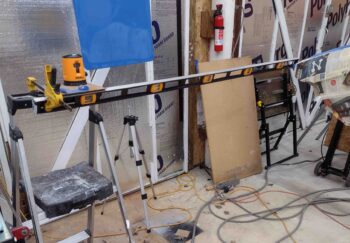
To do this, I ran a line down the center of the aircraft to the center point of my long straight board (sitting on the ladder… and clamped in place). I then measured out 61″ each side from this center line to get my BL61 mark. I then simply hung a carpenter’s speed square down at the BL61 line to use as the edge to line up my laser. To be clear, I ensured my long board was perpendicular to AC centerline as well.
I then set up my laser unit at 61″ (BL 61) from the center of the nose and shot my line back across the wing to just kiss the vertical edge of the carpenter’s square hanging down on the long board.
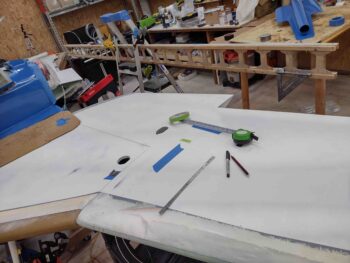
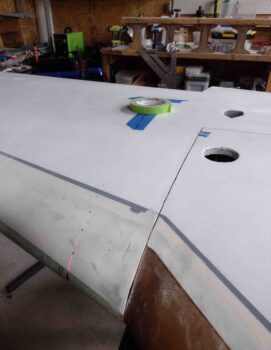
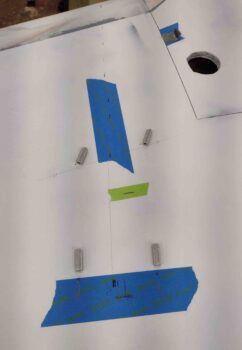
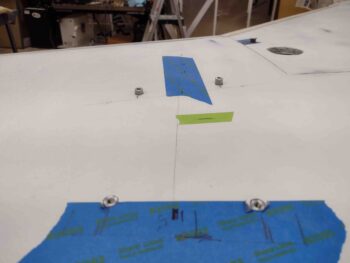
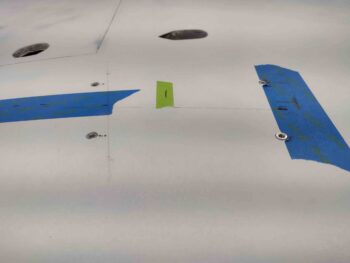
Here’s the laser shot on the left wing. I placed the green roll of tape on the wing for this pic to make the laser line more visible. I will note that I was within 0.5″ of centerline on the topside wing baggage pod hardpoints as well… perfectly fine for what I’m doing here.
After shooting the baggage pod centerlines at BL 61, I then got busy determining the install locations of the threaded aluminum mounting hardpoints, which I picked up from the Cozy Girrrls.
My main goal here is to get these underwing baggage pod mounting points floxed into the wings while the wings are inverted. To be clear, although this is a step in the mounting of the baggage pods, that is not what I’m doing here. I say this because if these inserts are off here, say even by a 1/4″, I can work with that when I actually get to installing the baggage pods. My guess is that my tolerance here is +/- around 1/8″. I can alway fudge a bit on the width of the baggage pod mounting strap if I really needed to by adding say a 1/4″ to the width on one side… and no one but you guys would ever know that I did that! (smile).
You can say that’s sloppy work… or that it’s being efficient in build priorities. To each their own personal thoughts, but clearly I’m shooting for and calling it efficiency.
I then drilled the holes with the final bit size being 3/8″. I had to do about 3 iterations on each hole to get the foam cleared out to the proper depth.
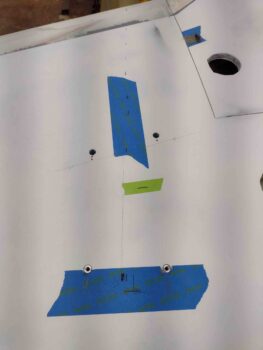
On the forward holes I was shooting to get the holes to just kiss the front face of the shear web inside the wing. I achieved this on the right wing below, but was about 1/4″ forward on the left wing. So I cleared out some foam in the holes on the aft side and will just use a bit more flox to secure the left wing forward hardpoints to the face of the shear web.
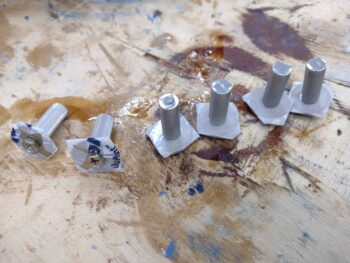
I then spend a good bit of time taping off the open end of the threaded aluminum mounting inserts, cleaning them with Acetone, and then taping up the large washers that then got bolted to the mounting inserts.
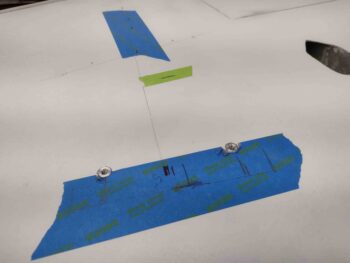
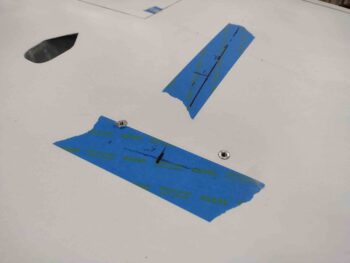
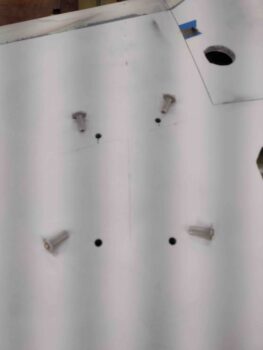
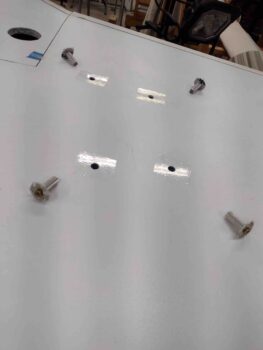
These pics aren’t great, but here are the inserts ready to be floxed into place. I added clear packing tape around the holes, again as recommended by Gary Hunter in the installation instructions.
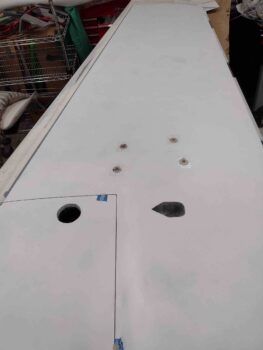
And then floxed the 4 inserts into each respective wing… here is the left wing baggage pod mounting hardpoints.
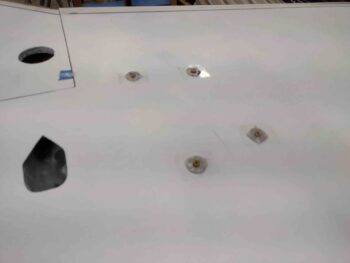
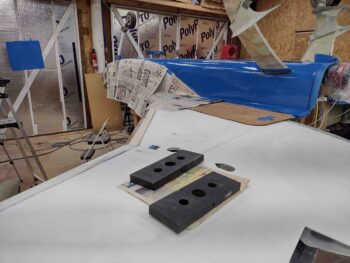
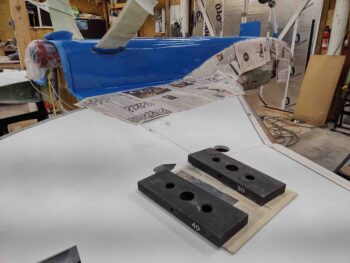
And a closer shot, before I placed weights on them to keep the insert faces as flush as possible with the wing surface.
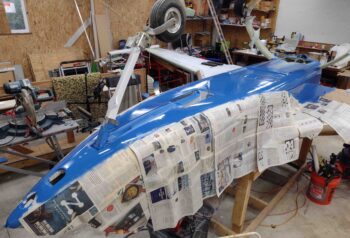
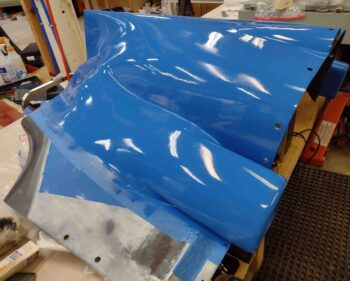
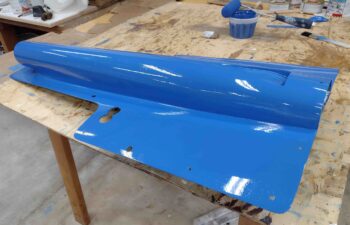
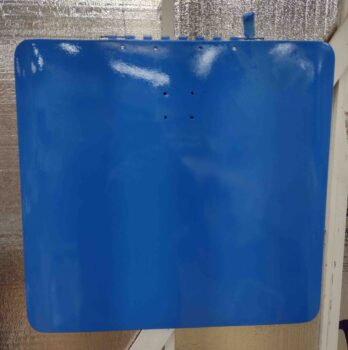
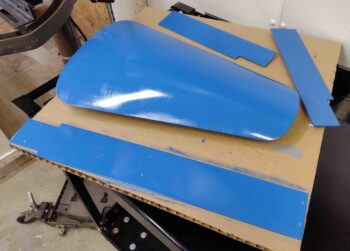
This shot was a couple of hours later, and shows not only the weights on top of the floxed in place baggage pod underwing mounting hardpoints, but also the second coat of blue paint on the fuselage accent and landing brake.
Here’s another shot of the second coat of blue paint on the bottom fuselage.
I also recoated the bottom cowling….
The RAM air scoop/hell hole hatch cover . . .
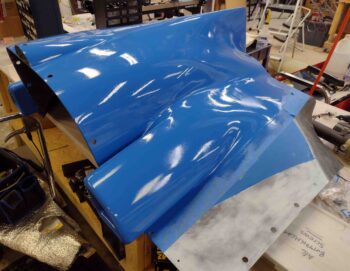
The landing brake with another coat of blue.
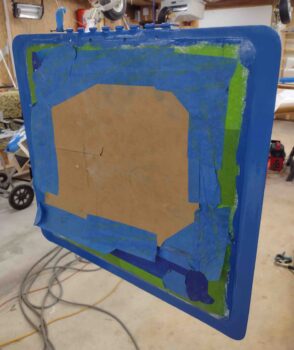
The finished interior blue trim of the landing brake.
The nose hatch door and nose gear fairing and gear doors, all with another coat of blue.
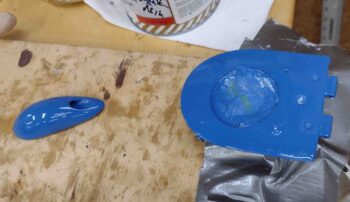
And finally, let’s not forget the belly video camera housing mount and the swing down taxi light assembly with their next coats of blue paint.
And with all that… I left the flox and paint to cure and called it a night.

