
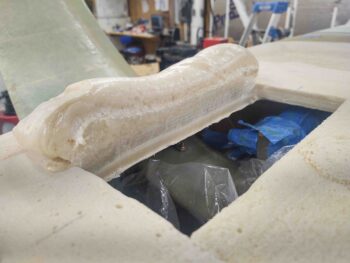
That’s what it quite often seems like to me when using pour foam: fresh baked bread.
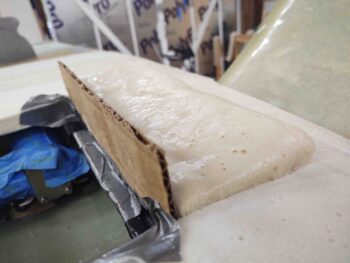
Today I started off by creating a form and then pouring pour foam to add strip #4 to the left side (right as situated) of the current Hell Hole opening.
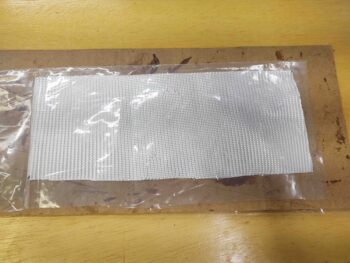
I measured out the required size for the ply of BID I would need, then cut it and put it in plastic to pre-preg it.
After shaping and leveling the outer surface with the surrounding foam, I then laid up the 1-ply pre-pregged BID on the inside of this new foam strip #4. Of course the BID overlapped onto the surrounding BID from previous layups.
I then peel plied the layup and left it to cure.
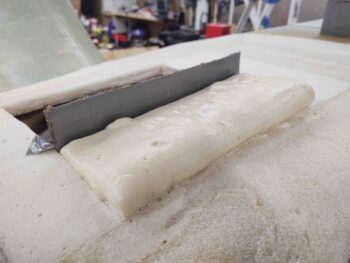
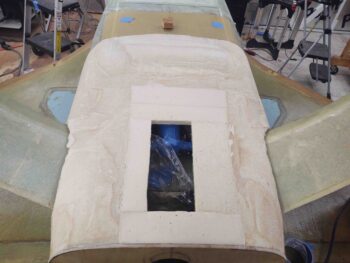
A bit later I did pretty much the same thing for Hell Hole foam strip #5, which is the last of these pour foam and glass strips.

After shaping and leveling the outer surface, I then laid up the ply of BID on the inside of this last strip. Of course I peel plied it as well.
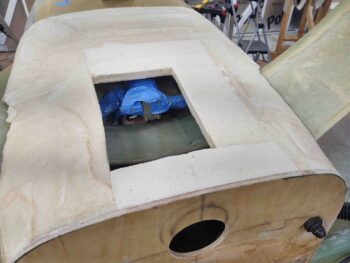
From here on out the emphasis for the aft bottom fuselage and Hell Hole cover will be the shaping and blending of the outer foam surface to meld in with the existing fuselage sides and bottom surface. In addition, I’ll be focusing on fitting and mounting the RAM air intake scoop.
Which I spent a good hour and a half carving and shaping out of a big block of wing foam. A huge thanks goes to Dave Berenholtz here, who was kind enough to share the math on his RAM air scoop, allowing me to create this with much less brain power required on my part!
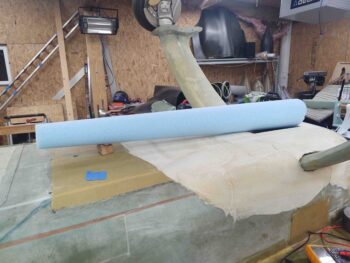
I’ll be doing some heavy duty design and process flow planning over the next day or so to ensure I get this RAM air scoop integrated into the Hell Hole cover in as optimized of a way as possible.