I started off today by finalizing my requirements for the engine compartment oil lines and fittings, and also a replacement 30° fitting for the OUT side of the oil heat pump (its alignment is off a bit with the current straight fitting pulling/stressing the hose to one side), before pulling the trigger on an order from Summit Racing.
I then spent about an hour assessing and finalizing my trim paint design on the bottom of the fuselage, and as it flows back onto the cowling. I will be tweaking it so I’m not showing it here since I know some things will change on it.
I then got to the major task at hand for the day: micro finishing the left strake bottom surface.
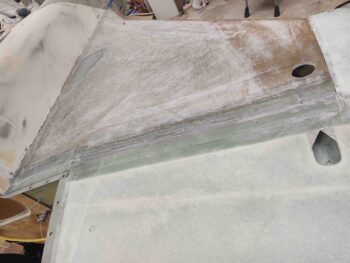
I started with about an hour of sanding the surface dull. I will say that I plan on following yet another piece of advice from Wayne Hicks and that is to peel ply the surface on the top strake skin layups so I don’t have to mess with this incessant crazy sanding.
I vacuumed and cleaned up the major sanding dust with Simple Green, then wiped down the strake with acetone.
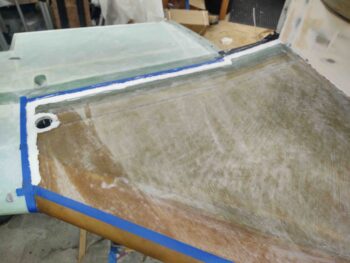
After taping off the strake’s boundary I mixed up some flocro with some fast hardener (West 205) and applied it around the interfacing perimeter edge (wing and bottom cowling) of the strake. As you can see, I applied it thick and about an inch wide.
I then whipped up my micro/410 mixture… a bit heavier on the West 410 this time (about 50/50). Remember, I want to learn all I can about micro finishing these planes, so the bottom of the plane is what I consider my experimental playground. Thankfully this stuff just works, and it really isn’t overly finicky.
Case in point: after I finished there was a bit of it stuck to the un-sanded surface of the wing, and I can tell you it did not just pop off and allow itself to be removed without a fight. This stuff STICKS with any reasonable modicum of preparation.
I should note I started the strake fill from the front inboard corner to provide the flocro edge as much time as possible to cure and harden. I used slow hardener (West 206) for the main fill, and sure enough, by the time I got to the outer perimeter the West 205-based flocro was fairly cured.
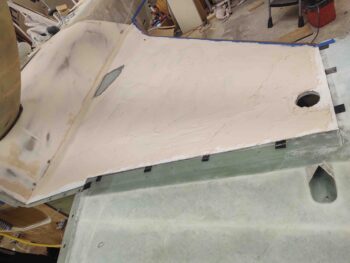
I then pulled the tape from around the flocro edge to expose nearly all the seam between the strake and wing. The black Gorilla duct tape tabs are a fail-safe to ensure I didn’t lose the seam so I can get a hacksaw blade in there to clean it up when it all cures.
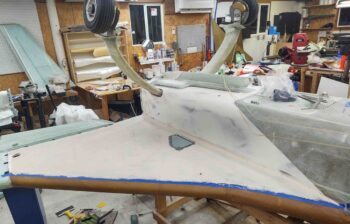
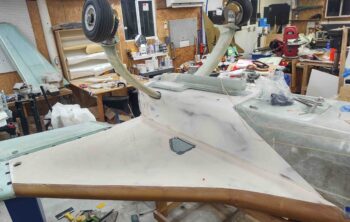
Here’s the micro/410 finished left strake bottom surface from the front. I realized when I grabbed this shot that I needed to remove the front leading edge tape.
Which I did here. I then left this applied micro to cure overnight. The ridges are fairly small and I’ll knock them down with the air sander, so I’ll note I’m not overly concerned with cheese-grating this micro after it nearly fully cures.
Tomorrow I plan on doing the right strake in pretty much the same fashion. Although I may try 100% West 410 on that surface to see how it does (still using a flocro edge of course).

