
So I’ve recently been working on a couple of projects that I didn’t highlight until I knew they were a go. I call them “secret” projects, but the reality is I didn’t want to take the time to blog about them if they ended up being fails, or undoable.
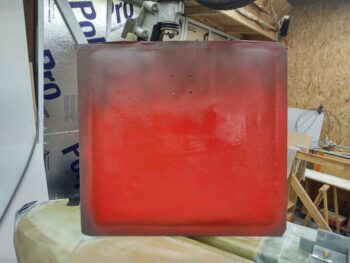
I actually started project #1 shortly after I primed the landing brake interior surface. I had seen a pic of an RV with checkerboarded flaps and really liked the look of it, so I wanted to incorporate some type of checkerboard theme on my landing brake.
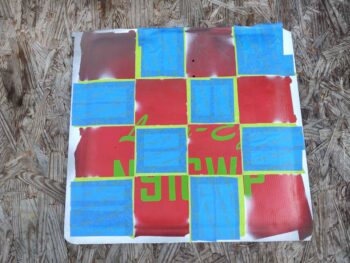
I decided I wanted a checkerboard background with red text in the foreground, so I had to figure out how to accomplish it. I decided to actually lay the red down first, then apply the text over the red before painting the checkerboard.
I was trying to figure out how to apply the text, and then Jess lent me her Cricut to cut out some vinyl to use as a reverse stencil, if you will (thanks hon!).
Note the cursive text I’m using for the “Long-Ez” label is nearly identical to the cursive text on some of the plans. I’m not overly fond of the cursive, but it’s a bit historic and symbolic of that era, so I’m happy to have it as part of the scheme. And of course it does help set it apart from the plane’s N-number.
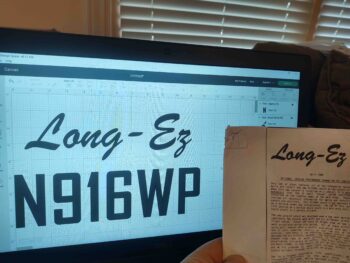
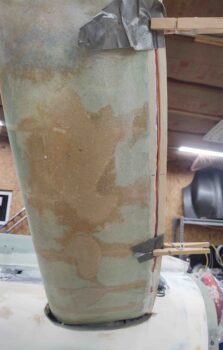
Jess got me a pack of permanent red vinyl, but I thought I would try out using the background red paint first. Then if that didn’t work out well I could use the red vinyl as a backup option. So I went out and picked up a variety color pack of temporary (vs the permanent) vinyl to use as my reverse stencil. I chose green and then cut out the letters.
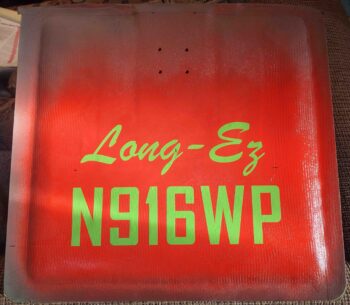
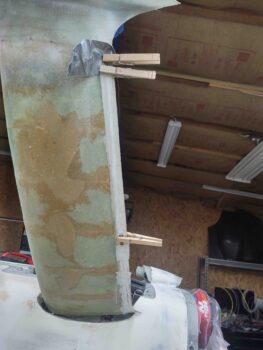
As you can see below I then applied the letters onto the landing brake.
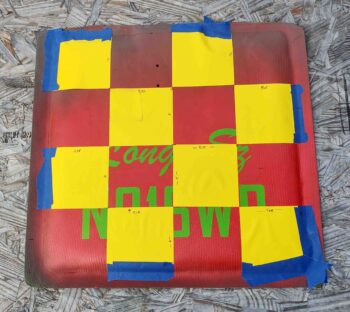
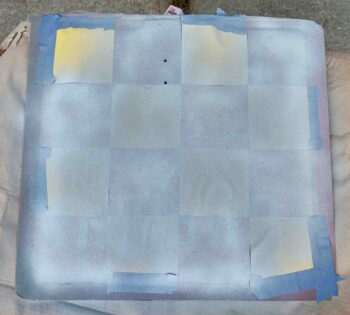
I then used some other yellow protective vinyl –no, those are not post-it notes– to mark off what will be the black blocks of this simplified checkerboard.
I started out with a couple of coats of light gray primer.
Then of course forgot to get a shot of the white paint laid down.
After the white cured I then covered up those blocks, with the final bit of red background showing.
And then gave the exposed blocks a few good coats of black.
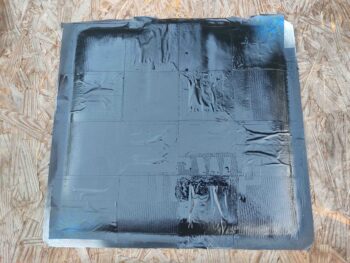
Later in the evening I pulled the protective tape from the white blocks, then carefully removed the lettering vinyl. BTW, the blue tape on the border represents the blue that I will paint the airplane trim, and this border.
I still have a good bit of touchups to do, but being that it’s the landing brake and will be under the plane, I’m not looking for perfect… I’m looking for FUN and DONE!

“Secret” Project #2 is running a pair of 22 AWG wires down each gear leg… on the top side trailing edge in the micro trough.
I first of course had to make sure it was doable, which obviously it turned out to be. I have a few ideas of some thing(s) that might get mounted in the wheel pants, and just in case I decide to go for it later on I wanted to have my electrical wires pre-run while I have “access” to do so.
I first measured out the required length for the wires: 48″ each side, and cut them. I then drilled the top hole (as situated) into the micro channel and under the securing wheel pant skirt glass.
Over a couple of days I carved out a bit of time each day to Dremel a small trench in the trailing edge micro and then micro the wires into the trench.
I then peel plied the micro. Here you can see the right gear leg wires are embedded and almost completely encased in micro.
I did a few of other small tasks on my list as well.
I drilled a couple small holes in a delam on the side of the RAM air scoop, syringed some epoxy into the delam and then clamped it up.
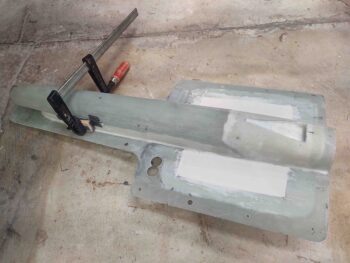
Later in the evening I pulled the clamp off and all looked good. However, when I was sanding some of the excess epoxy off the delam the bottom half of the glass tore out and I was left with a half-repaired delam. So I simply sanded the cured epoxy on the other half and called it good.
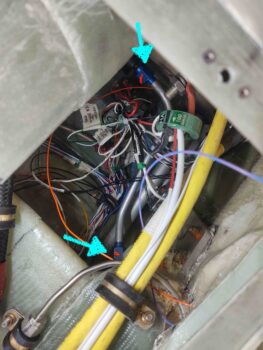
I also tightened up the AN fittings per specs on the fuel line in the hell hole. I still have to secure the line to the fitting coming through the firewall, but that will be finalized after I put the metal firewall covering in place.
Lastly, after reading a tale of woe in a CSA article about a builder not being able to run his rudder cables through the conduits many years after building his wings, I ran a long piece of wire through ALL the rudder cable wing and fuselage Nylaflow conduits to test that they were clear and unobstructed. Thankfully they were, so I can put that little check behind me.