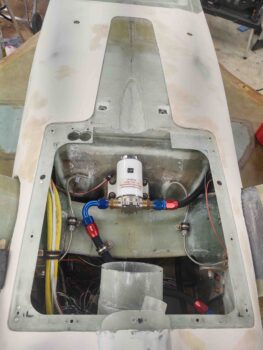
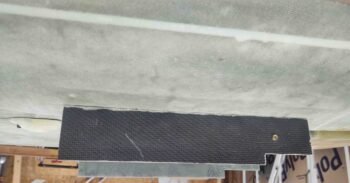
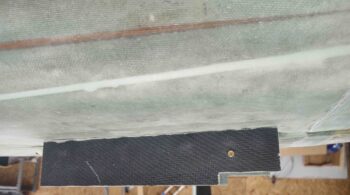
Today I removed the CAMLOCs and screws securing the RAM air scoop/hell hole hatch cover to the bottom of the fuselage. I also removed as much of the protective edge tape as possible.
Then, as carefully as possible, I popped off the RAM air scoop/hell hole hatch cover from the bottom of the fuselage. I had to give it quite a sharp rap from the front side to dislodge it from the serious grip the raised micro edge had on it.
I then inspected the micro edge and cleaned it up a bit. Of course I have a few spots that need filled and/or repaired, but overall it looks great and I’m very pleased with it!
I then cleaned up the RAM air scoop/hell hole hatch cover before re-mounting it to the bottom of the fuselage. It went back on nicely and barely got hung up on the micro edge, just a very minute bit of fiddling to get it back in place.
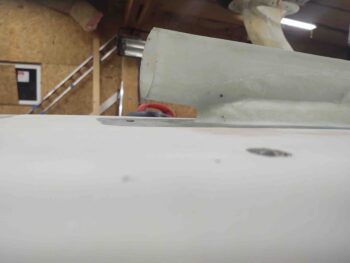
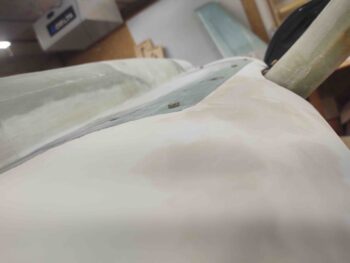
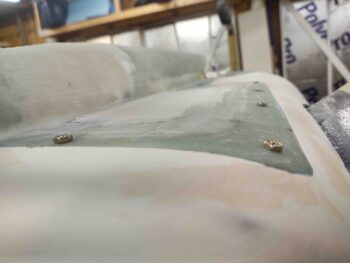
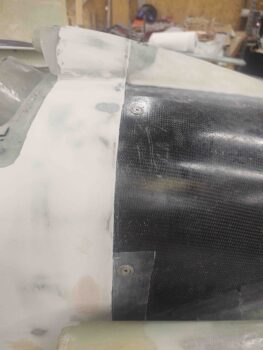
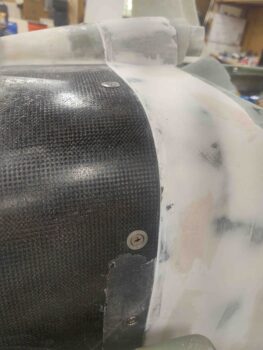
I then tried to get some pics to show the elevation of the bottom fuselage finishing micro as compared to the RAM air scoop/hell hole hatch cover surface. Of course I still have to micro finish the RAM air scoop/hell hole hatch cover so some dialing in on the surface levels will be required. But again, I’m very pleased with how this came out.
Here’s a shot looking aft along the right lower “corner” of the fuselage.
In addition, in these pics you can see where I had lightly sanded over the entire aft fuselage micro finish West 410 repair patches. Not that I doubted Wayne Hicks in any way, but he nailed it again with using straight West 410 for repairing scratches and filling the big holes… it sands level very nicely.
And a shot looking forward from the left side, right near the firewall.
I then spent a bit of time cleaning up the junction at the firewall-to-bottom cowling where I slathered in some flocro to fill some gaps and clean it up. I need to add a bit more flocro in the junction gaps behind the armpit scoops, and level out the surface elevation between firewall/bottom fuselage and cowling. I’ll do that by adding a bit of micro to the front edge of the cowling and fair it level with the firewall area micro finish.
Again though, it looks really good and I see no issues moving forward whatsoever.
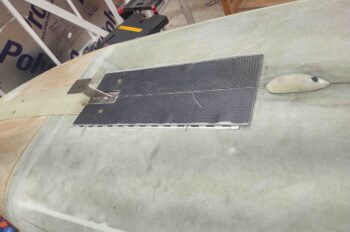
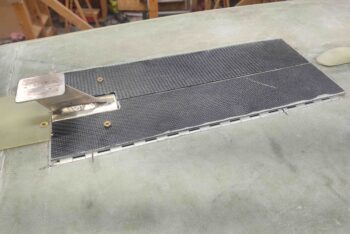
I then reinstalled the freshly trimmed nose gear doors and tested out the fit and look of them. Here’s a couple shots of the doors in the closed position… which look way better IMO!
And then another couple shots where I inverted the pics to show how they would look on the bottom of the plane…. again, much, much better looking to me!
And with my baby-step successes in hand for the day, I called it a night!

