
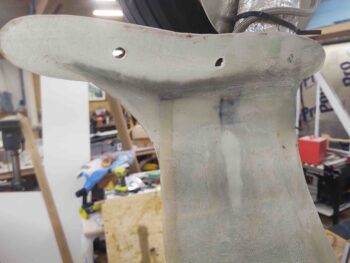
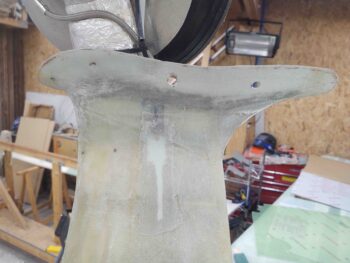
I started off today quickly pulling the peel ply, razor trimming the overhanging glass and hitting the corners with a sanding block on the nose gear wheel well front wall extenders. They look good and may need some very minor tweaking in elevation for the gear doors to rest against, but I’ll evaluate that when everything is back together.
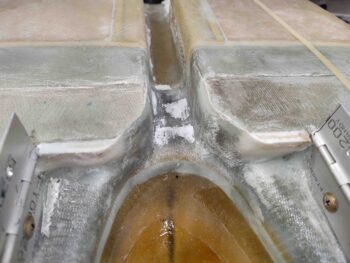
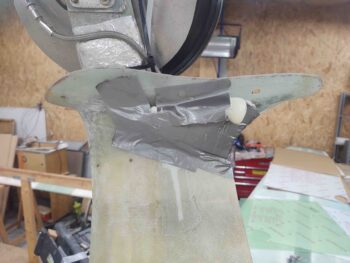
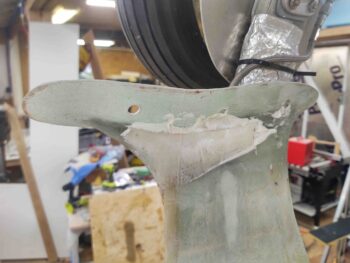
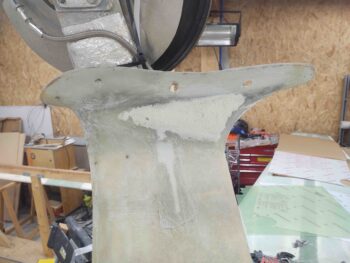
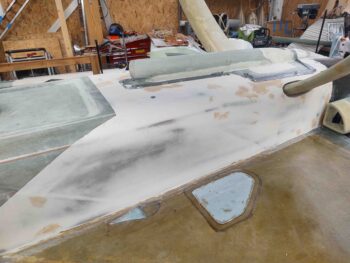
I then got busy knocking out yet another prerequisite task before I flip the plane back upright: filling the depression on each gear leg just above the wheel paint skirt on the inboard side. Grant it this depression was created by adding the small fairing on the aft side, and the slight off angle between this fairing and the gear leg.
In my armchair engineering mind, for air to flow smoothly here and not get all burbled up, I need to fill these respective depressions and smooth out this junction. In addition, I plan on finishing the bottom of the gear legs very soon and want to get as much done as possible on the underside before flipping the plane back over.
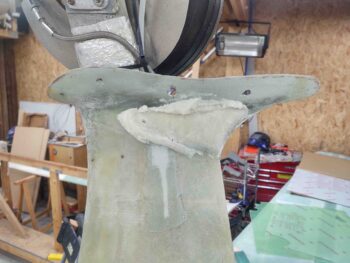
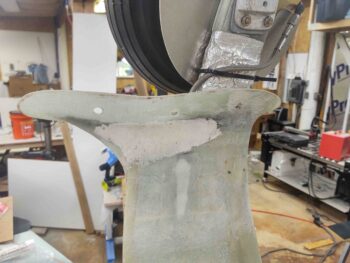
Here are the before shots.
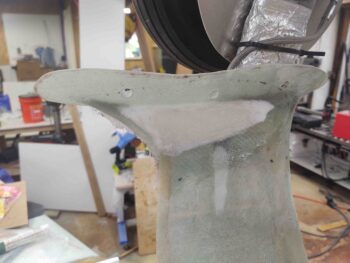
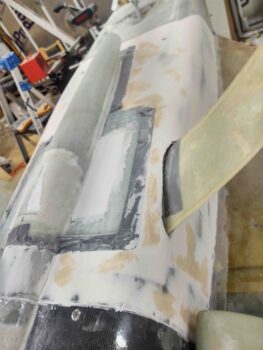
I then cut a small triangular-shaped duct tape-covered cardboard dam and taped it in place. Once in place I snuck some pour foam in behind the dam.
Here’s the resulting pour foam addition to the bottom inside of the gear legs.
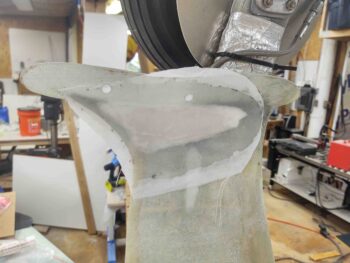
I then shaped the foam on each side…
And laid up a single ply of BID over the foam… after micro’ing the foam.

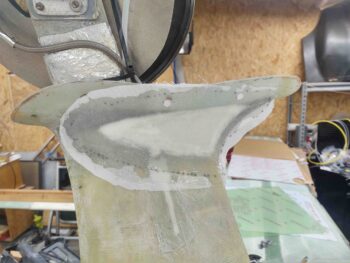
I then peel plied the layups.
I have to say I’m very pleased with these tweaks and with a little micro think they’ll really clean up these bottom gear legs and allow the airflow to be “trip” free.
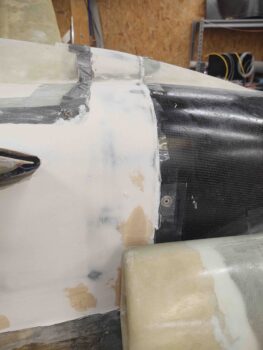
I then got back to work on the aft/bottom fuselage. To fill in the deep scratches and divots I followed Wayne Hicks advice and simply used West 410 “micro” mixed into West epoxy all by itself. I had intended to use fast hardener, but forget and used the slow instead… no big deal of course.
The 410 worked great and was pretty much smooth and creamy as you would expect from something like Evercoat’s Metal Glaze to be… however, having read the warnings in the CSA articles I want to stay away from any application that is NOT epoxy based. I prefer my airplane’s finish to be as bubble free as possible, thank you much!
I had a decent amount of 410 (as par usual) left over so I actually filled in a bunch of the smaller holes as well… why not eh?
I remounted the bottom cowling with the lower front edge taped up to allow me to apply a flocro edge to the firewall area/cowling intersection micro finish on the lower fuselage. There were some gaps, chips and low spots that of course needed filling in, so I figured flocro would give me a nice hard edge that would be less prone to chip or get dinged as I removed and mounted the bottom cowling over the upcoming years.
I then left the repairs and added flocro to cure overnight.