
I started off this morning by lowering the nose gear (as positioned, inverted) into the nose wheel well to check the clearance between the nose wheel assembly and the newly attached wheel well wall extenders (red arrows). As you can see, there was plenty of clearance.

That cleared me hot to go ahead and glass the top of the wheel well wall extenders and then peel ply the layups.
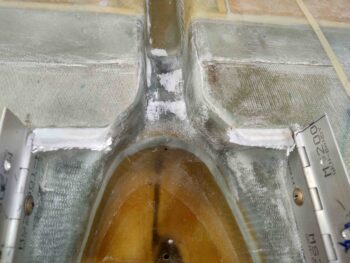
Not shown is a small layup I did on the front foam piece of the taxi light pocket and also another ply of BID on the bottom outboard delam repair on the right wing…. I’m hoping that’s the last added ply of BID that needs to go on there.
With my wheel well wall extenders looking good, and with no clearance issues with the nose gear, I proceeded to mark the very front tab on the nose gear doors for elimination…
Which I did here. I think removing these tabs will really clean up the nose gear doors and make them look much cleaner, and much, much better.
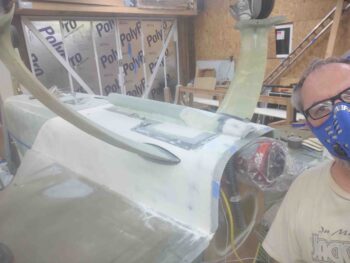
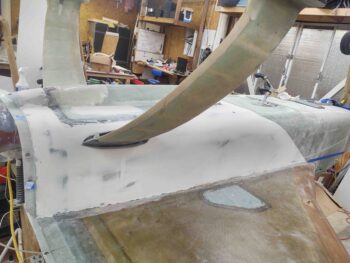
I then got busy sanding the micro I had applied to the aft/bottom fuselage. I took this pic for Terry Lamp when he shot me a text to see if I was at Oshkosh… nope, sanding away in the shop!
Here’s just a small sample of the mess I made . . .
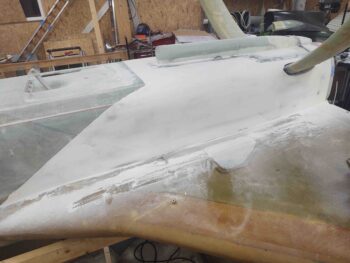
And some cleaned up shots of the micro removal process.
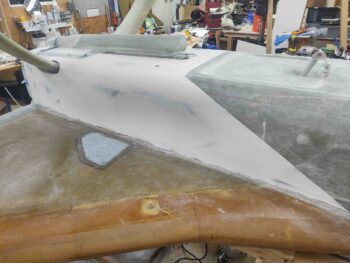
An overhead shot of the sanded micro.
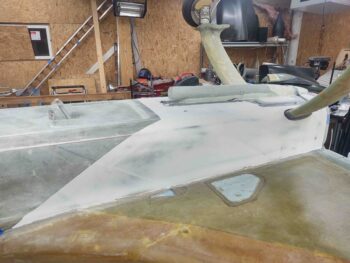
And a couple more side shots.

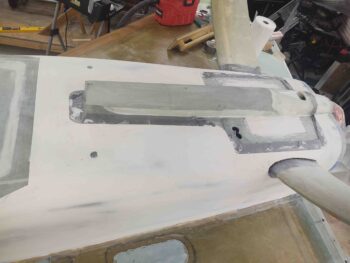
I won’t be micro’ing up the middle of the fuselage until I get the landing brake prepped and mounted back in place, so I expect it to be a few days. In the mean time, as I’m working on the landing brake, I’ll also continue to do some sideline tasks that are on the list to be completed before the fuselage can be flipped back upright. In addition, I’ll start sanding the bottom airplane surfaces for the upcoming micro finish.