
Yesterday was all about researching and refining my processes for micro’ing up the plane to finish it for paint, so no shop work except for prep.
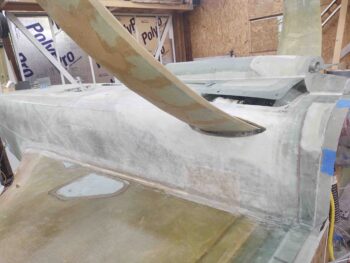
Today I finished sanding the aft & bottom fuselage in prep for micro.
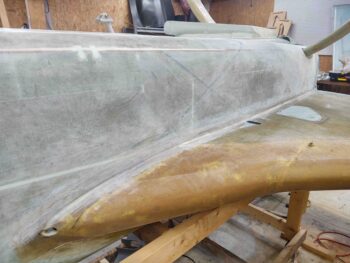
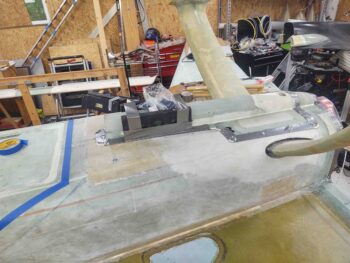
I want to get the firewall, RAM air scoop/hell hole hatch cover and gear leg areas finished right off the bat so that I can dial in those surfaces, primarily to then create the top-of-gear fairings at their intersection with the fuselage.
I then plan to move forward on the fuselage and outboard to the strakes and wings on my micro’ing endeavors.
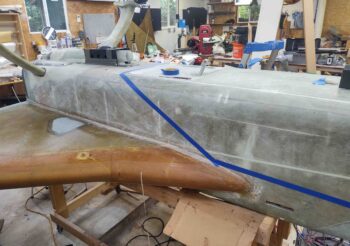
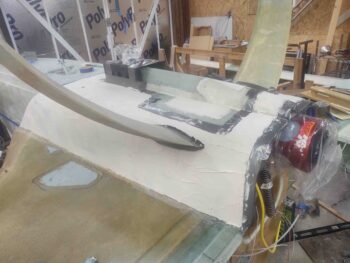
After I finished the sanding I then vacuumed and cleaned up the surface. I then taped up all the various surfaces I didn’t want to get micro’d. I also taped up the front edge border where this round of micro will end, as you can tell by the blue tape.
Here’s the micro finish prep on the left side with the blue border tape in place.
I then got busy micro’ing up the aft/bottom fuselage. I know some people will think I’m crazy, but I want to try out different techniques and mixtures on the bottom of the plane for the experience and knowledge of applying various types of micro and the varying techniques in doing so. Thus, for this area I actually mixed in the West 410 filler at about a 4:1 ration with regular micro just to see how it sands in comparison to straight West 410 micro.
I mixed up the micro fairly dry and it was the typical pain to get it to stick to the surface of the fuselage… the saving grace being the heated trowels that I was swapping out, as I re-heated them by resting them on the edge of one of my heat lamps pointing straight upwards. The heated trowels really were the trick, along with hard pressure in multiple directions, to getting this crap on in a somewhat reasonable fashion.
As a point of note: I basically worked the micro thickness as it stated on the side of the West 410 filler container, “dry peanut butter.” In other words, I mixed it to a consistency that was a difficult pain to apply, but not something so ridiculously dry that it was nearly impossible to get it on there.
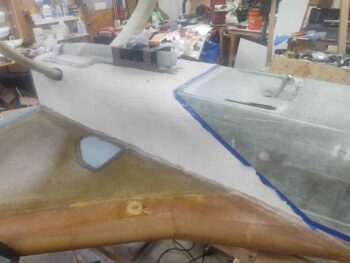
After I got all the micro on where I wanted it, I then removed the blue border tape since the micro was already starting to set up fairly quickly.
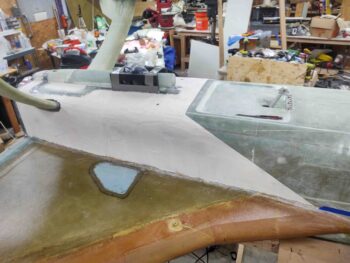
After the micro had cured for a few hours and was in the “green” stage I cheese-grated the high points and ridges to make it easier to sand tomorrow evening when it hits the 24-hour cured point.
Yep, the adventures continues!