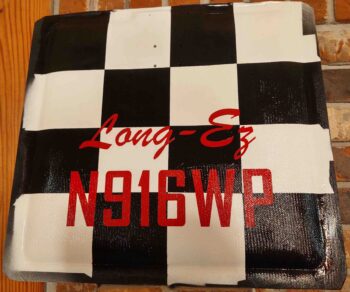
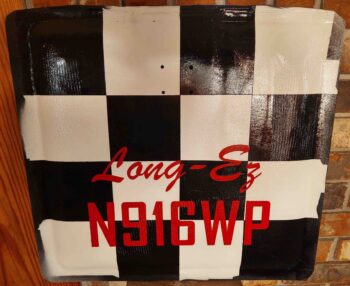
I started off the work day today by cleaning up the checkerboard lines and touching up the red lettering on the landing brake, all with a very fine brush and by free-handing it.
I then let the touched-up/cleaned-up landing brake paint dry for about 20 minutes before taking it outside and spraying on 3-4 coats of clear… and yes, gloss clear coat. I want this thing to be shiny, glossy and loud, kind of like the fixtures in a big city like New York or Paris that have been painted a million times with shiny, glossy paint. BTW, I had taken both pics from different angles for the varying light reflection and just decided to add them both so you can see the “glare” variances… keep in mind this will be under the plane!
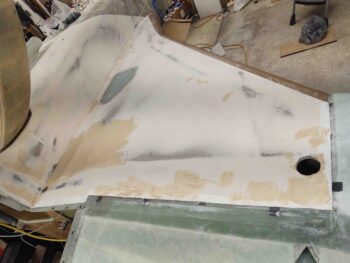
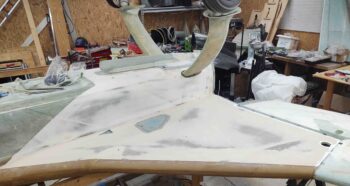
I then spent about a half hour final sanding the left bottom strake finish fill. After the final sanding I whipped up some West 410 “micro” and applied it to the areas in need.
Here’s another shot of the left bottom strake West 410 “micro” fill.
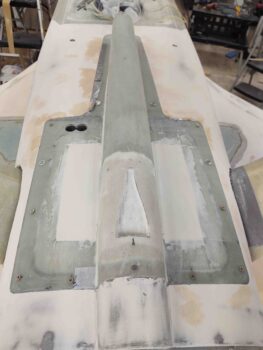
I had also taped up certain edges on the RAM air scoop/hell hole hatch cover to repair the bottom fuselage raised lip/edge in some areas.
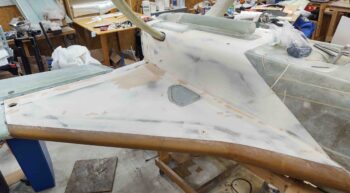
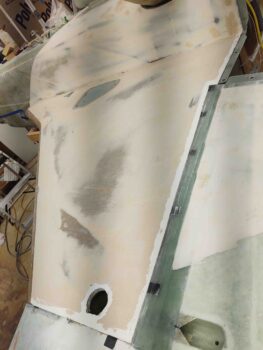
I then got to work on sanding the straight West 410 “micro” fill I completed last night on the right bottom strake. Remember, I slathered it on fairly thick, and it allowed me to learn an important lesson this evening: it doesn’t matter if it’s “EZ-to-sand” West 410, when there’s a lot of it piled high on the surface it’s going to take a lot longer to sand… about 2.5x longer than the left strake to be exact! (that equates to over 2.5 hours)
The good news is that it’s finished. It looks and feels good, but will still require some subsequent straight West 410 “micro” fill tomorrow.
Here we have another shot of the sanded and contoured right bottom strake West 410 micro fill.
I was beat from all the sanding tonight, and it was getting late, so after I got the right bottom strake sanded I called it a night.

