Today I got back to work on the main gear fairings.
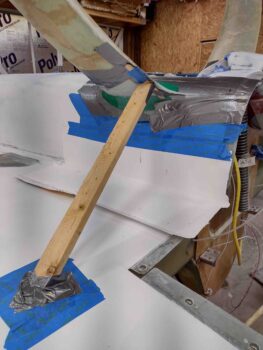
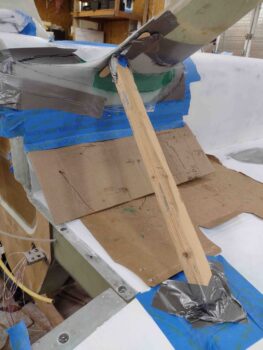
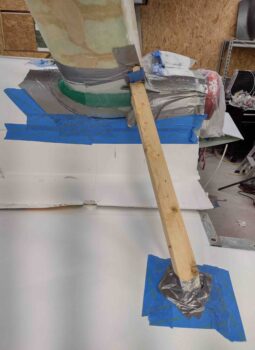
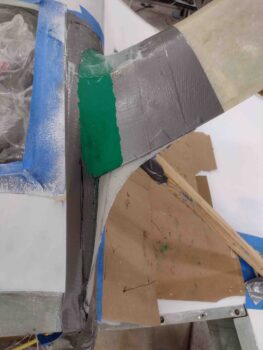
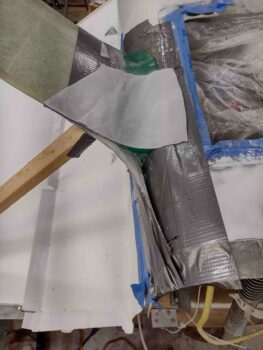
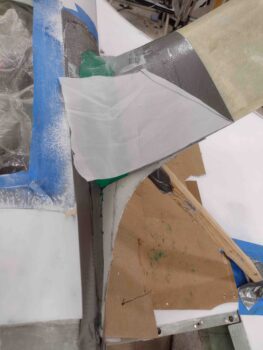
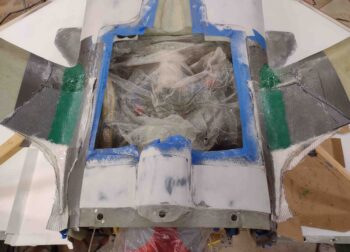
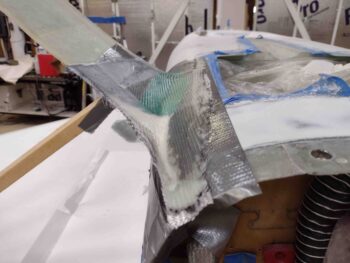
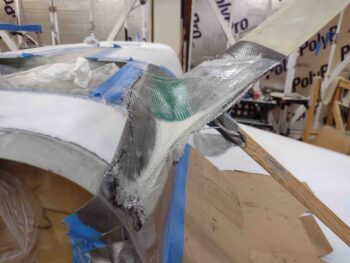
First off, I needed to pin the somewhat thin 2-ply BID glass of the top fairing (on the bottom as situated here) firmly against the top of the gear leg. To do this I simply used some wood pieces wedged against the strakes (protected by cardboard) with a fair bit of duct tape to secure it all.
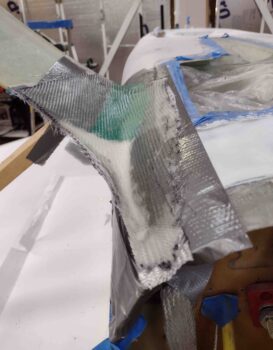
Here’s a shot of one of the struts from the side.
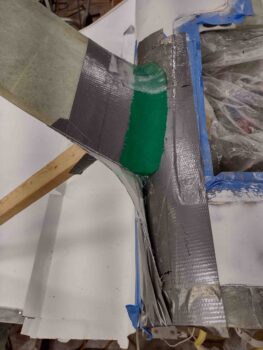
I also created the radiused fairing transitions between the bottom inboard seams of the gear legs and fuselage with more green clay.
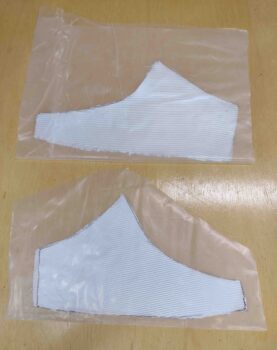
I then cut some peel ply for the majority of the new bottom glass layups on the interior side of the fairings where they’ll be floxed to the gear legs.
I then wetted out the peel ply pieces on both sides.
I then laid up the first ply of BID on each side bottom gear fairing. At the aft-side swooshes I pushed the BID down into the “V” groove so that it had glass-to-glass contact on a good majority of the inside of the swoosh, as well as overlapping onto the tape-covered fuselage.
I then filled the swoosh “V” grooves —with a ply of BID underneath— with dry micro.
I used 3 plies of BID total here on the bottom gear fairing layups for a bit of added strength, since the first ply serves as a securing underlayment for the top 2 plies. For the top 2 plies I prepregged them for optimized wetting out and control during the layup process.
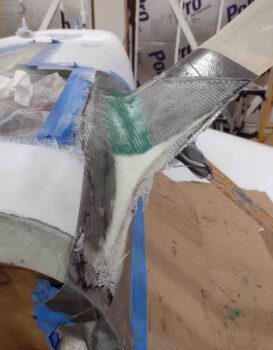
Here we have the top 2 plies laid up over the first ply (and peel ply) and over the dry micro embedded into the swoosh “V” grooves.
I then applied peel plied along the aft edge and top (as situated here) along the intersection of this BID with the gear leg. Later on, when I permanently attach these fairings to the gear legs, I’ll of course lay up a 1-ply BID tape at these transitions to secure each fairing to the gear leg.
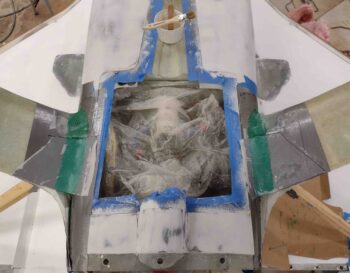
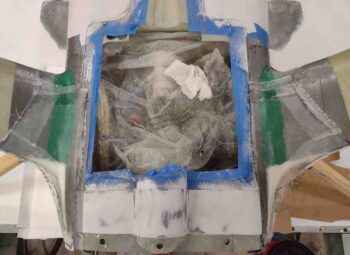
Finally we have a shot of the whole shebang from overhead. You can see the newly glassed gear fairing bottom surfaces, peel plied and ready for action.
I then called it a night and left these layups to cure overnight.

